Launch Cloud Surge.
Now we are all set to launch the cloud surge in order to generate the surge results. Open your gcloud editor, cd into the cloud-surge repo and run the commands listed below.
- Create the redis pod and service by running the below command.
kubectl apply -f ./ops/redis/redis-pod.yaml

kubectl apply -f ./ops/redis/redis-service.yaml

kubectl port-forward redis-master 6379:6379
kubectl apply -f ./ops/redis/redis-pod.yaml
kubectl apply -f ./ops/redis/redis-service.yaml
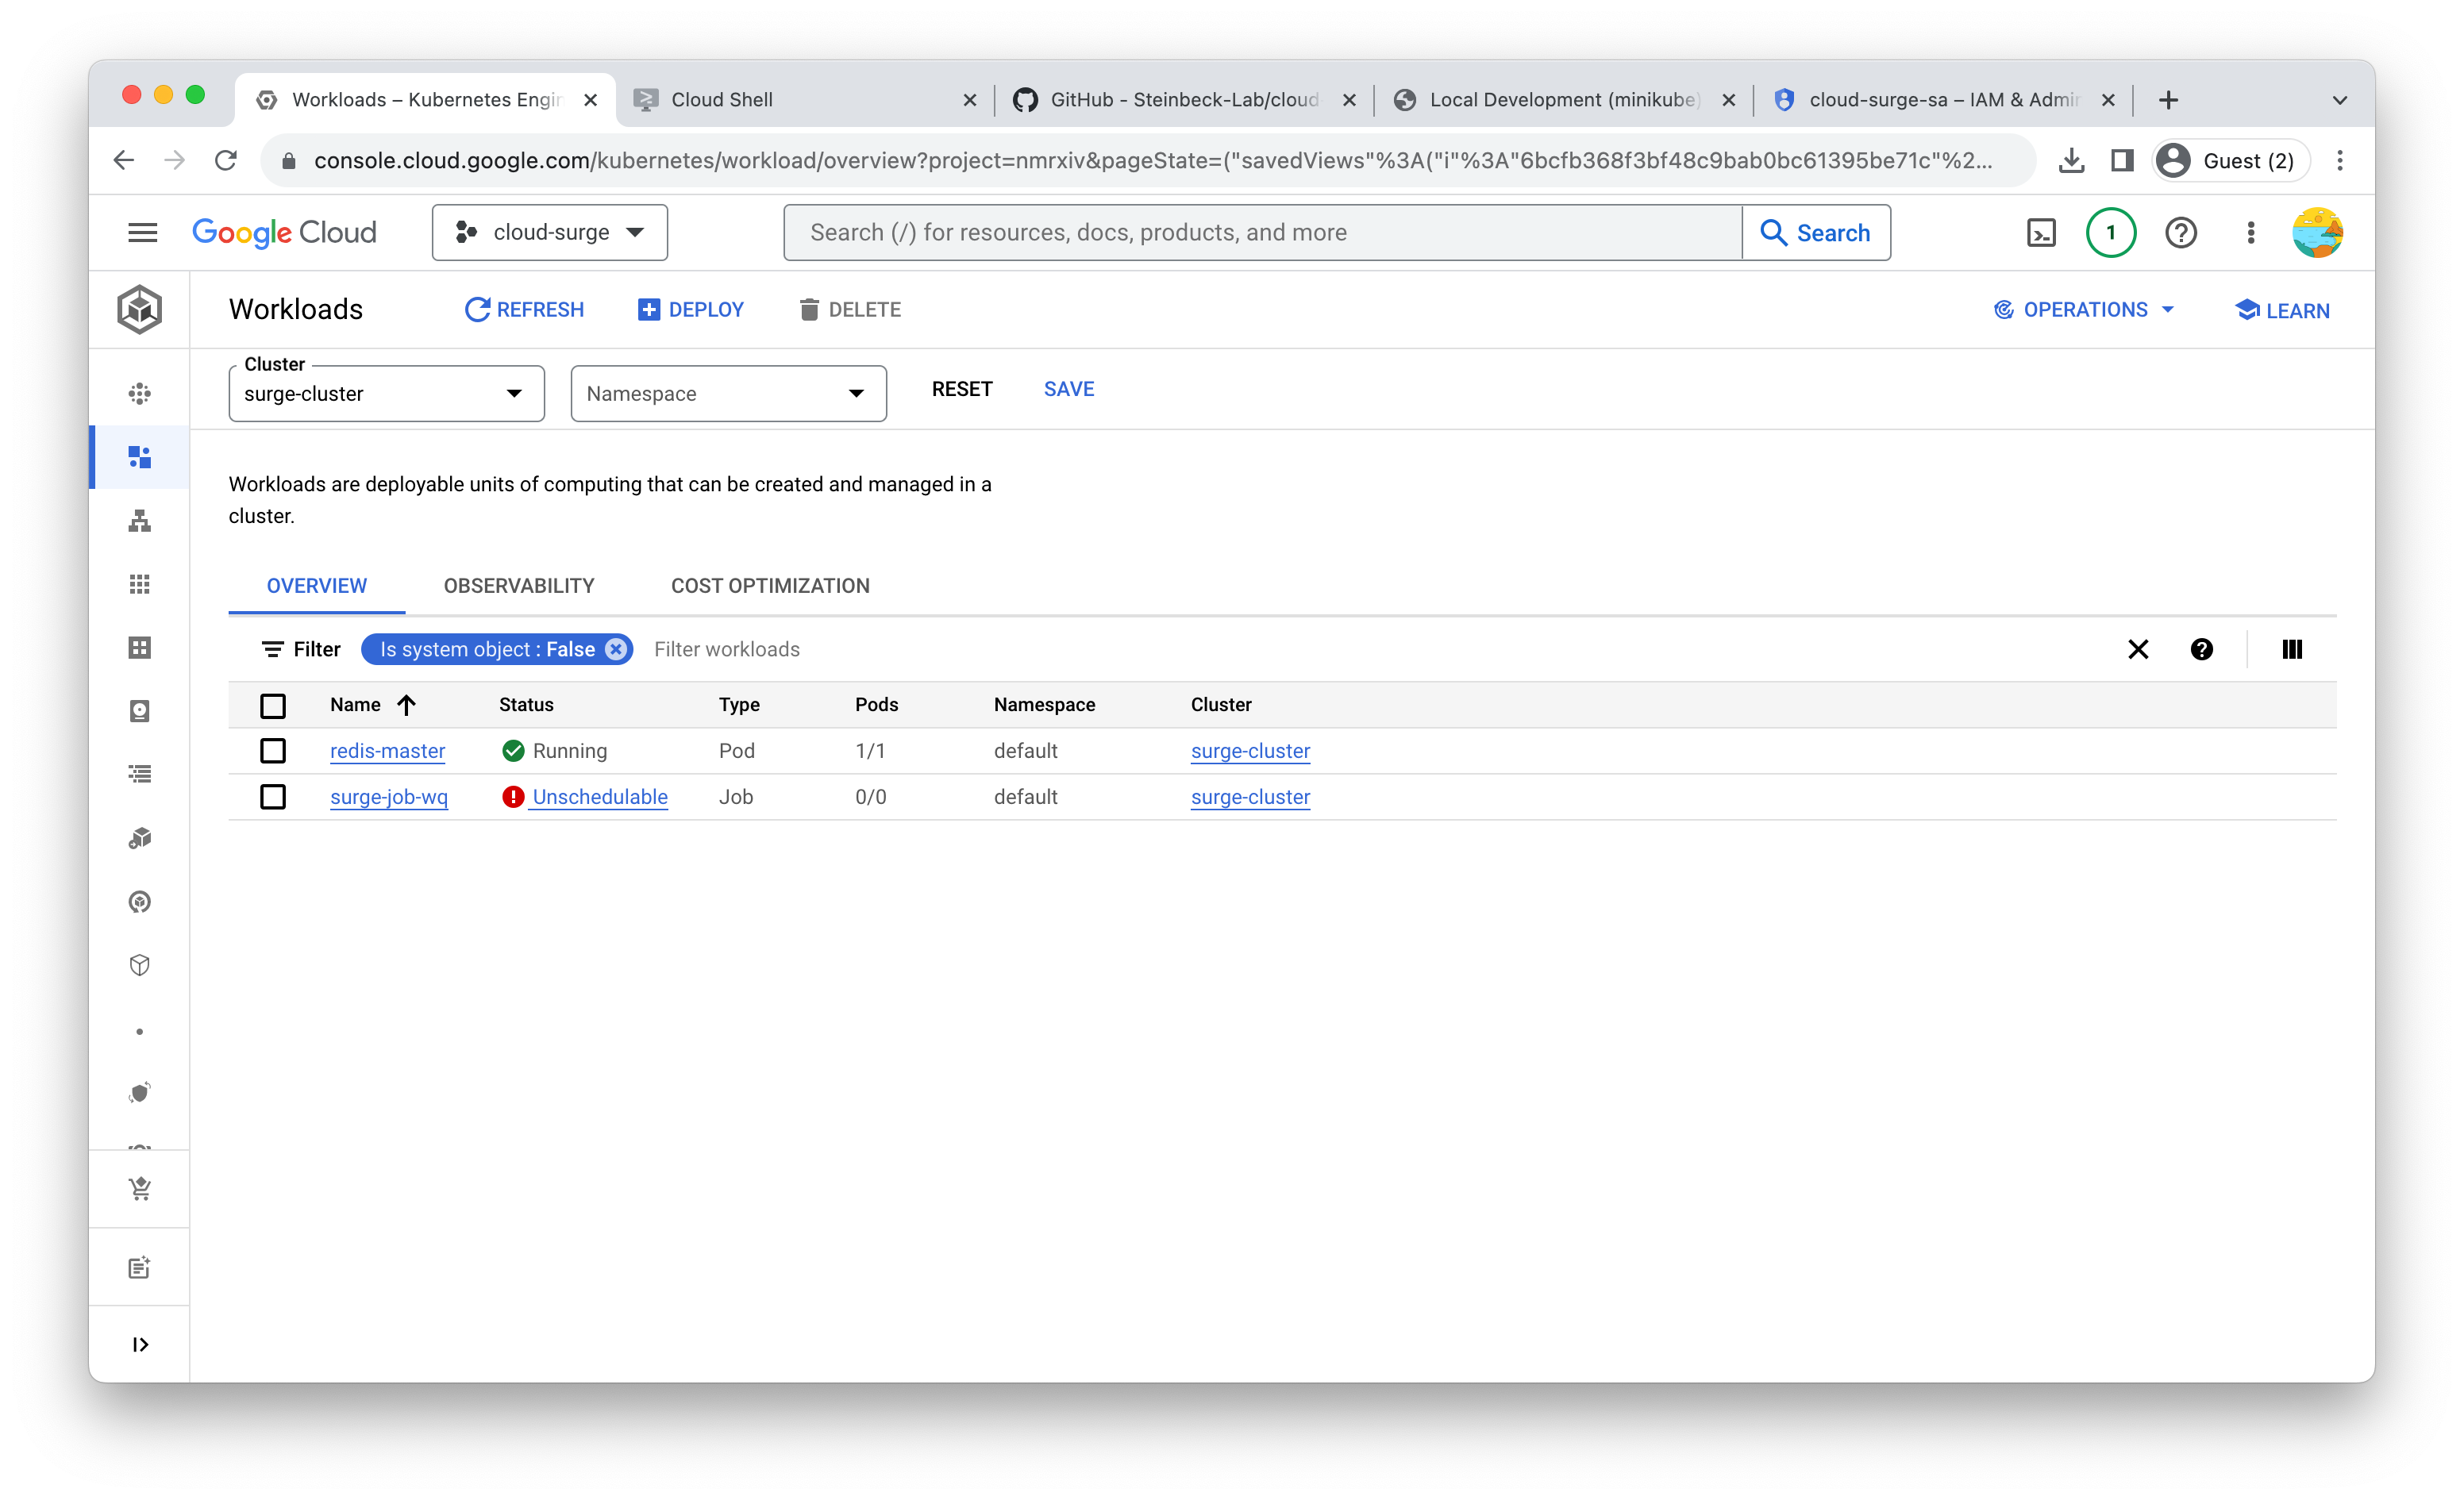
kubectl port-forward redis-master 6379:6379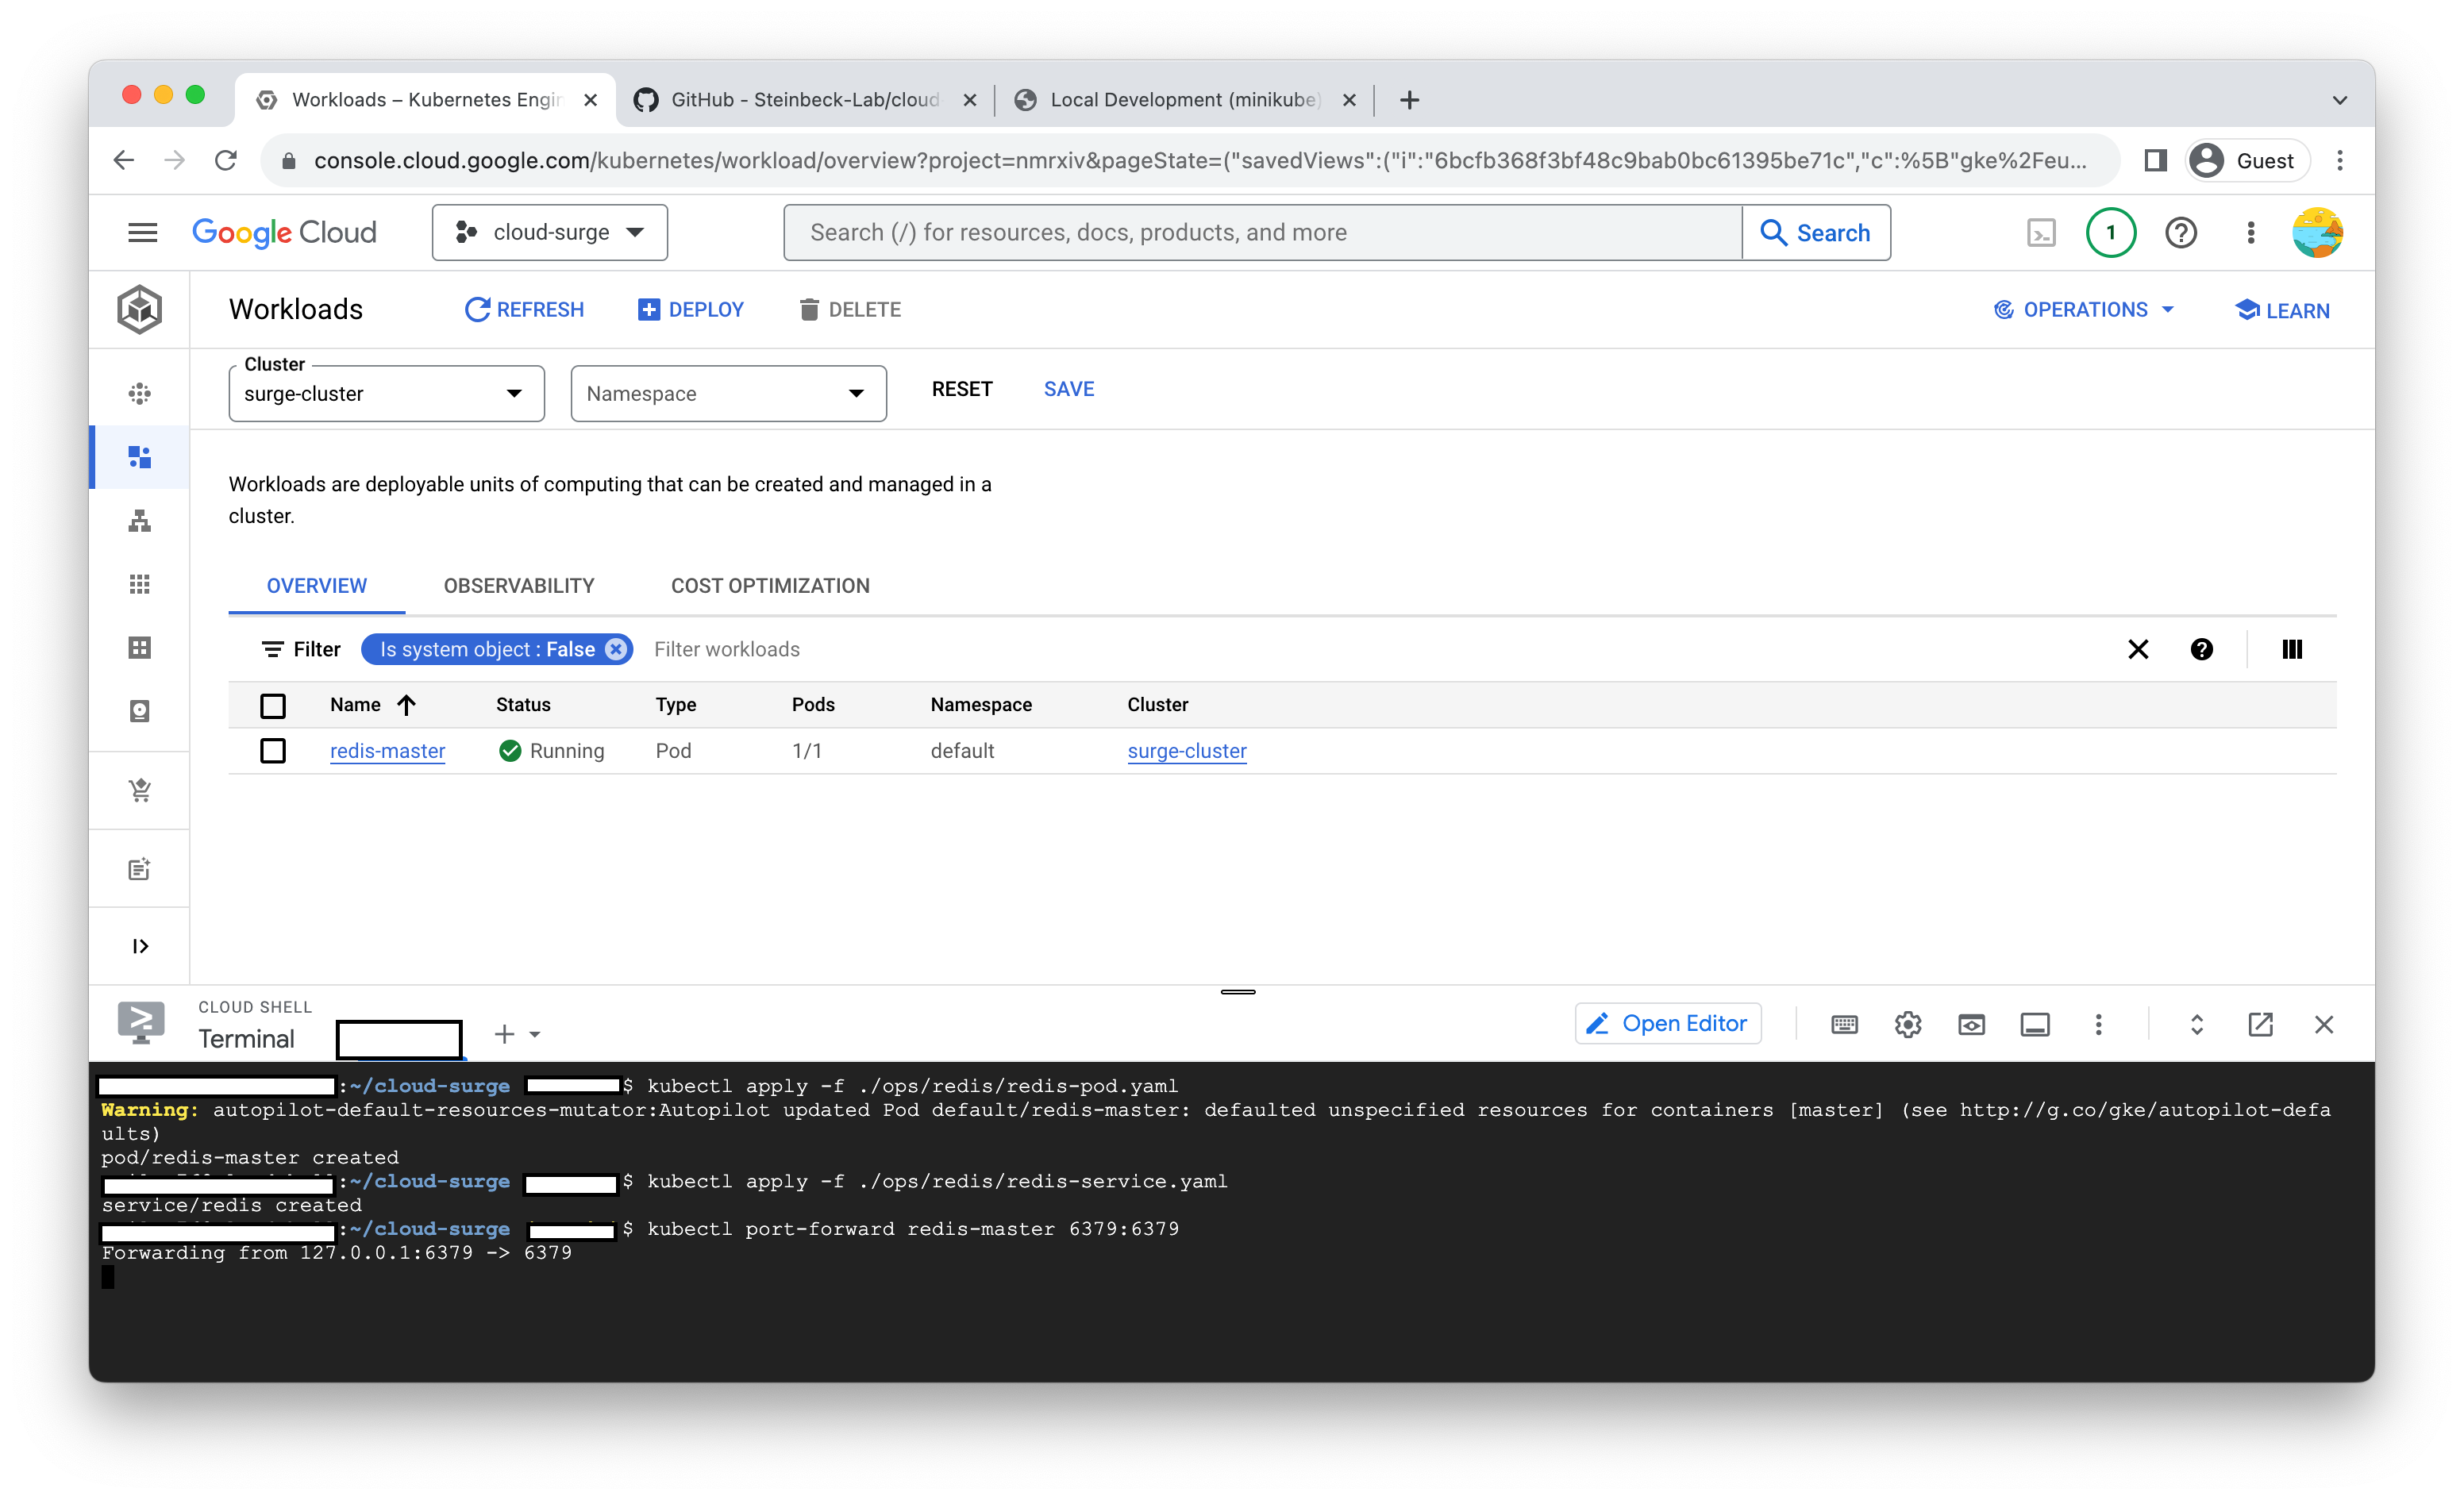 After a few minutes, the Redis pod will become ready, and you will observe its status as 'Running' in the Workloads tab on the dashboard.
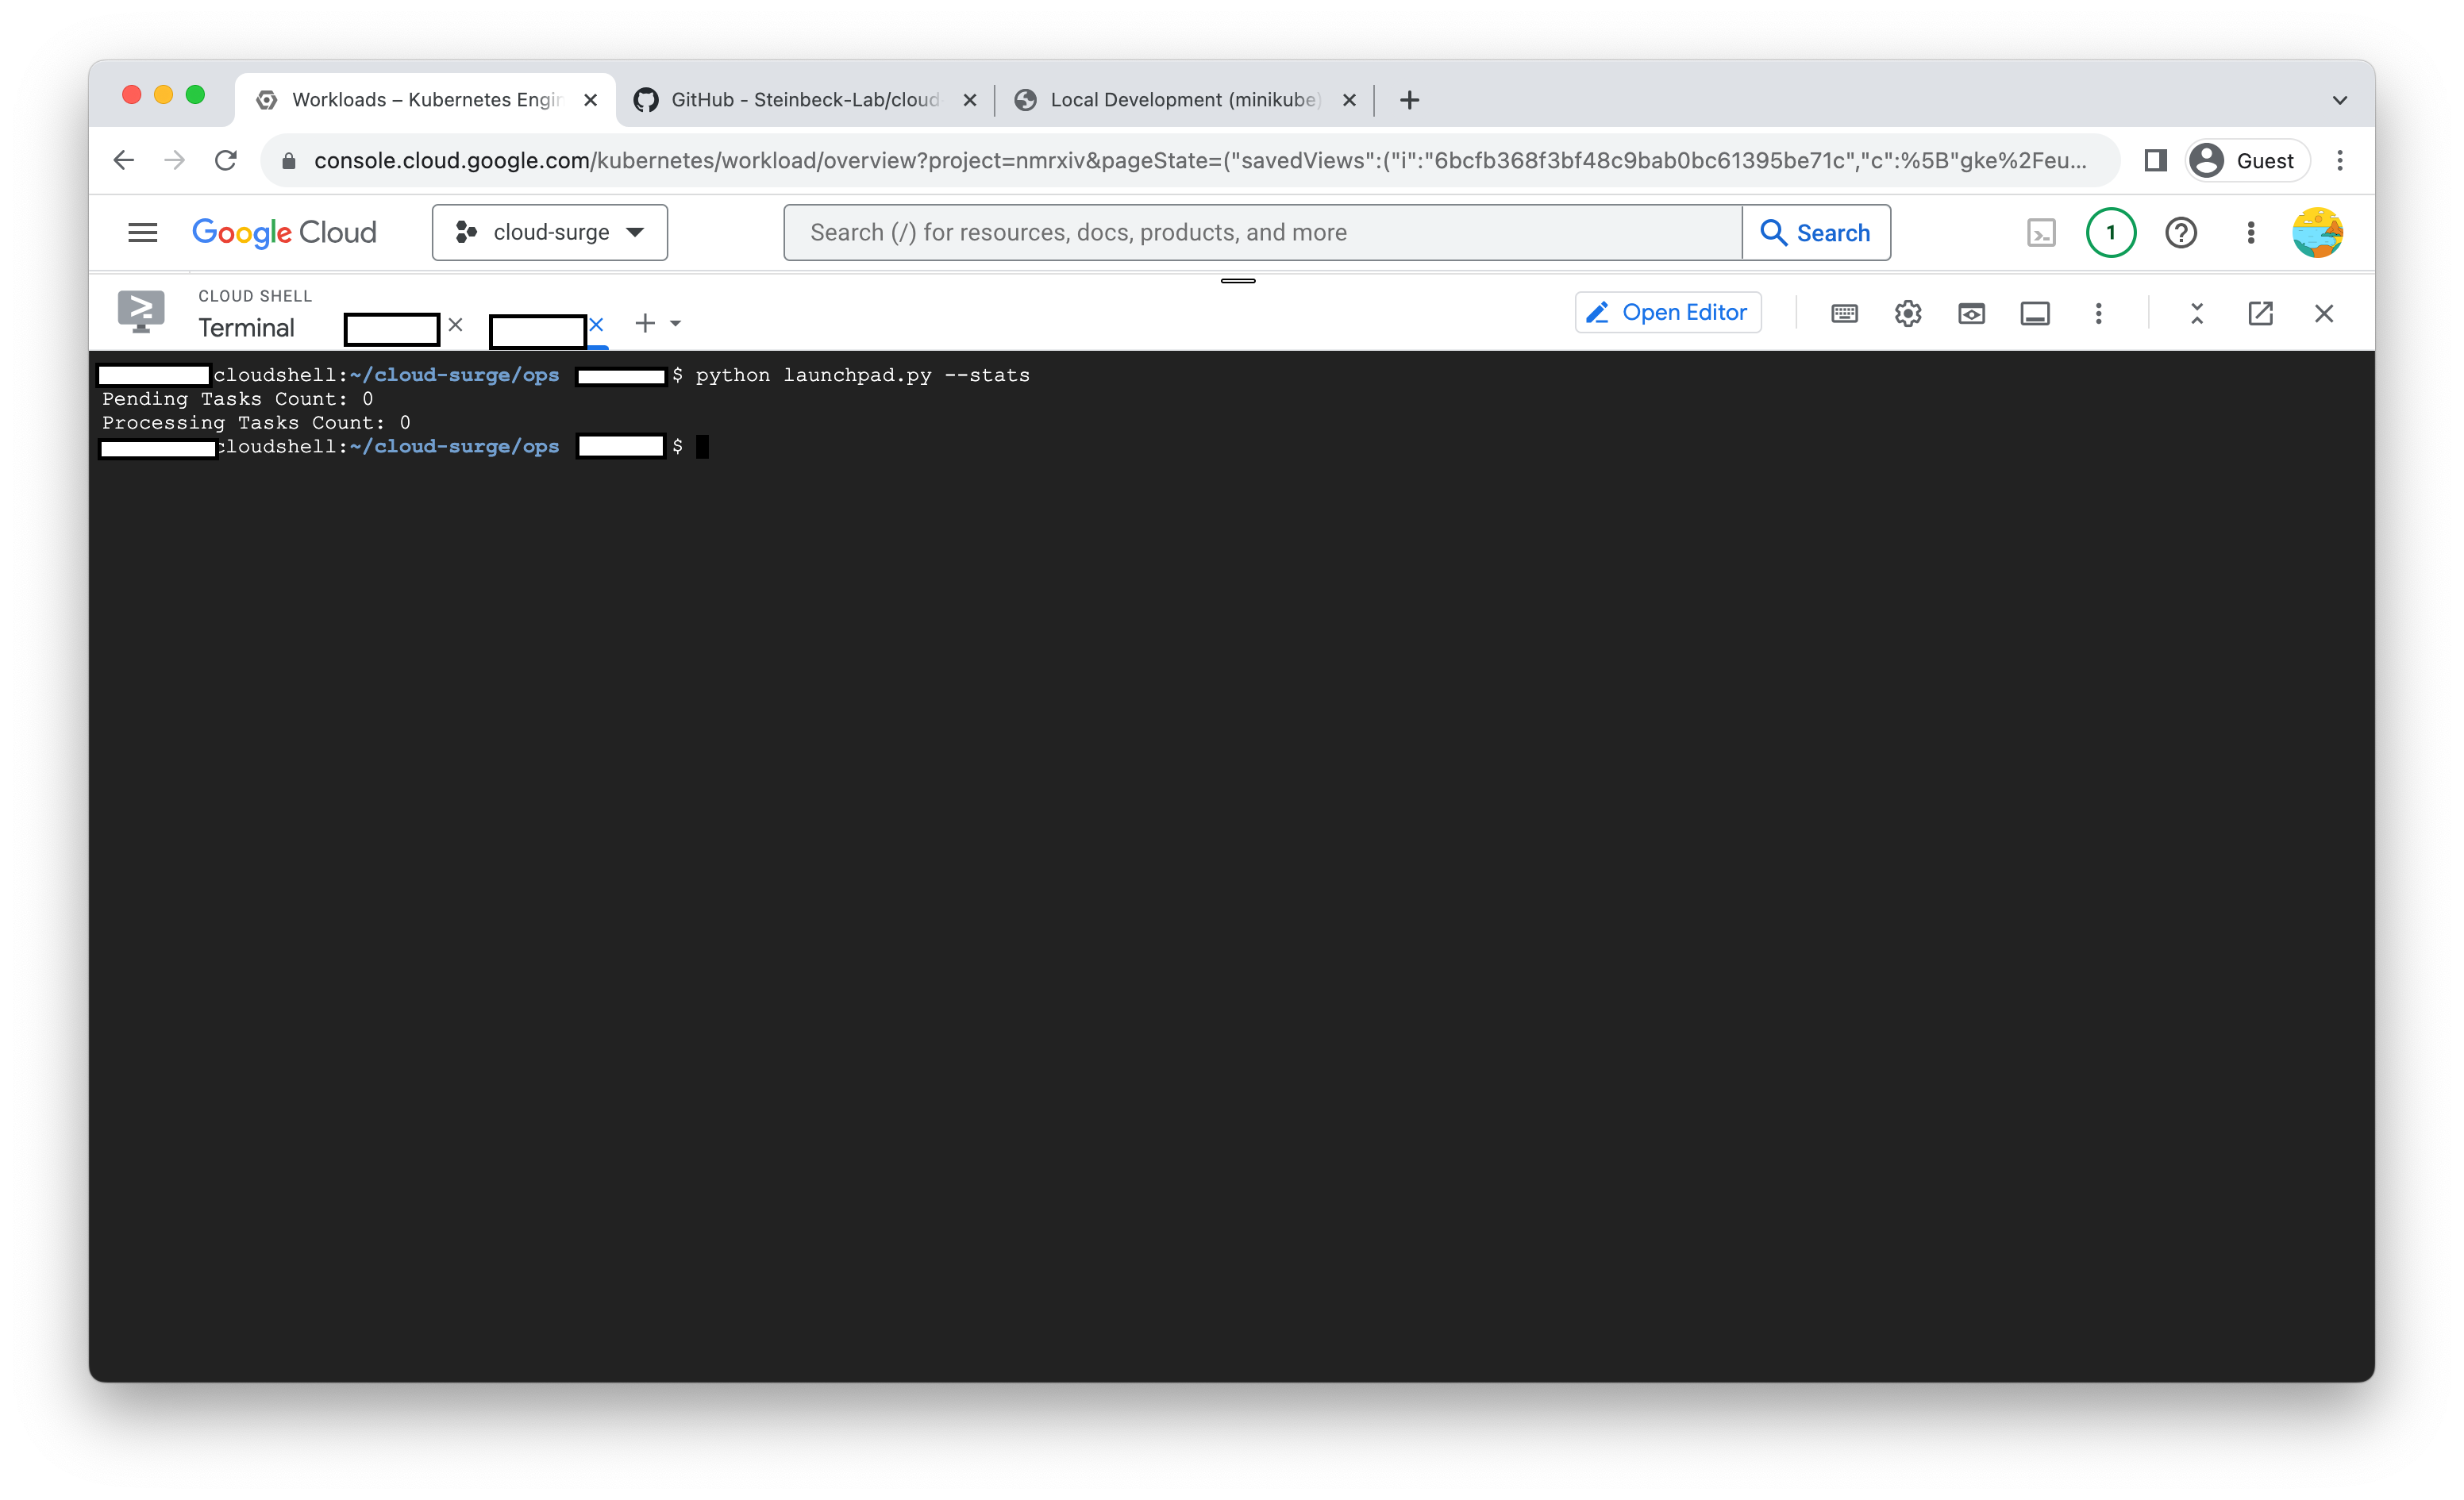
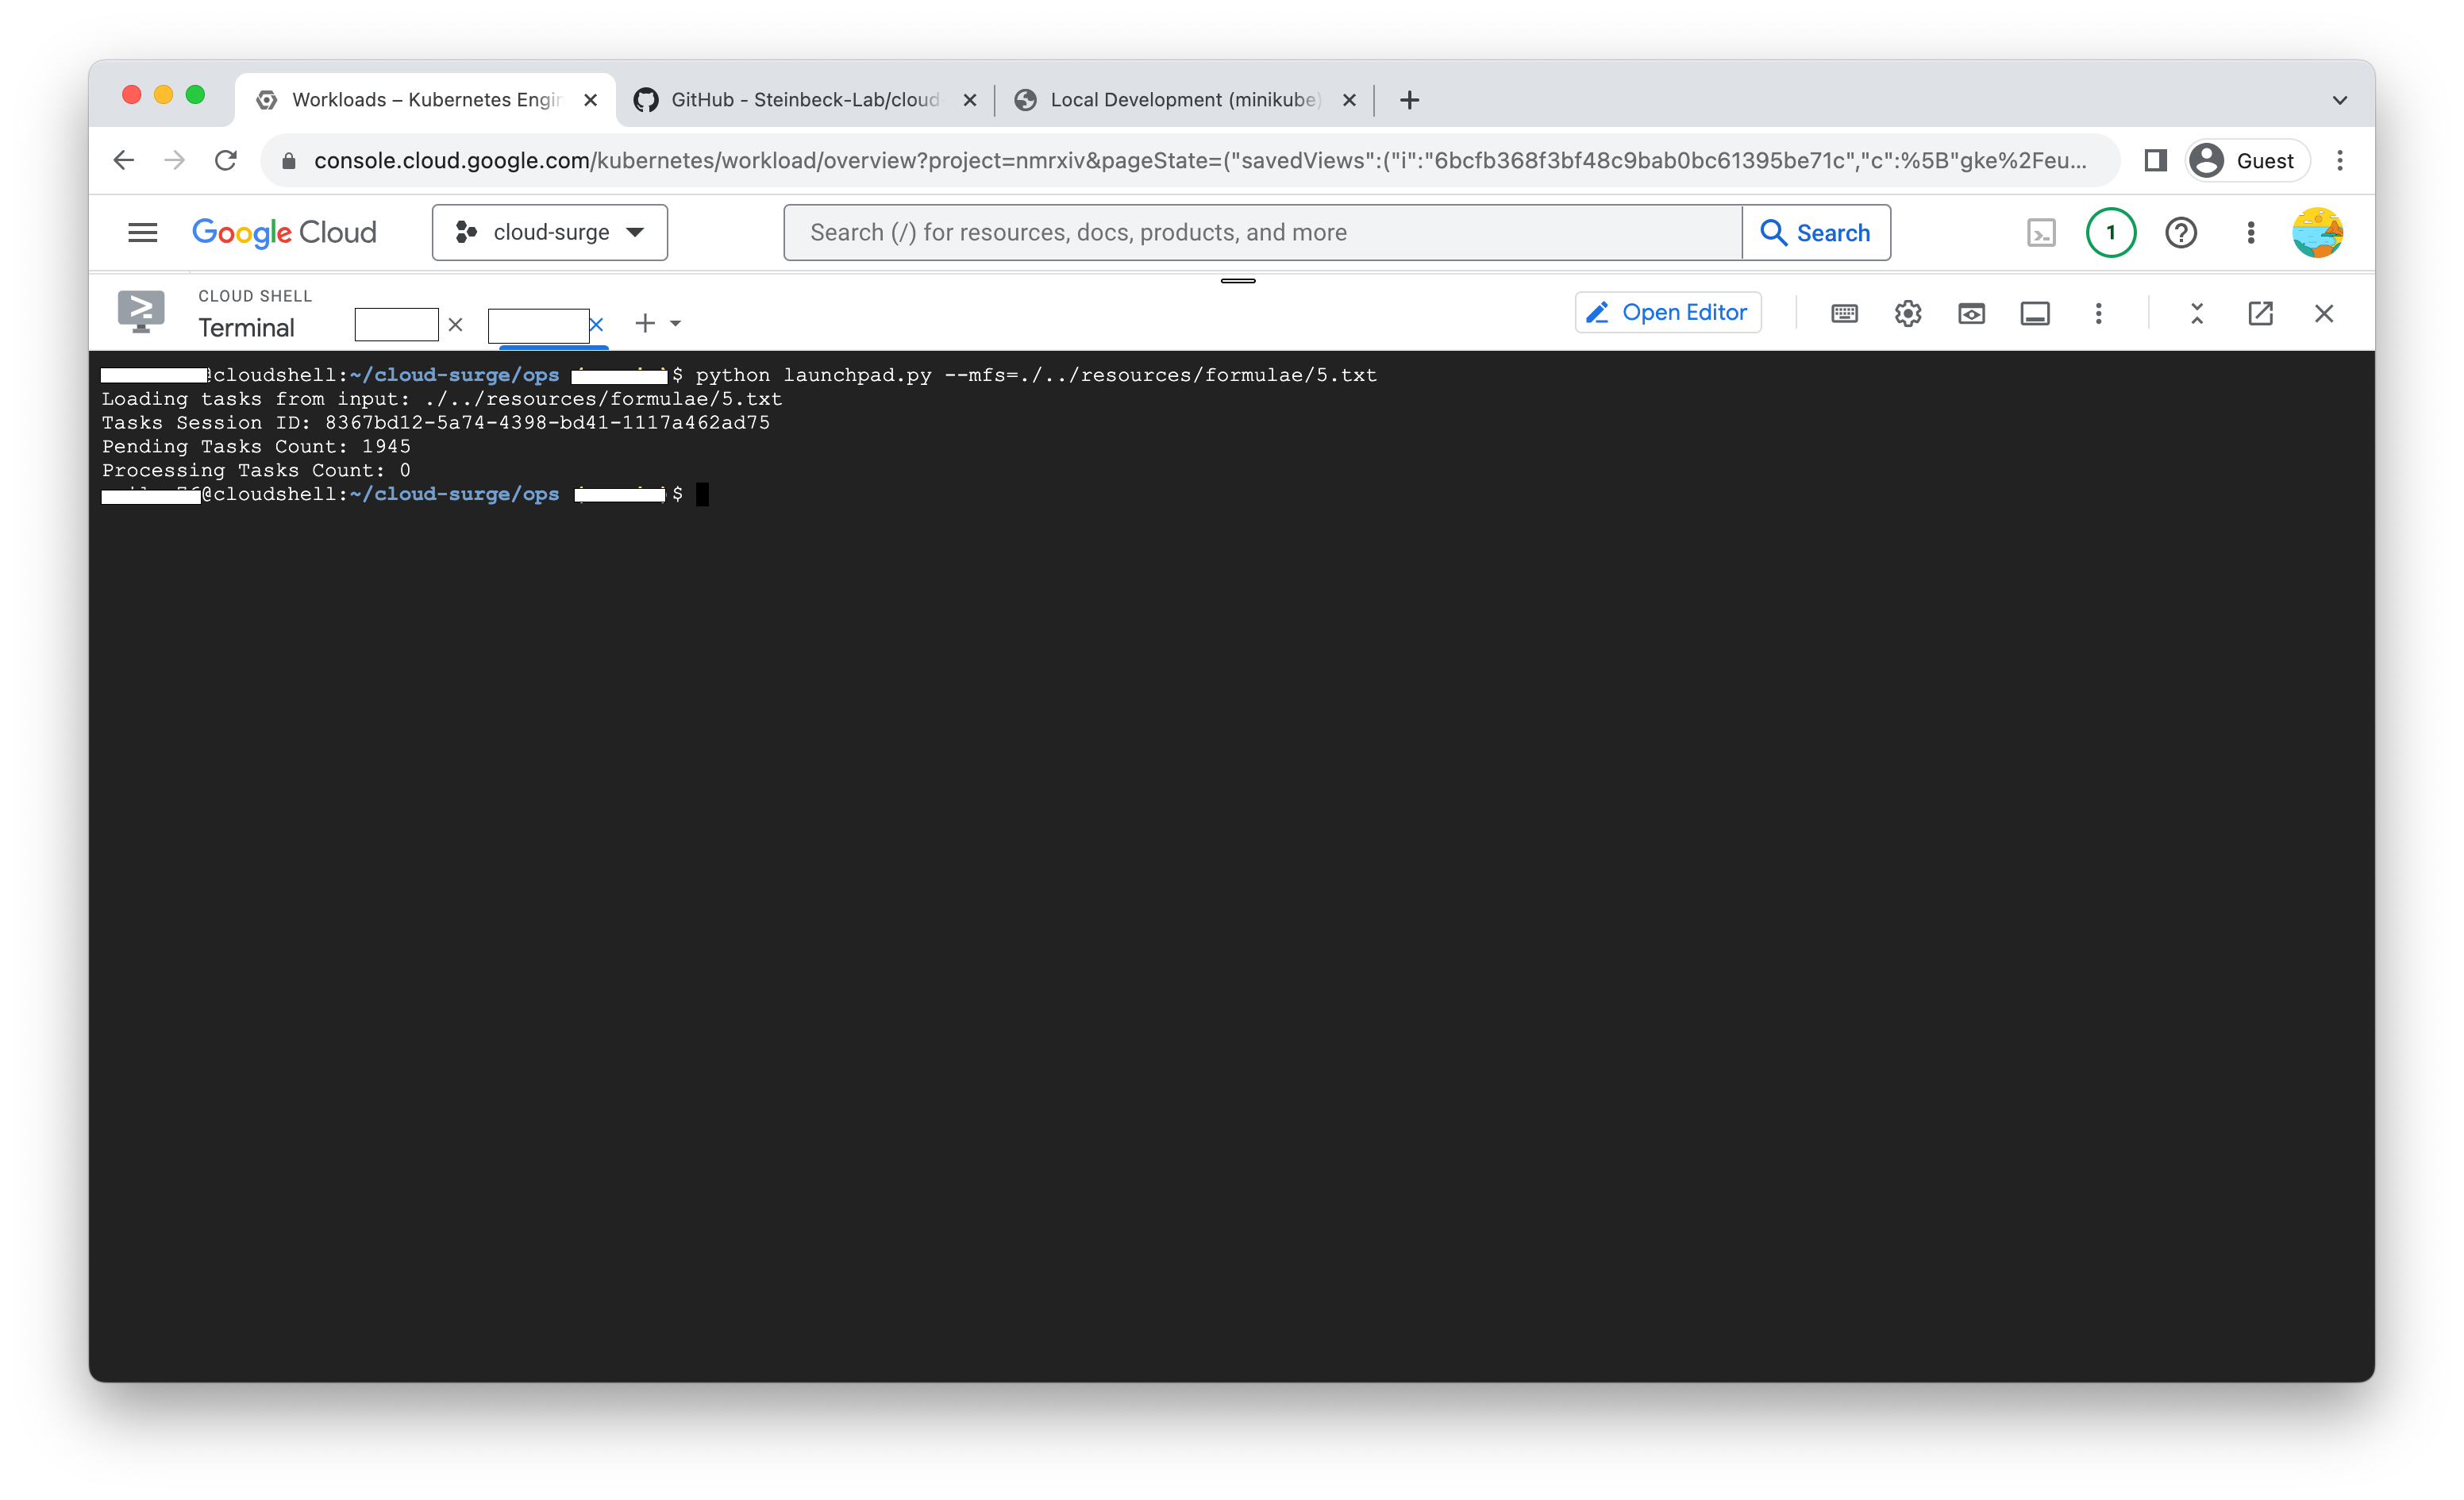
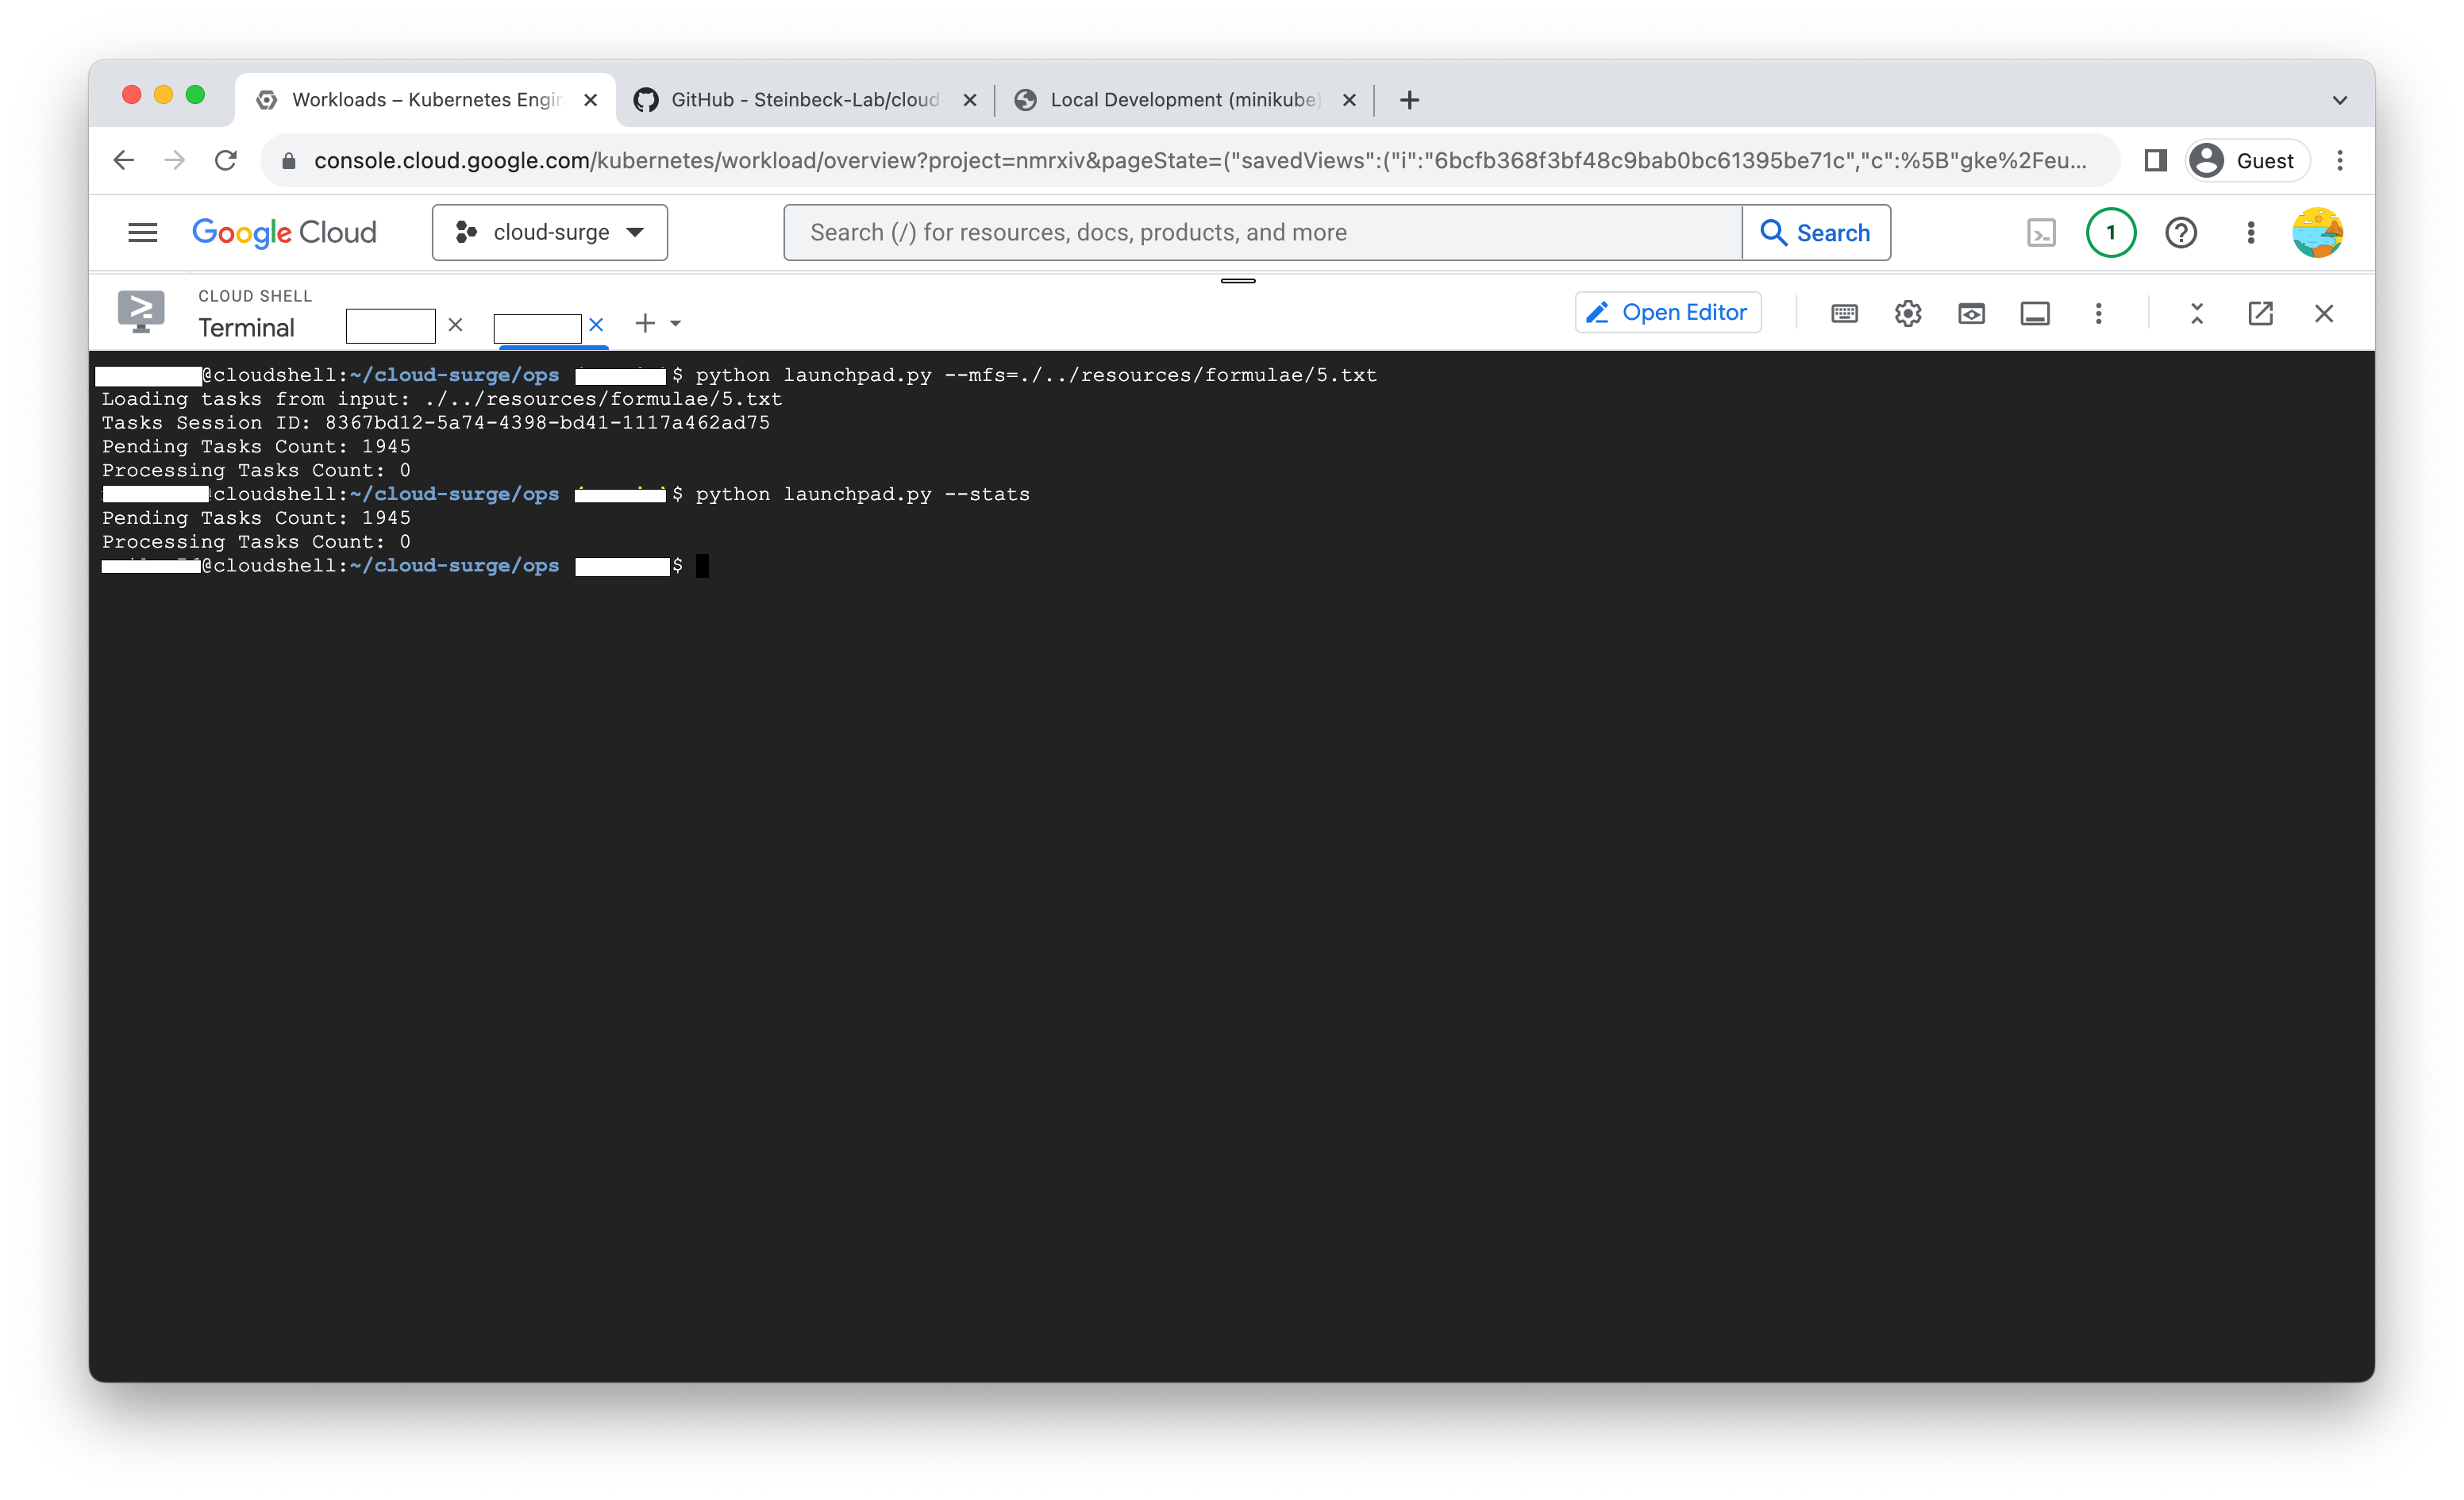
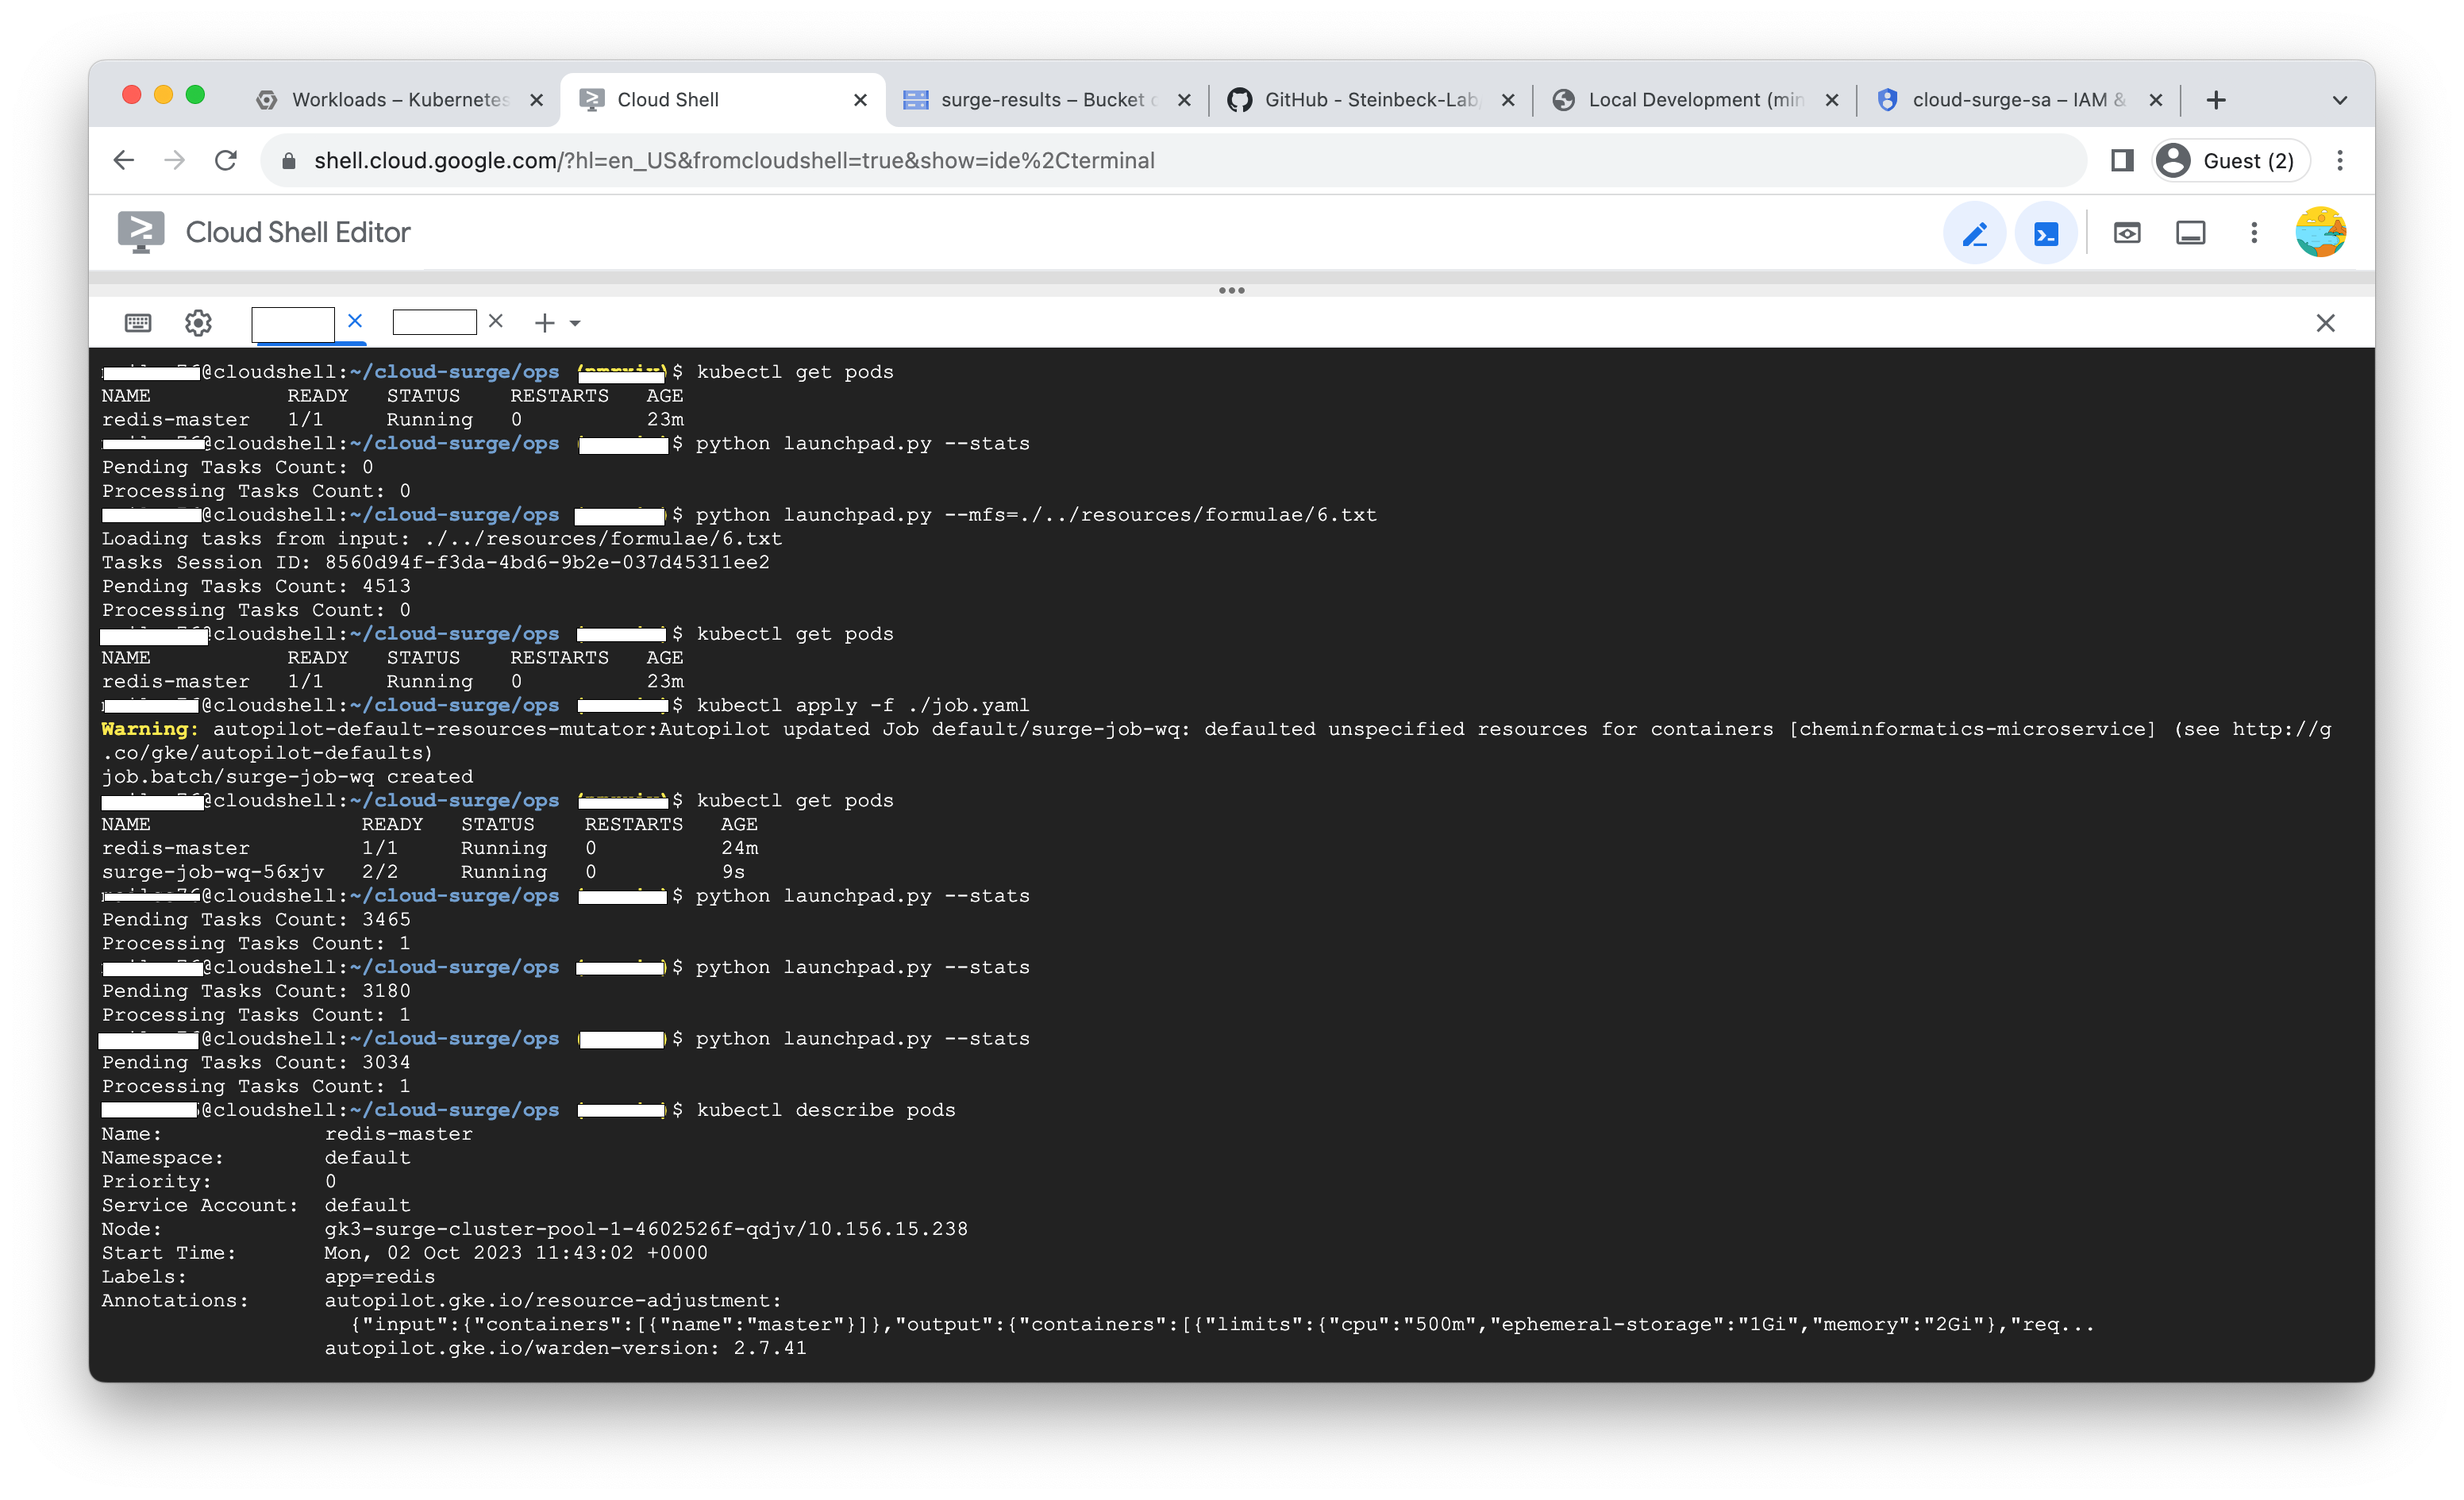
 - For the demonstration, we will initiate the launchpad to process 5 heavy atoms, which will enqueue tasks in the Redis queue. Initially, if you check the status, the count of pending tasks will be 0. You have the option to generate a surge for any number of heavy atoms, ranging from 5 to 17, which you can locate in the 'resources' >> 'formulae' folder.
python launchpad.py --mfs=./../resources/formulae/5.txt

python launchpad.py --stats
python launchpad.py --mfs=./../resources/formulae/5.txt
python launchpad.py --stats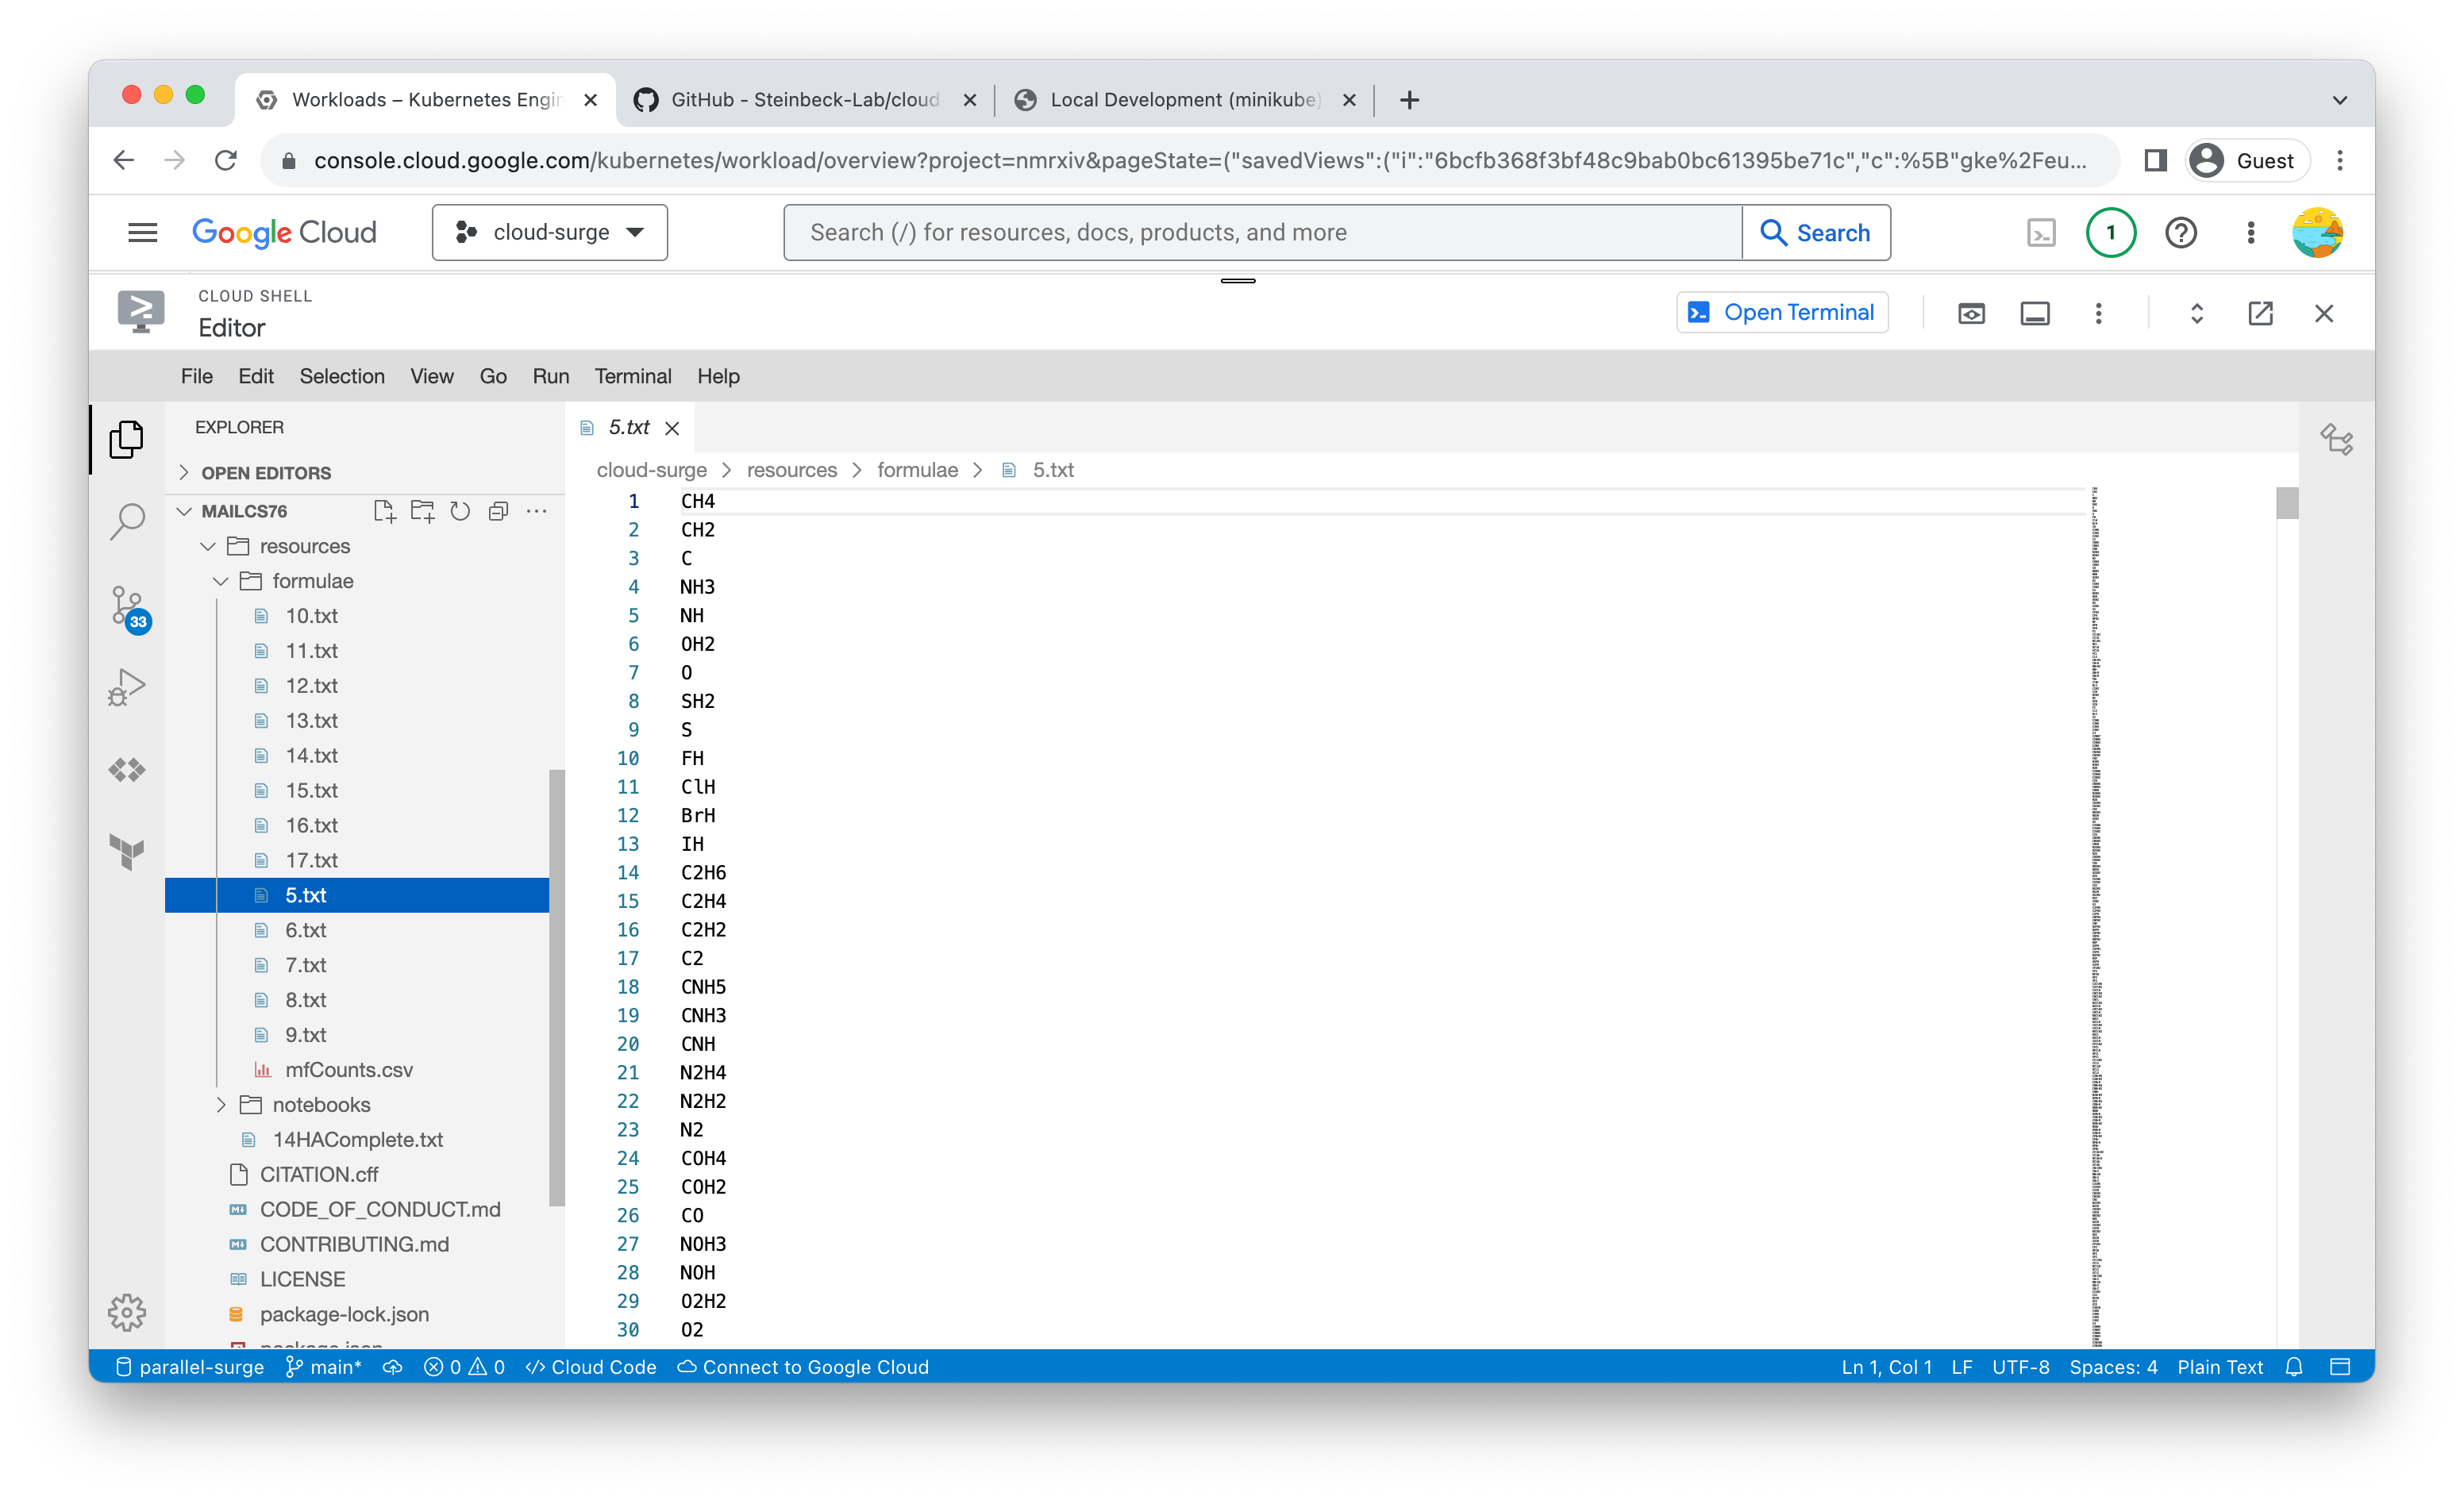
- After the tasks have been generated, the next step is to initiate the job. This job will retrieve tasks from the Redis queue, generate the surge results, and save them in zip format to a Google Cloud Bucket. Once the job is completed, you can observe the 'Running' status in the workloads section, or you can check it via the command-line interface using the following command.
kubectl apply -f ./job.yml
kubectl get pods
kubectl apply -f ./job.yml
kubectl get pods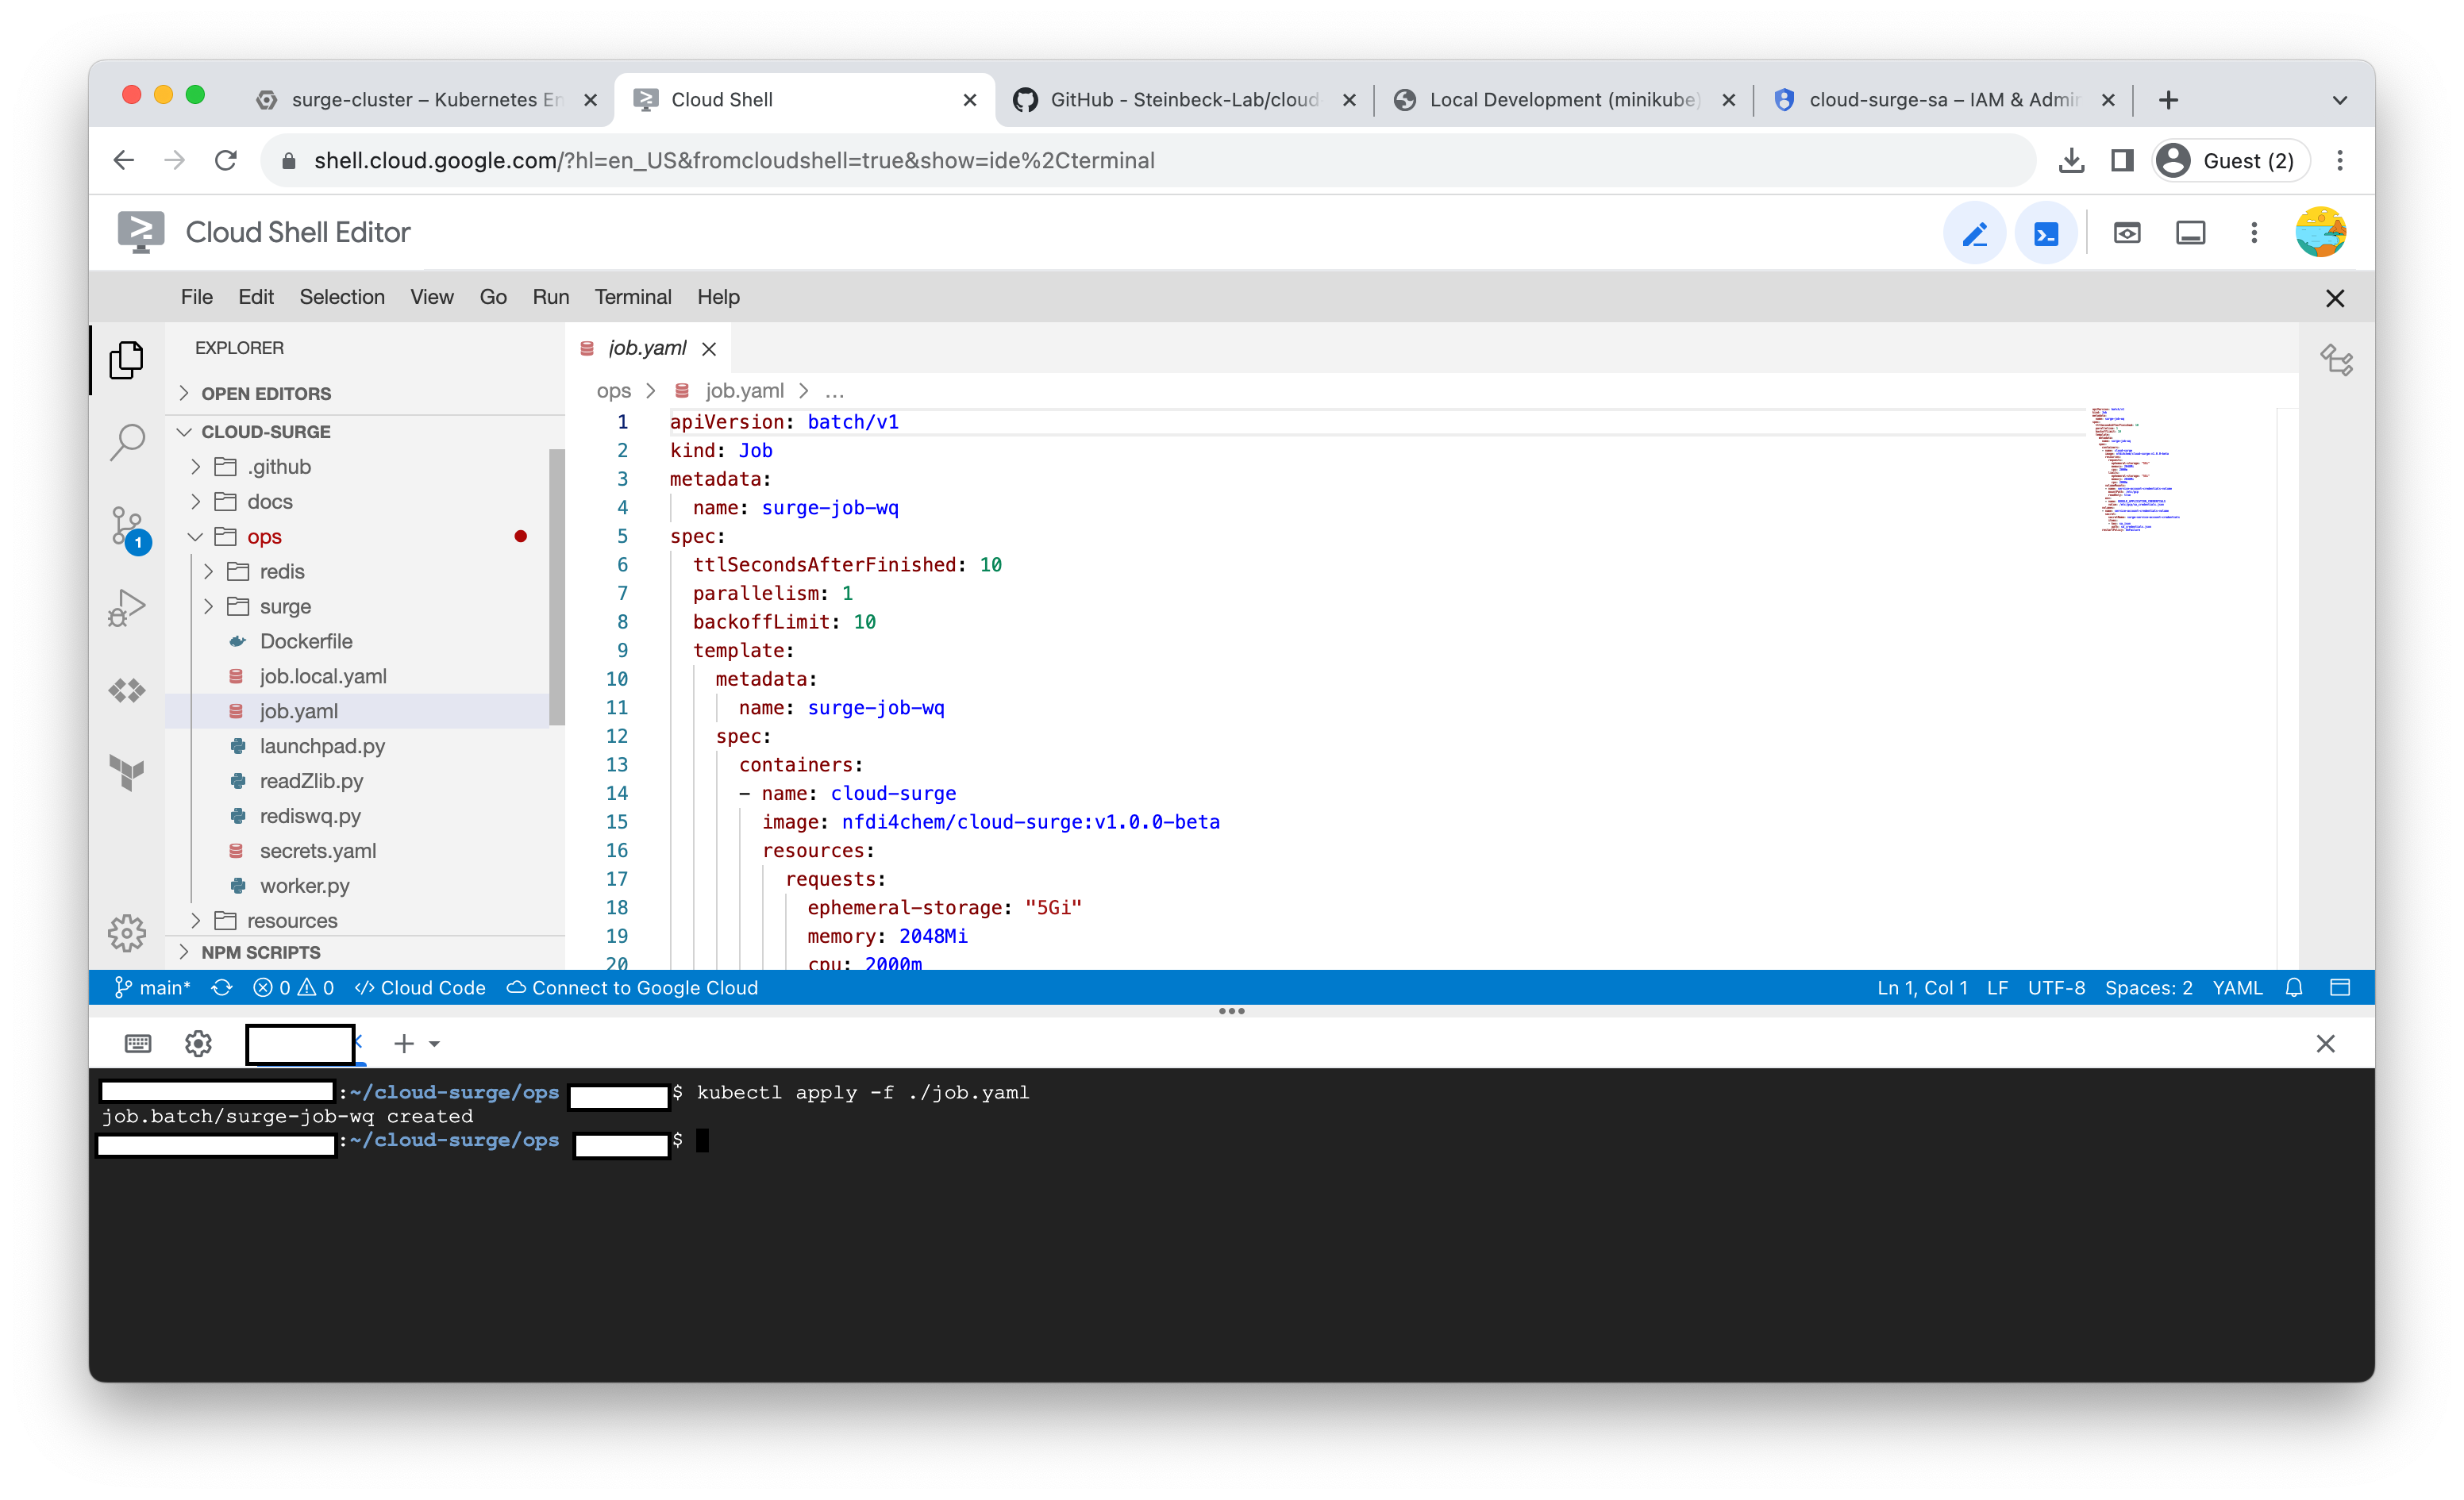
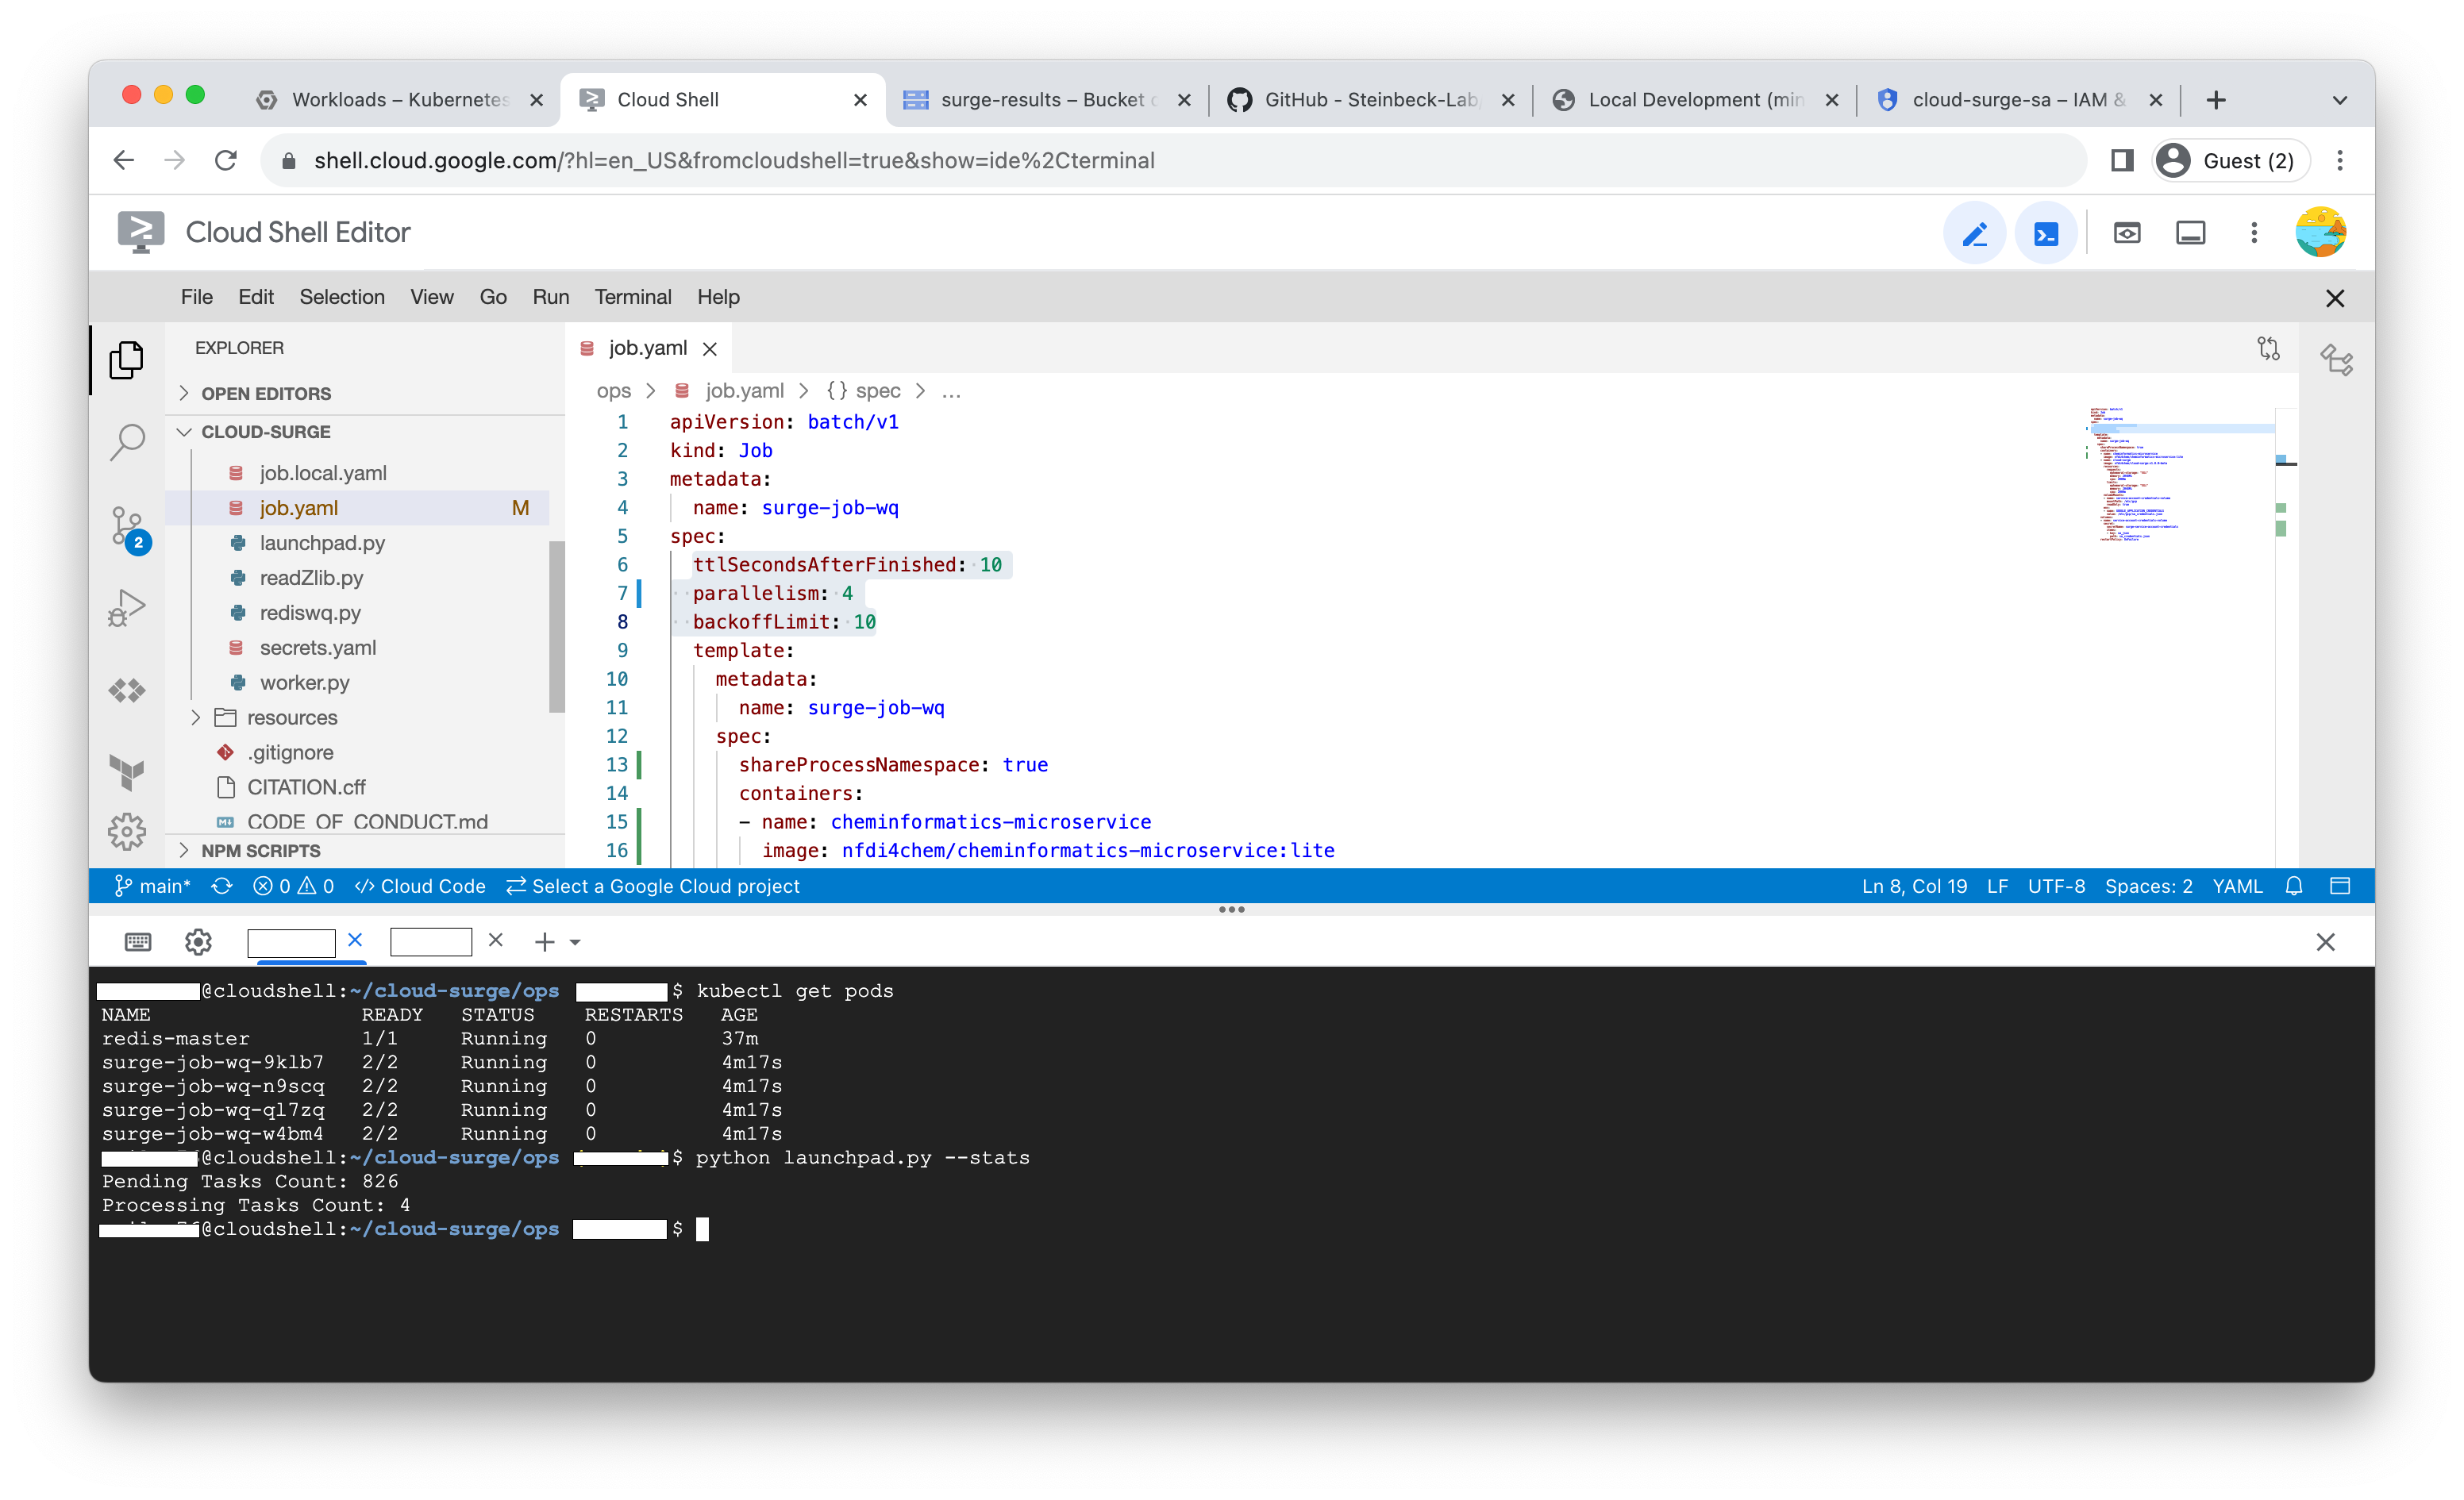
After the job is completed, you will notice a gradual decrease in the count of pending tasks. The entire process will take a few minutes to complete and the job will be decommissioned once all the tasks are successfully executed. 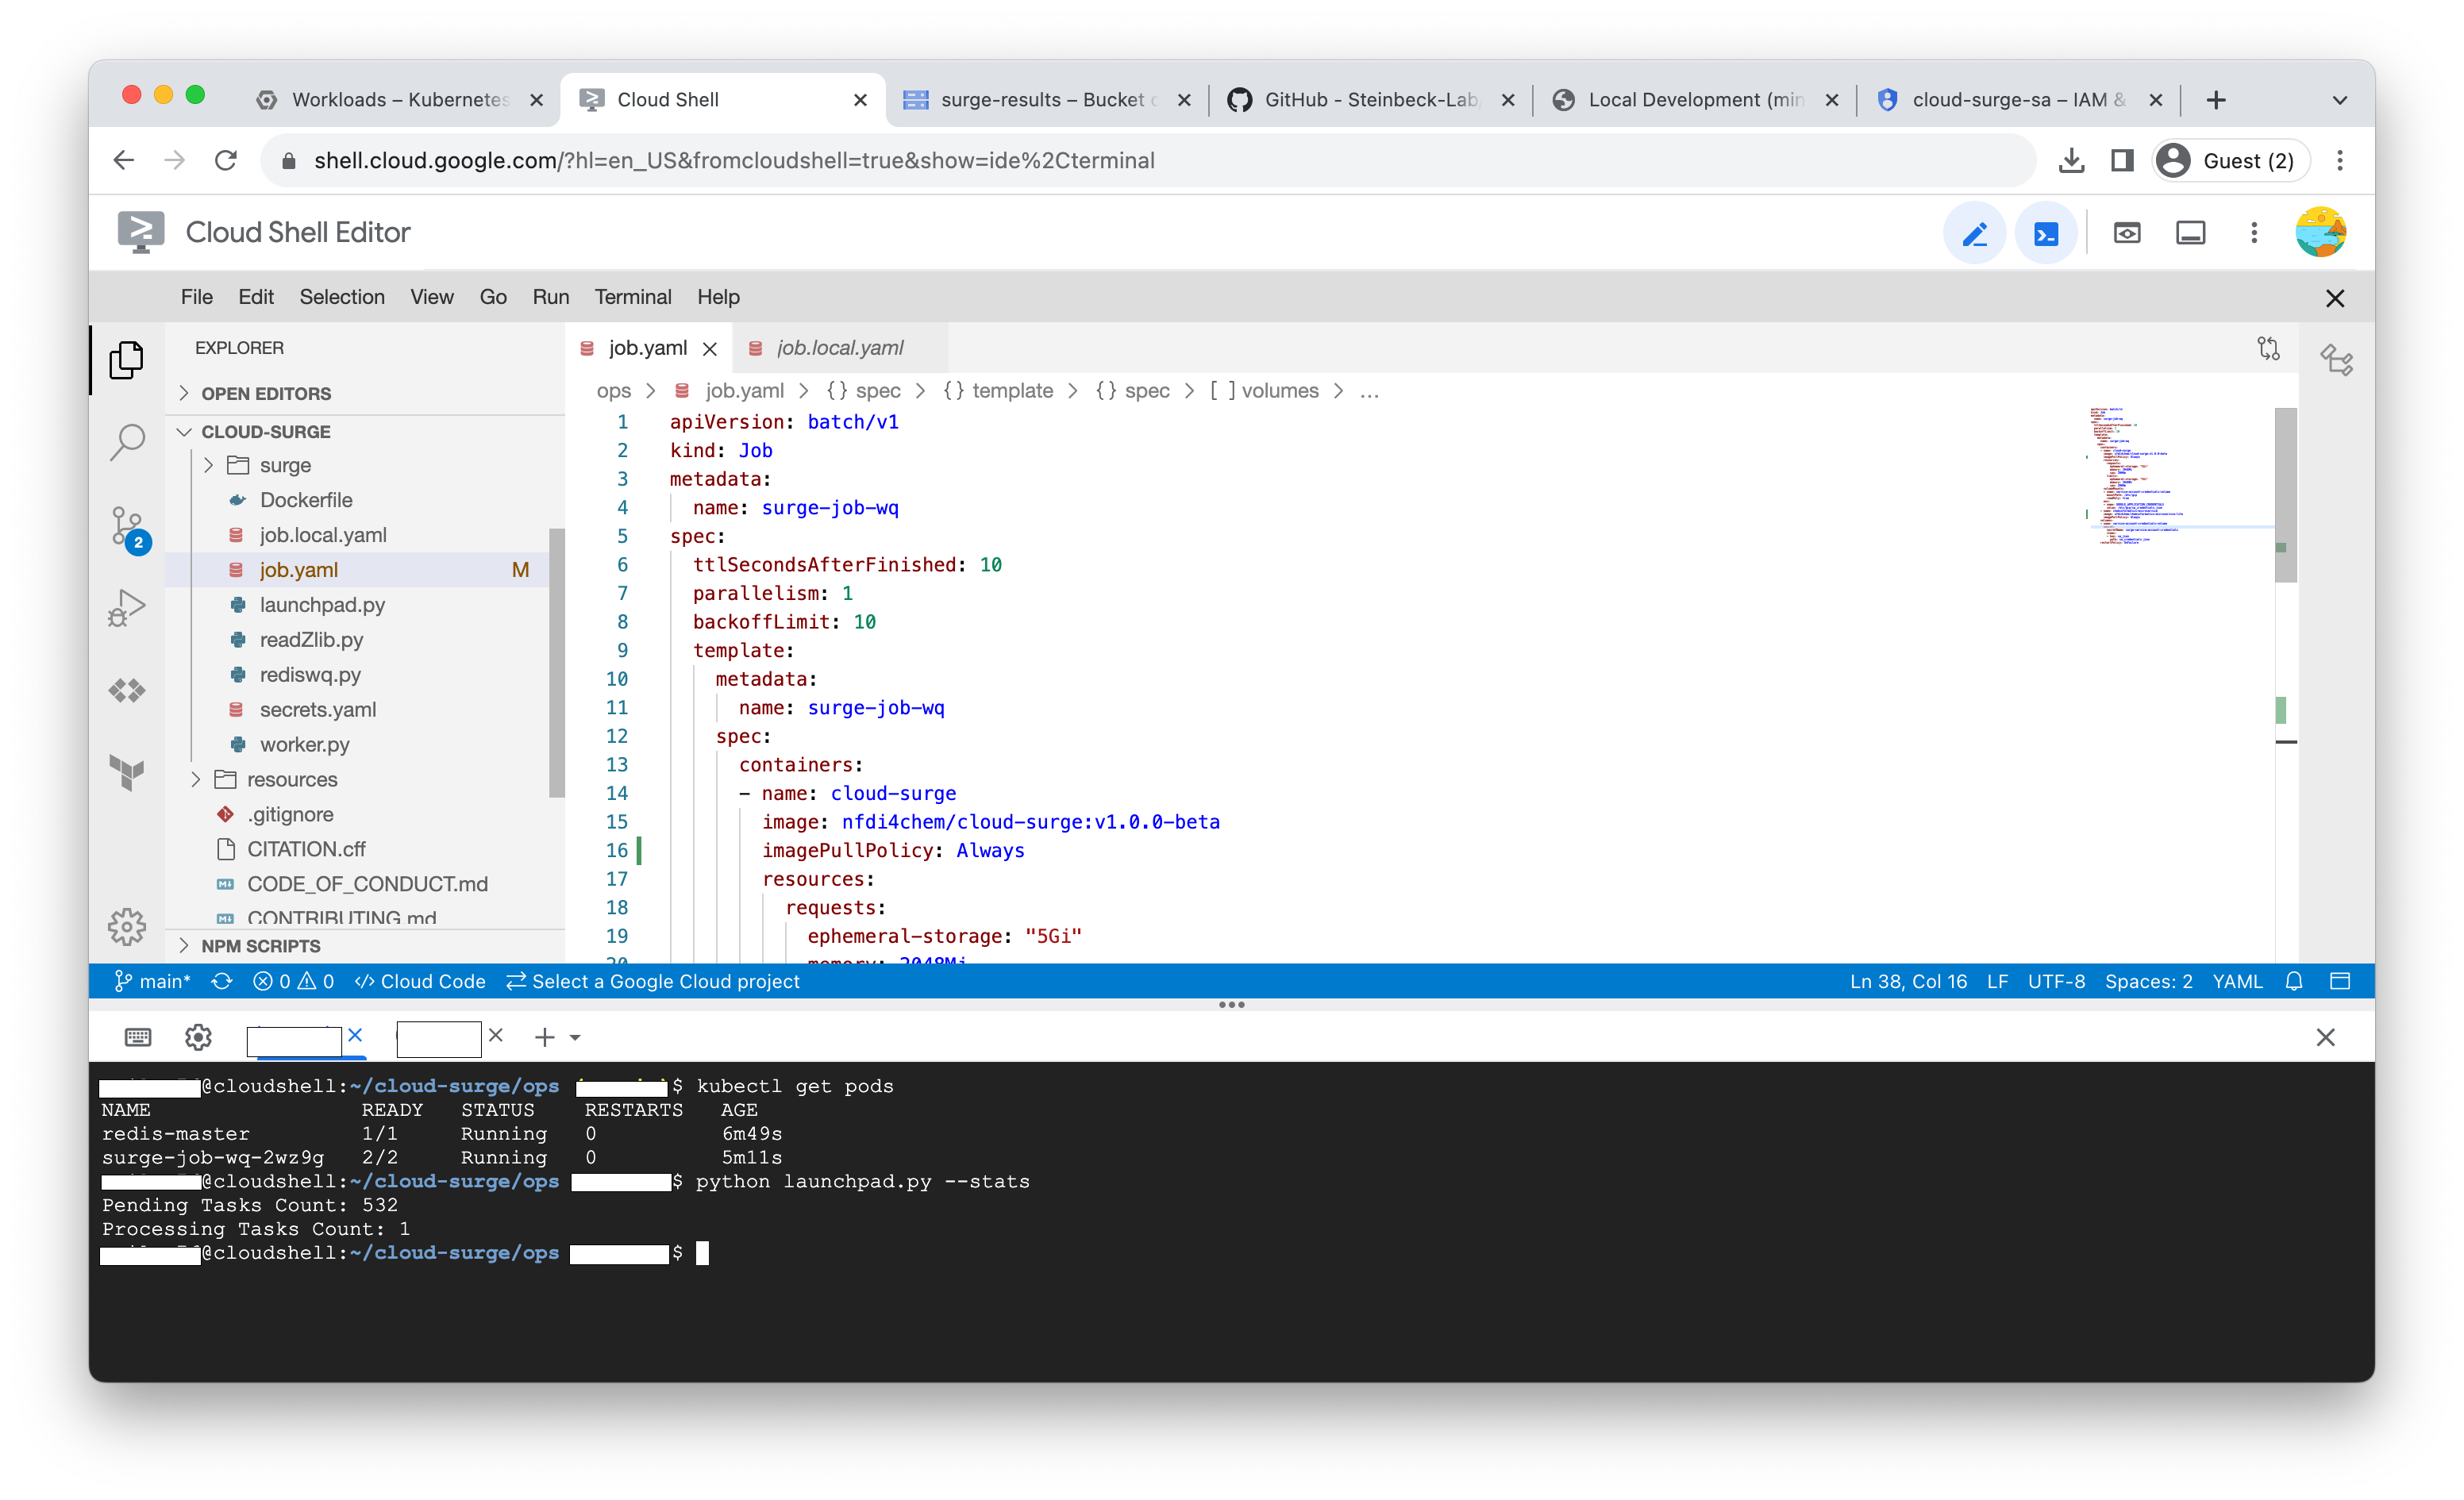
To run the surge process for 6 heavy atoms, you can follow the same steps as mentioned above. You can refer to the screenshot below for guidance.
To speed up the process you can also increase the parallelism count in the 'job.yml' file before initiating the job.
INFO
To delve deeper into the technical architecture and processes involved in Surge, please refer to the documentation available at the provided link. The documentation provide comprehensive insights into Surge's workings and technical details.