Create Cluster in Google Kubernetes Engine(GKE).
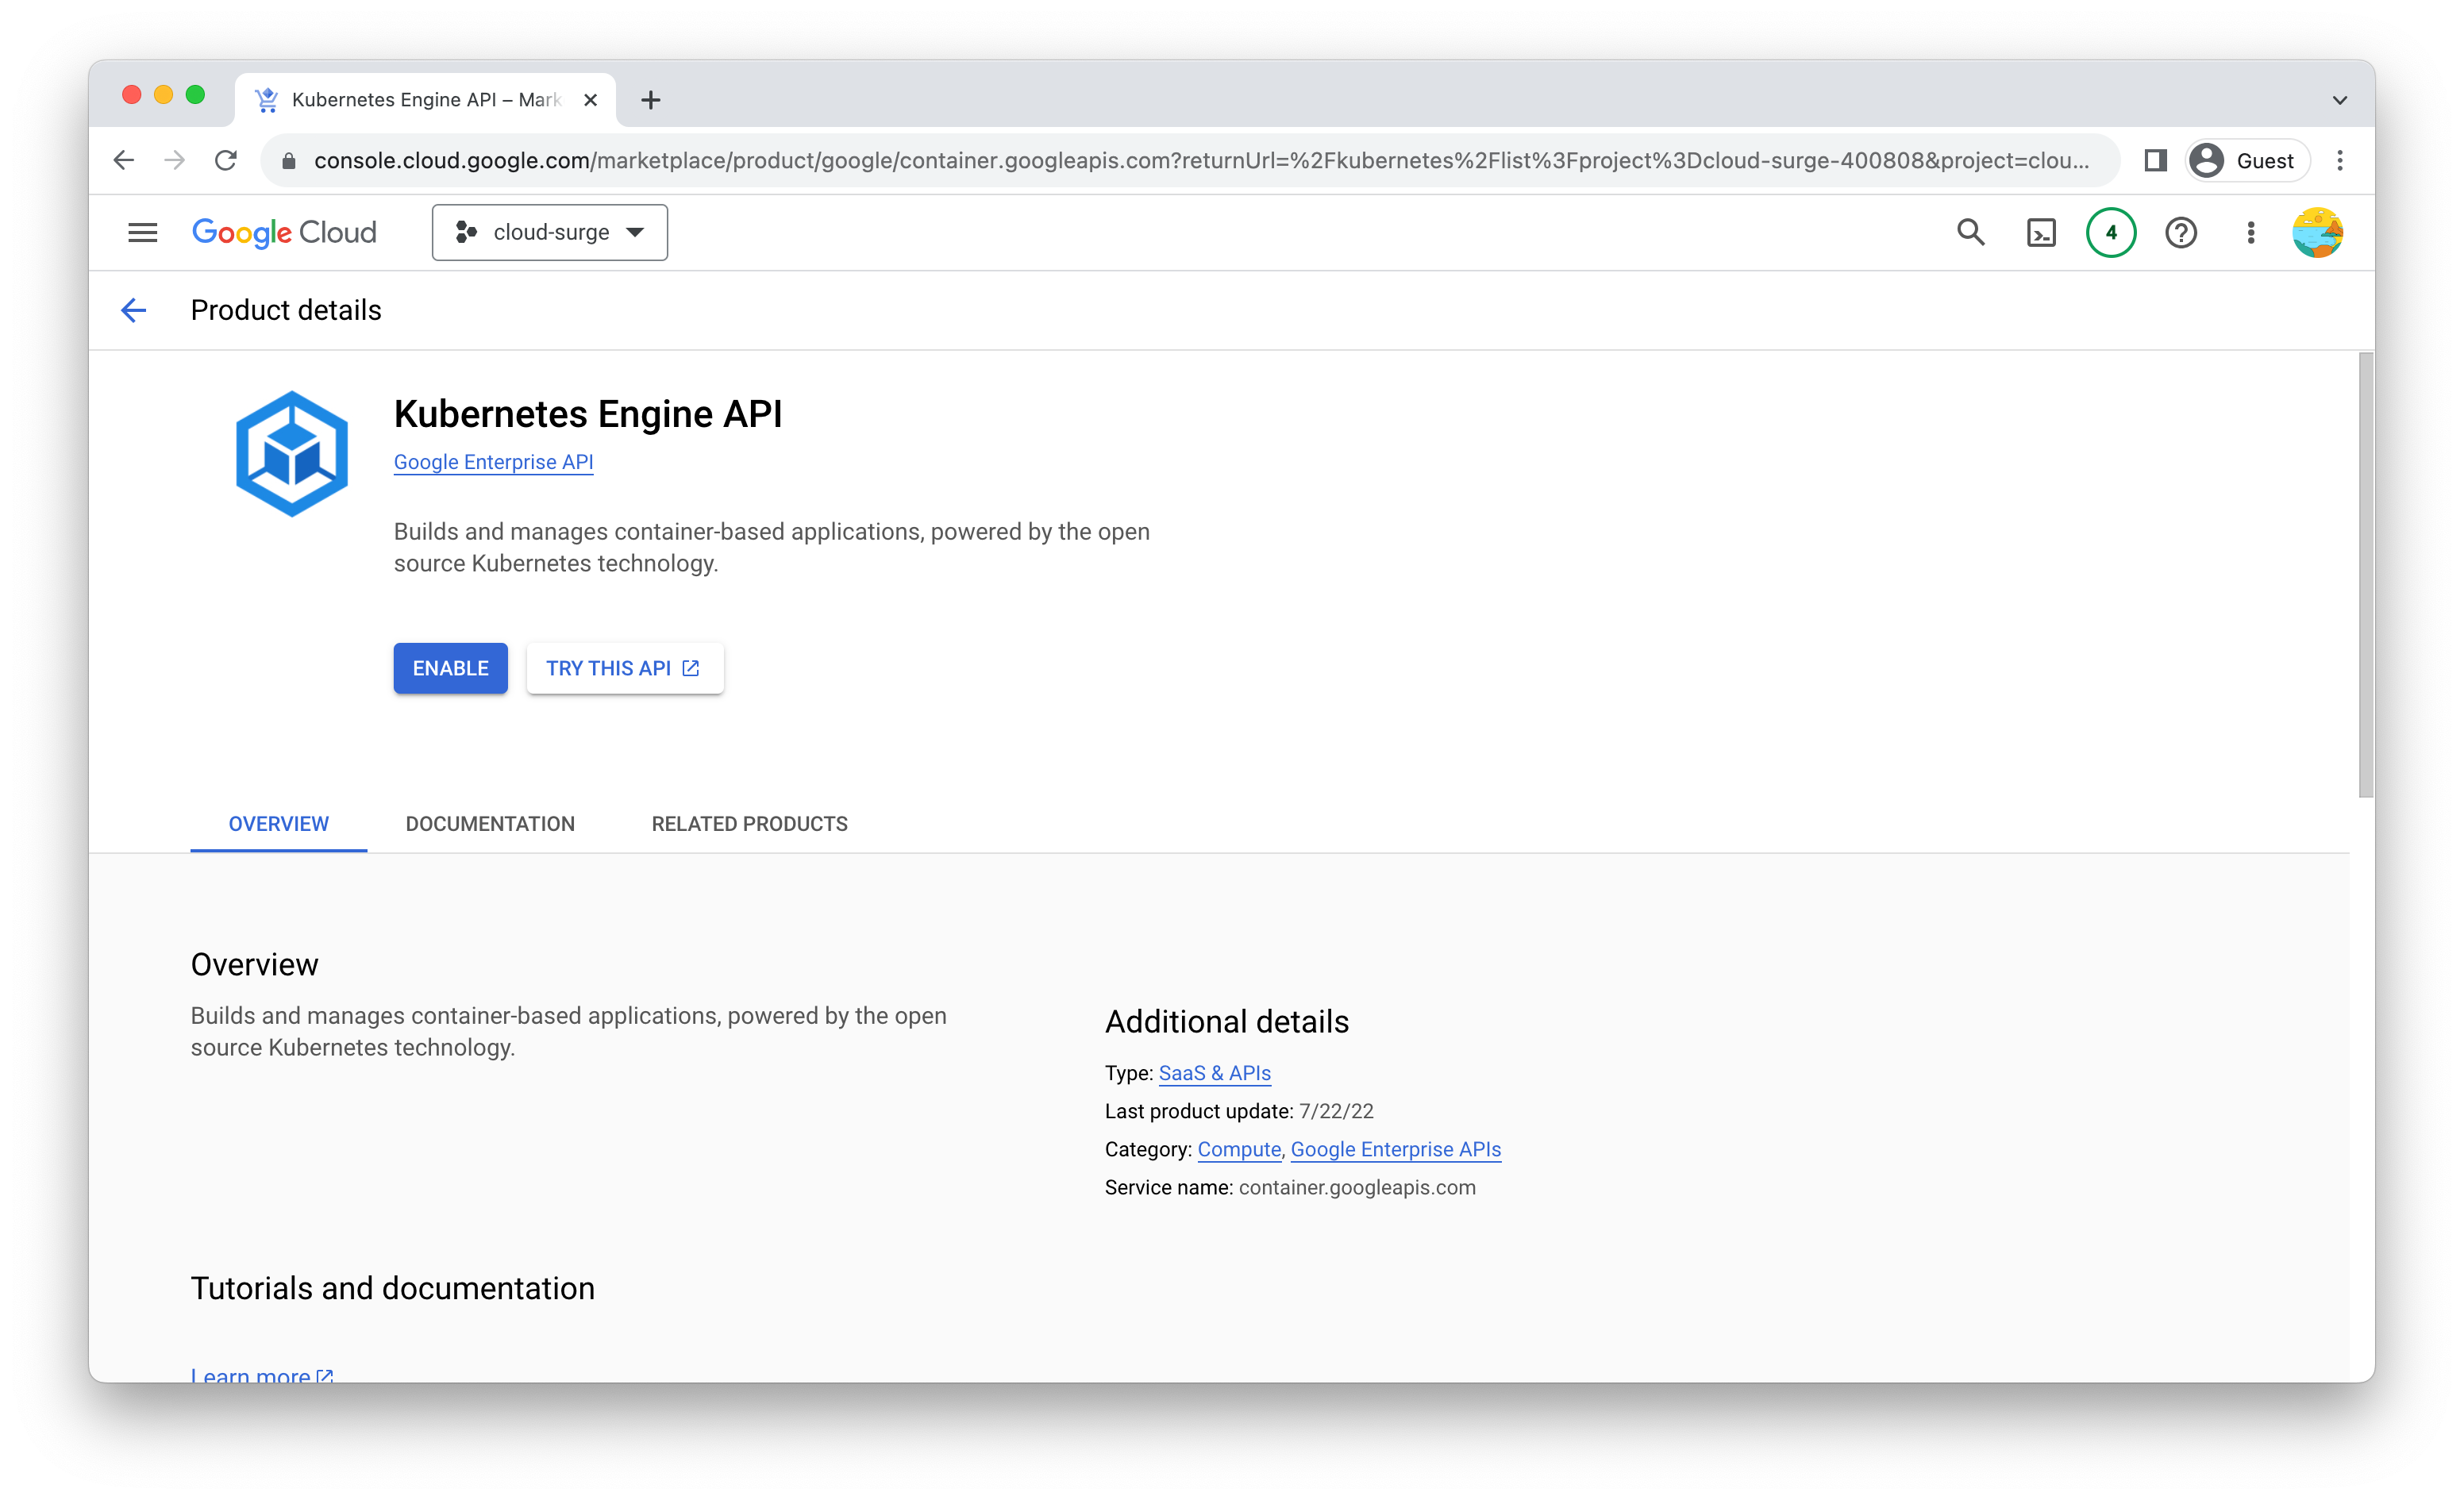
Enable the GKE API: Once your project is created, navigate to the "APIs & Services" > "Library" section in the left-hand menu of the Cloud Console. Search for "Kubernetes Engine API" and click on it. Then click the "Enable" button to enable the GKE API for your project.
Create Auto-pilot Cluster: Now that your project is set up, you can create a GKE cluster in auto-pilot mode. Navigate to the "Kubernetes Engine" section in the left-hand menu and click on "Clusters." Then click the "Create Cluster" button and follow the prompts to configure your cluster.
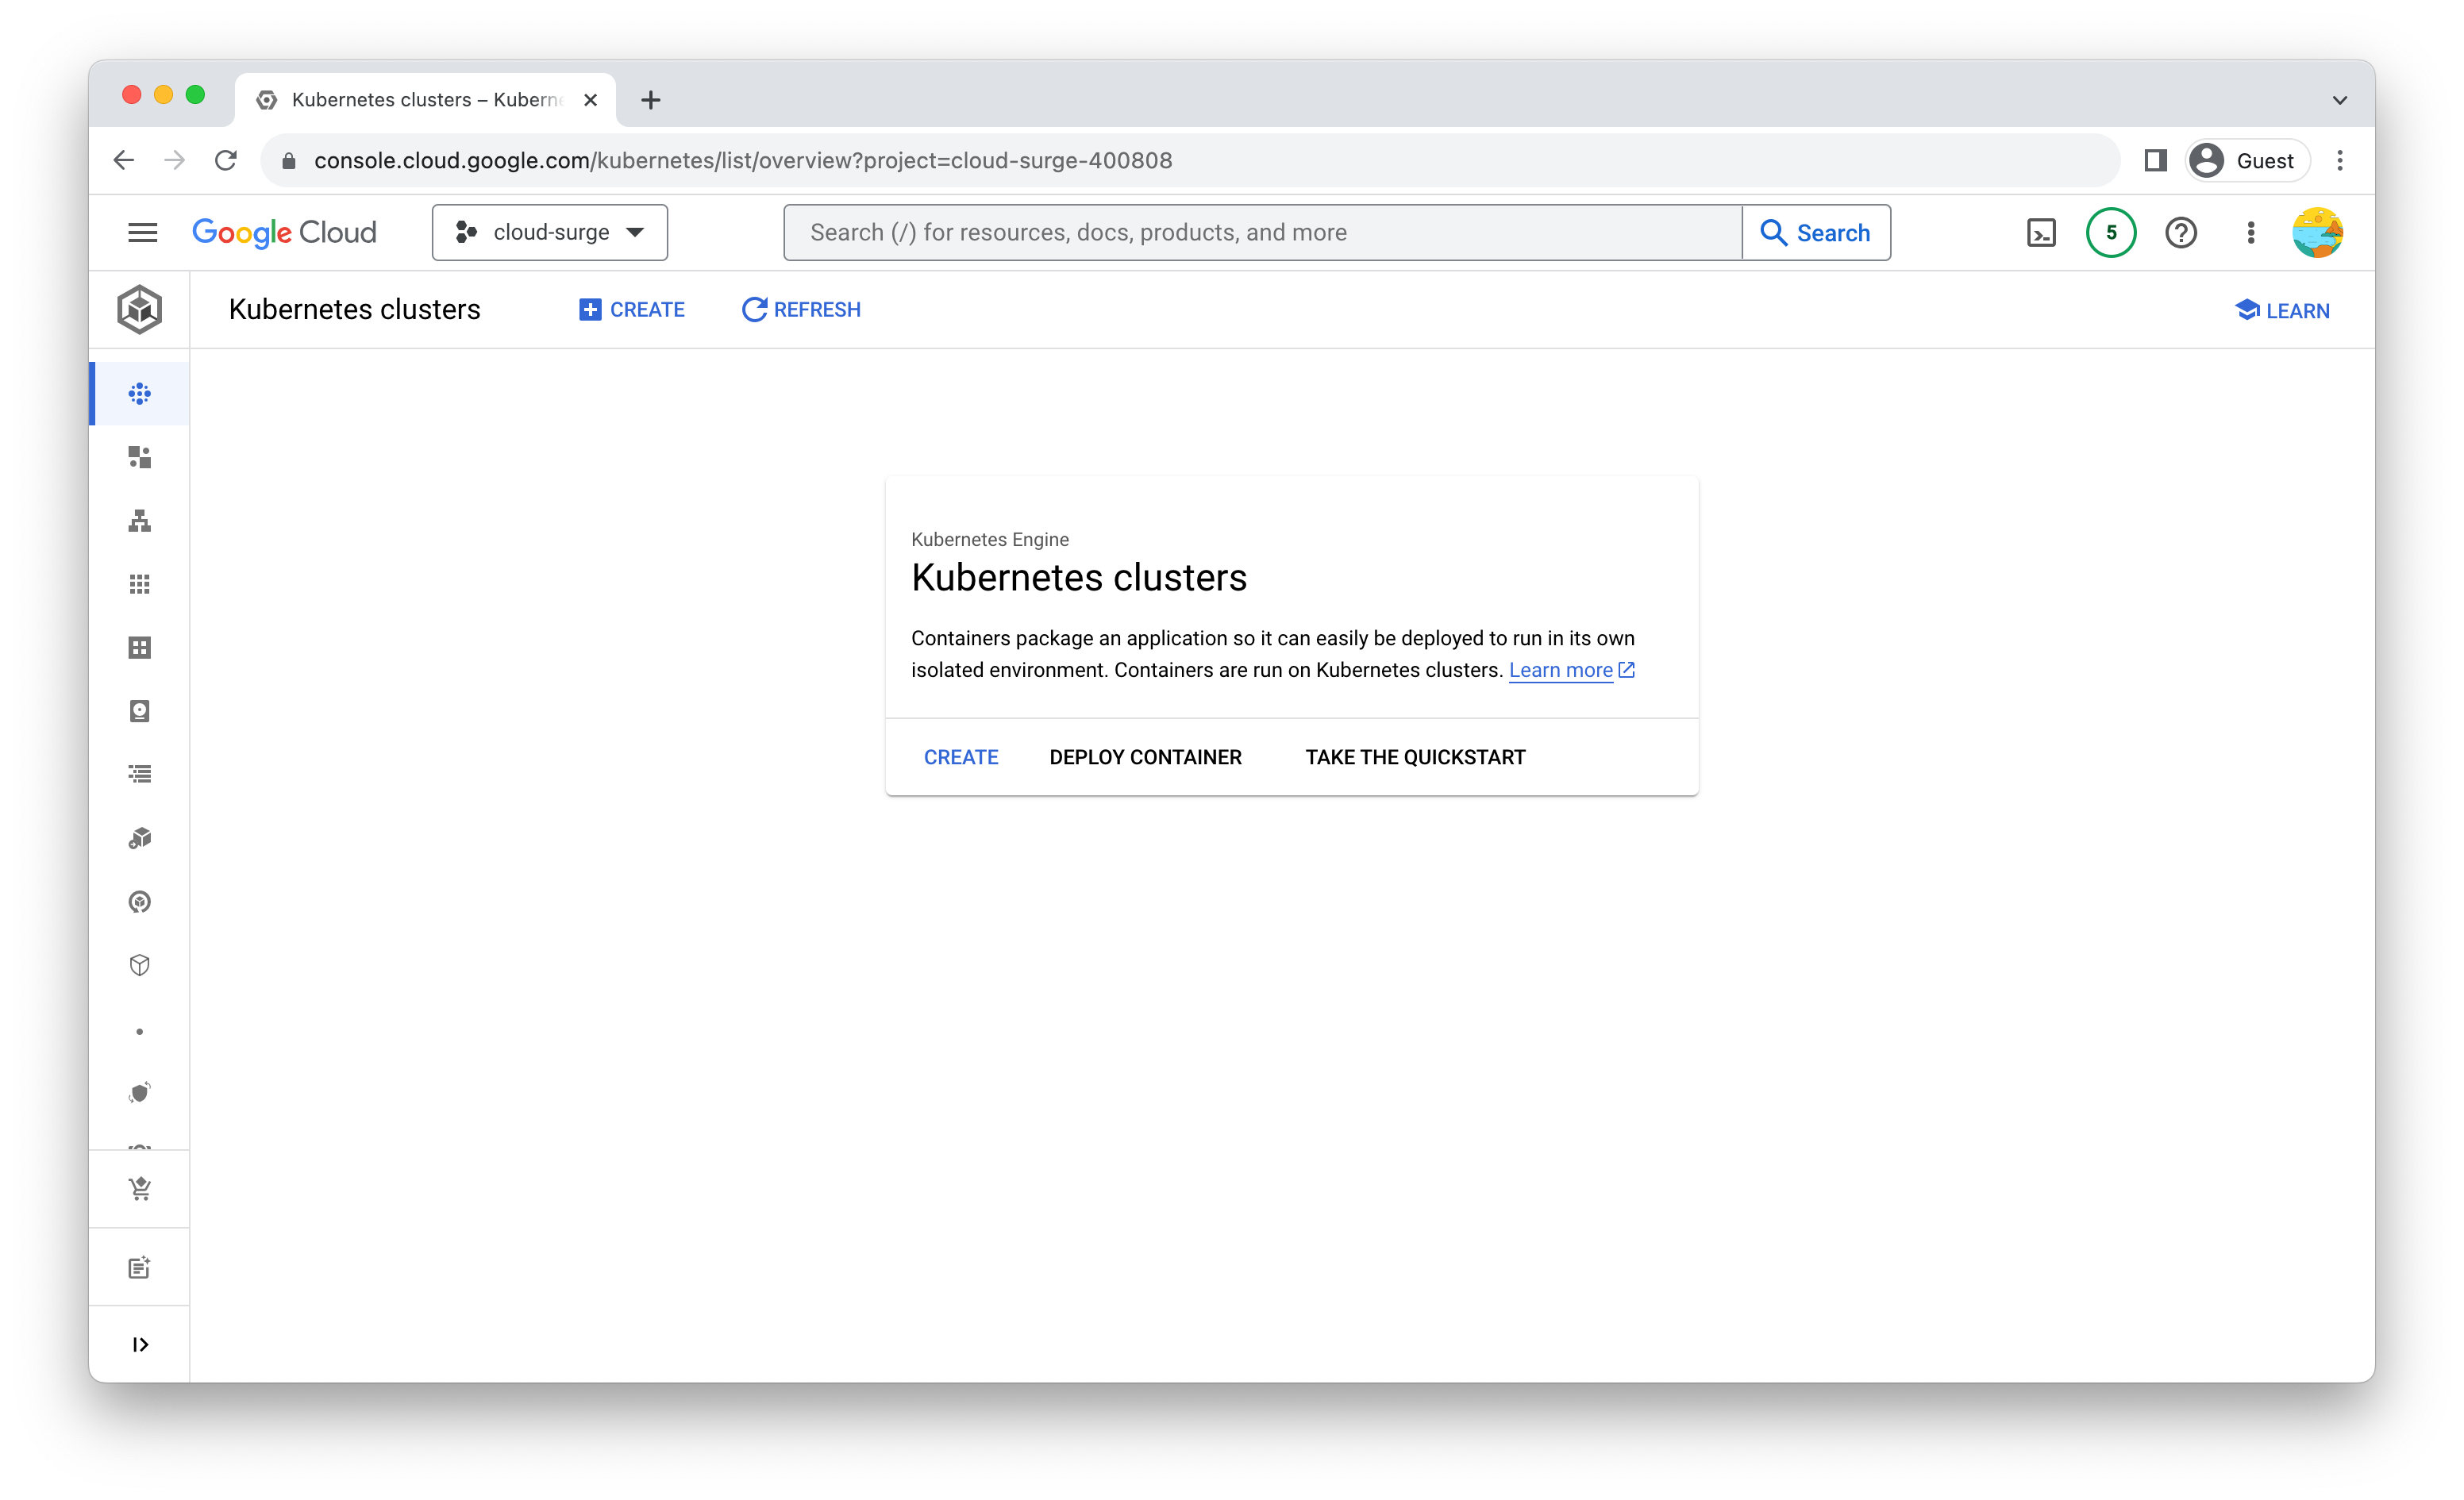
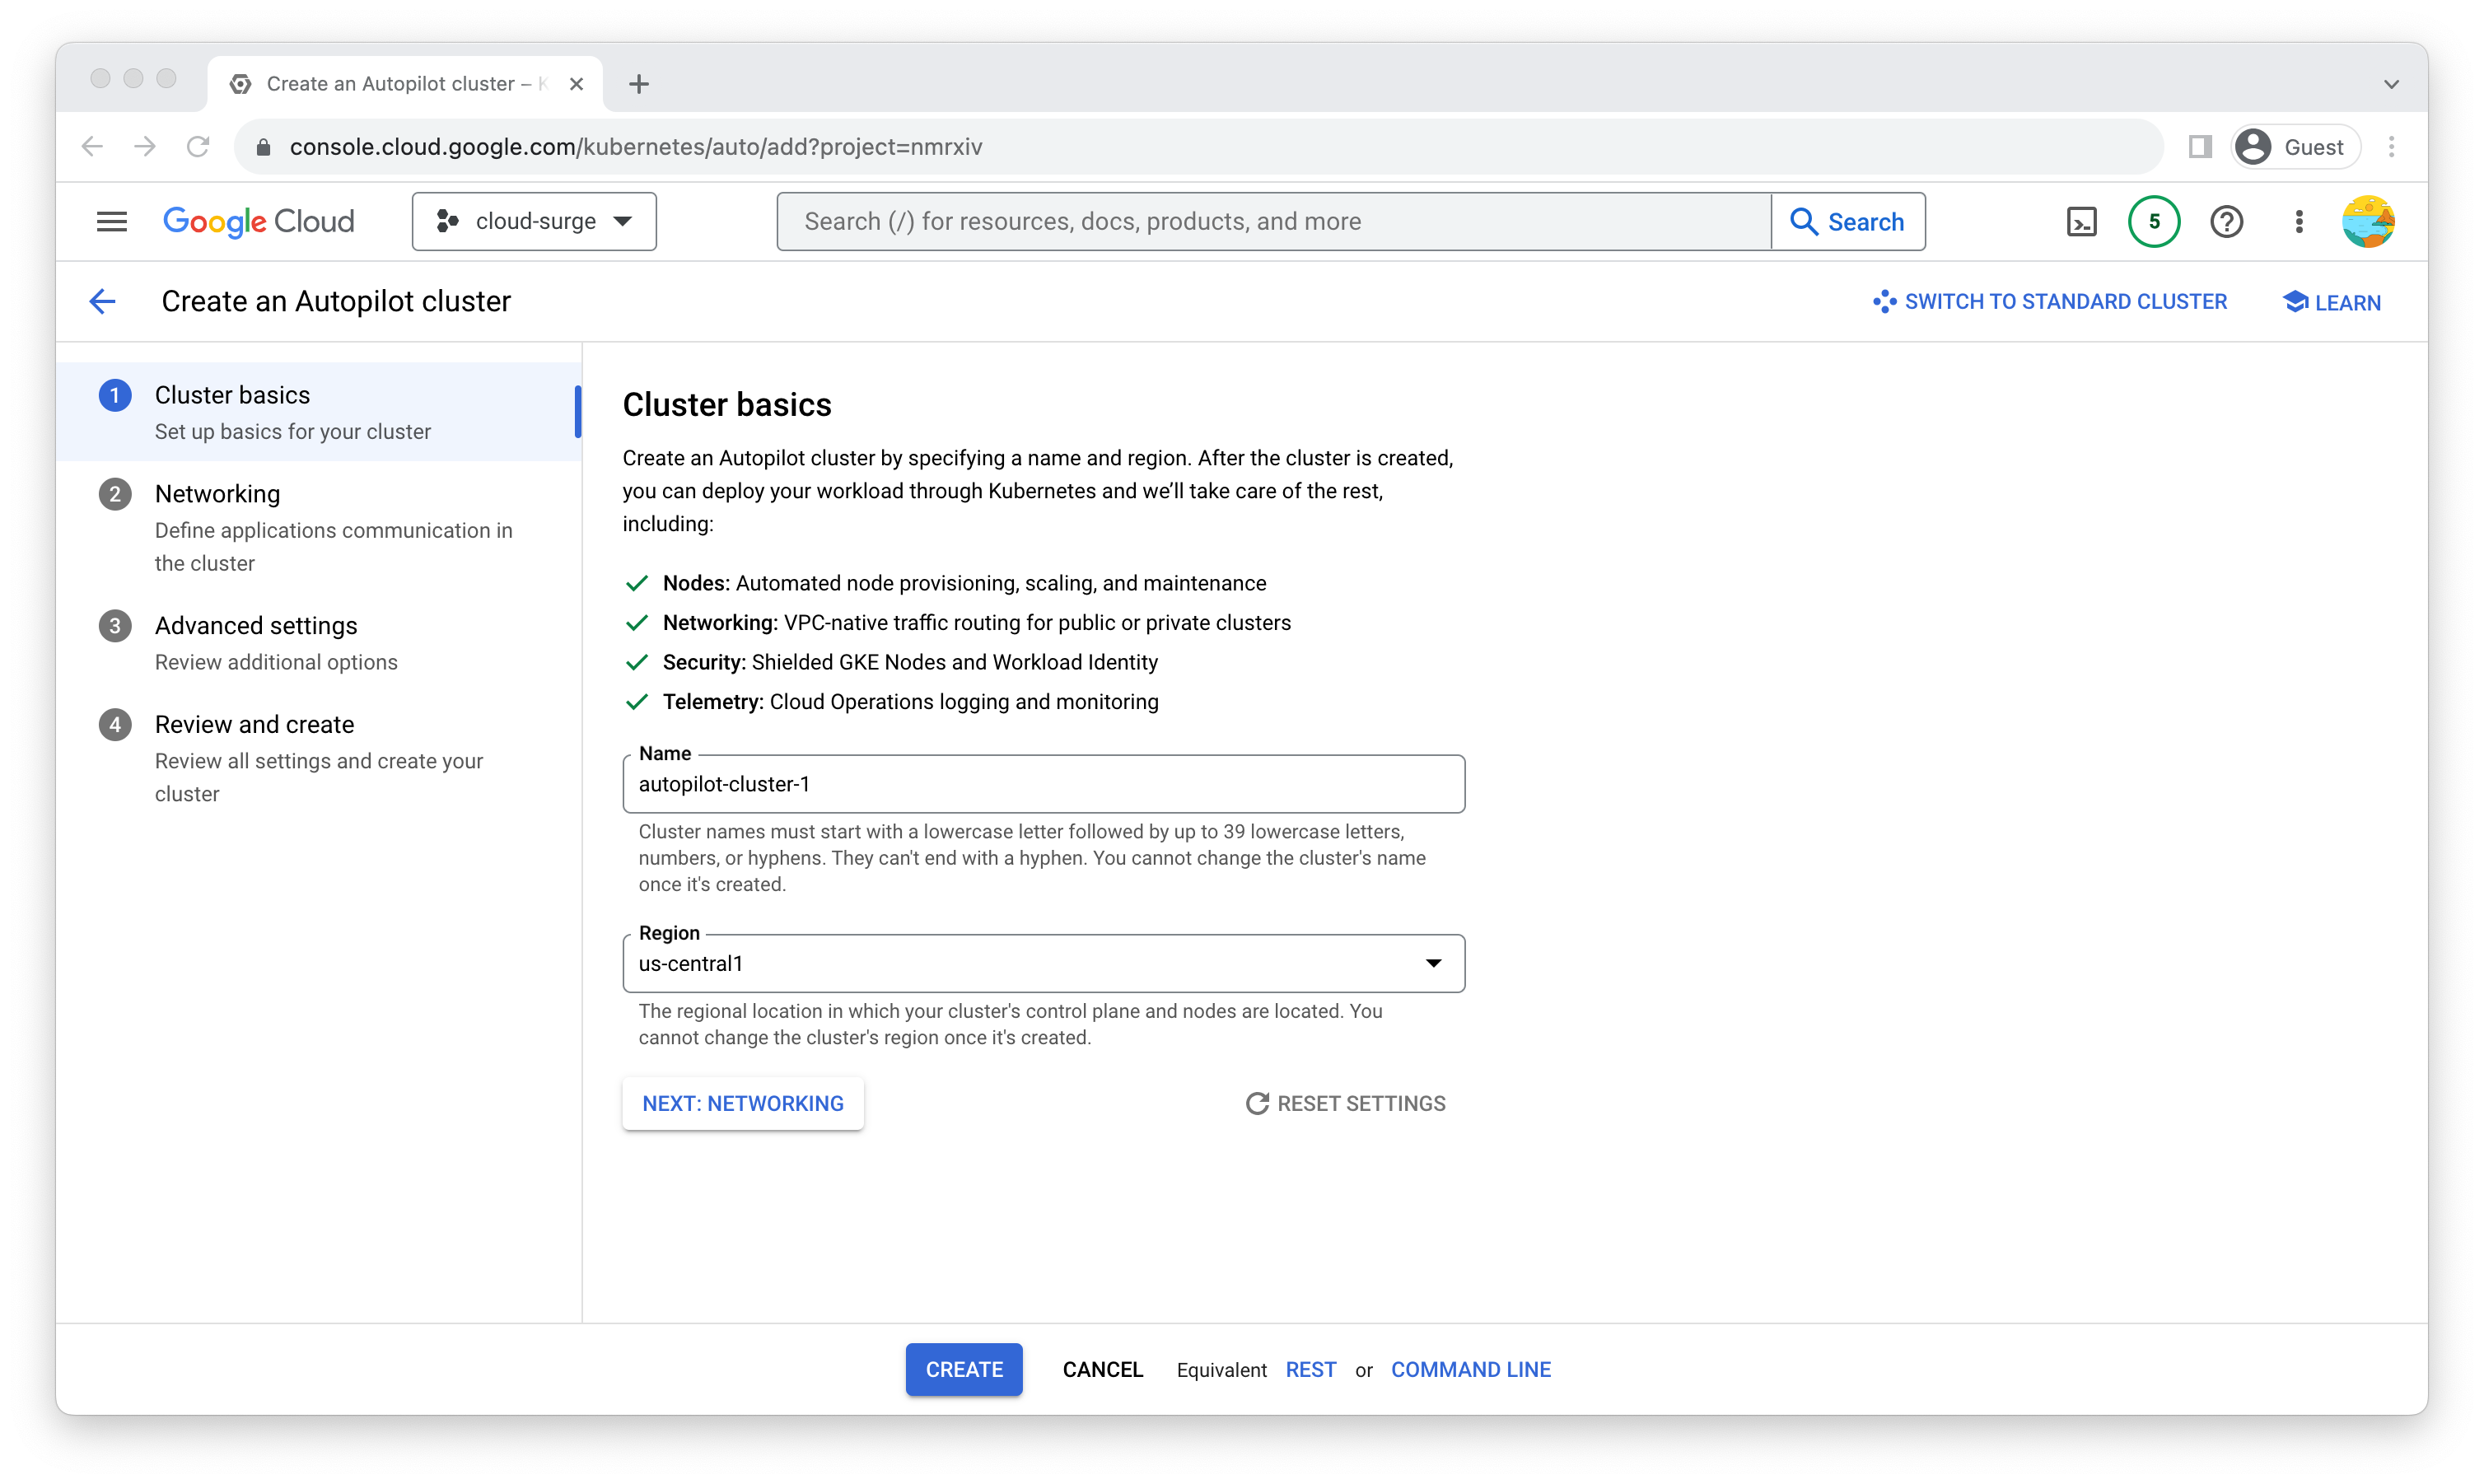
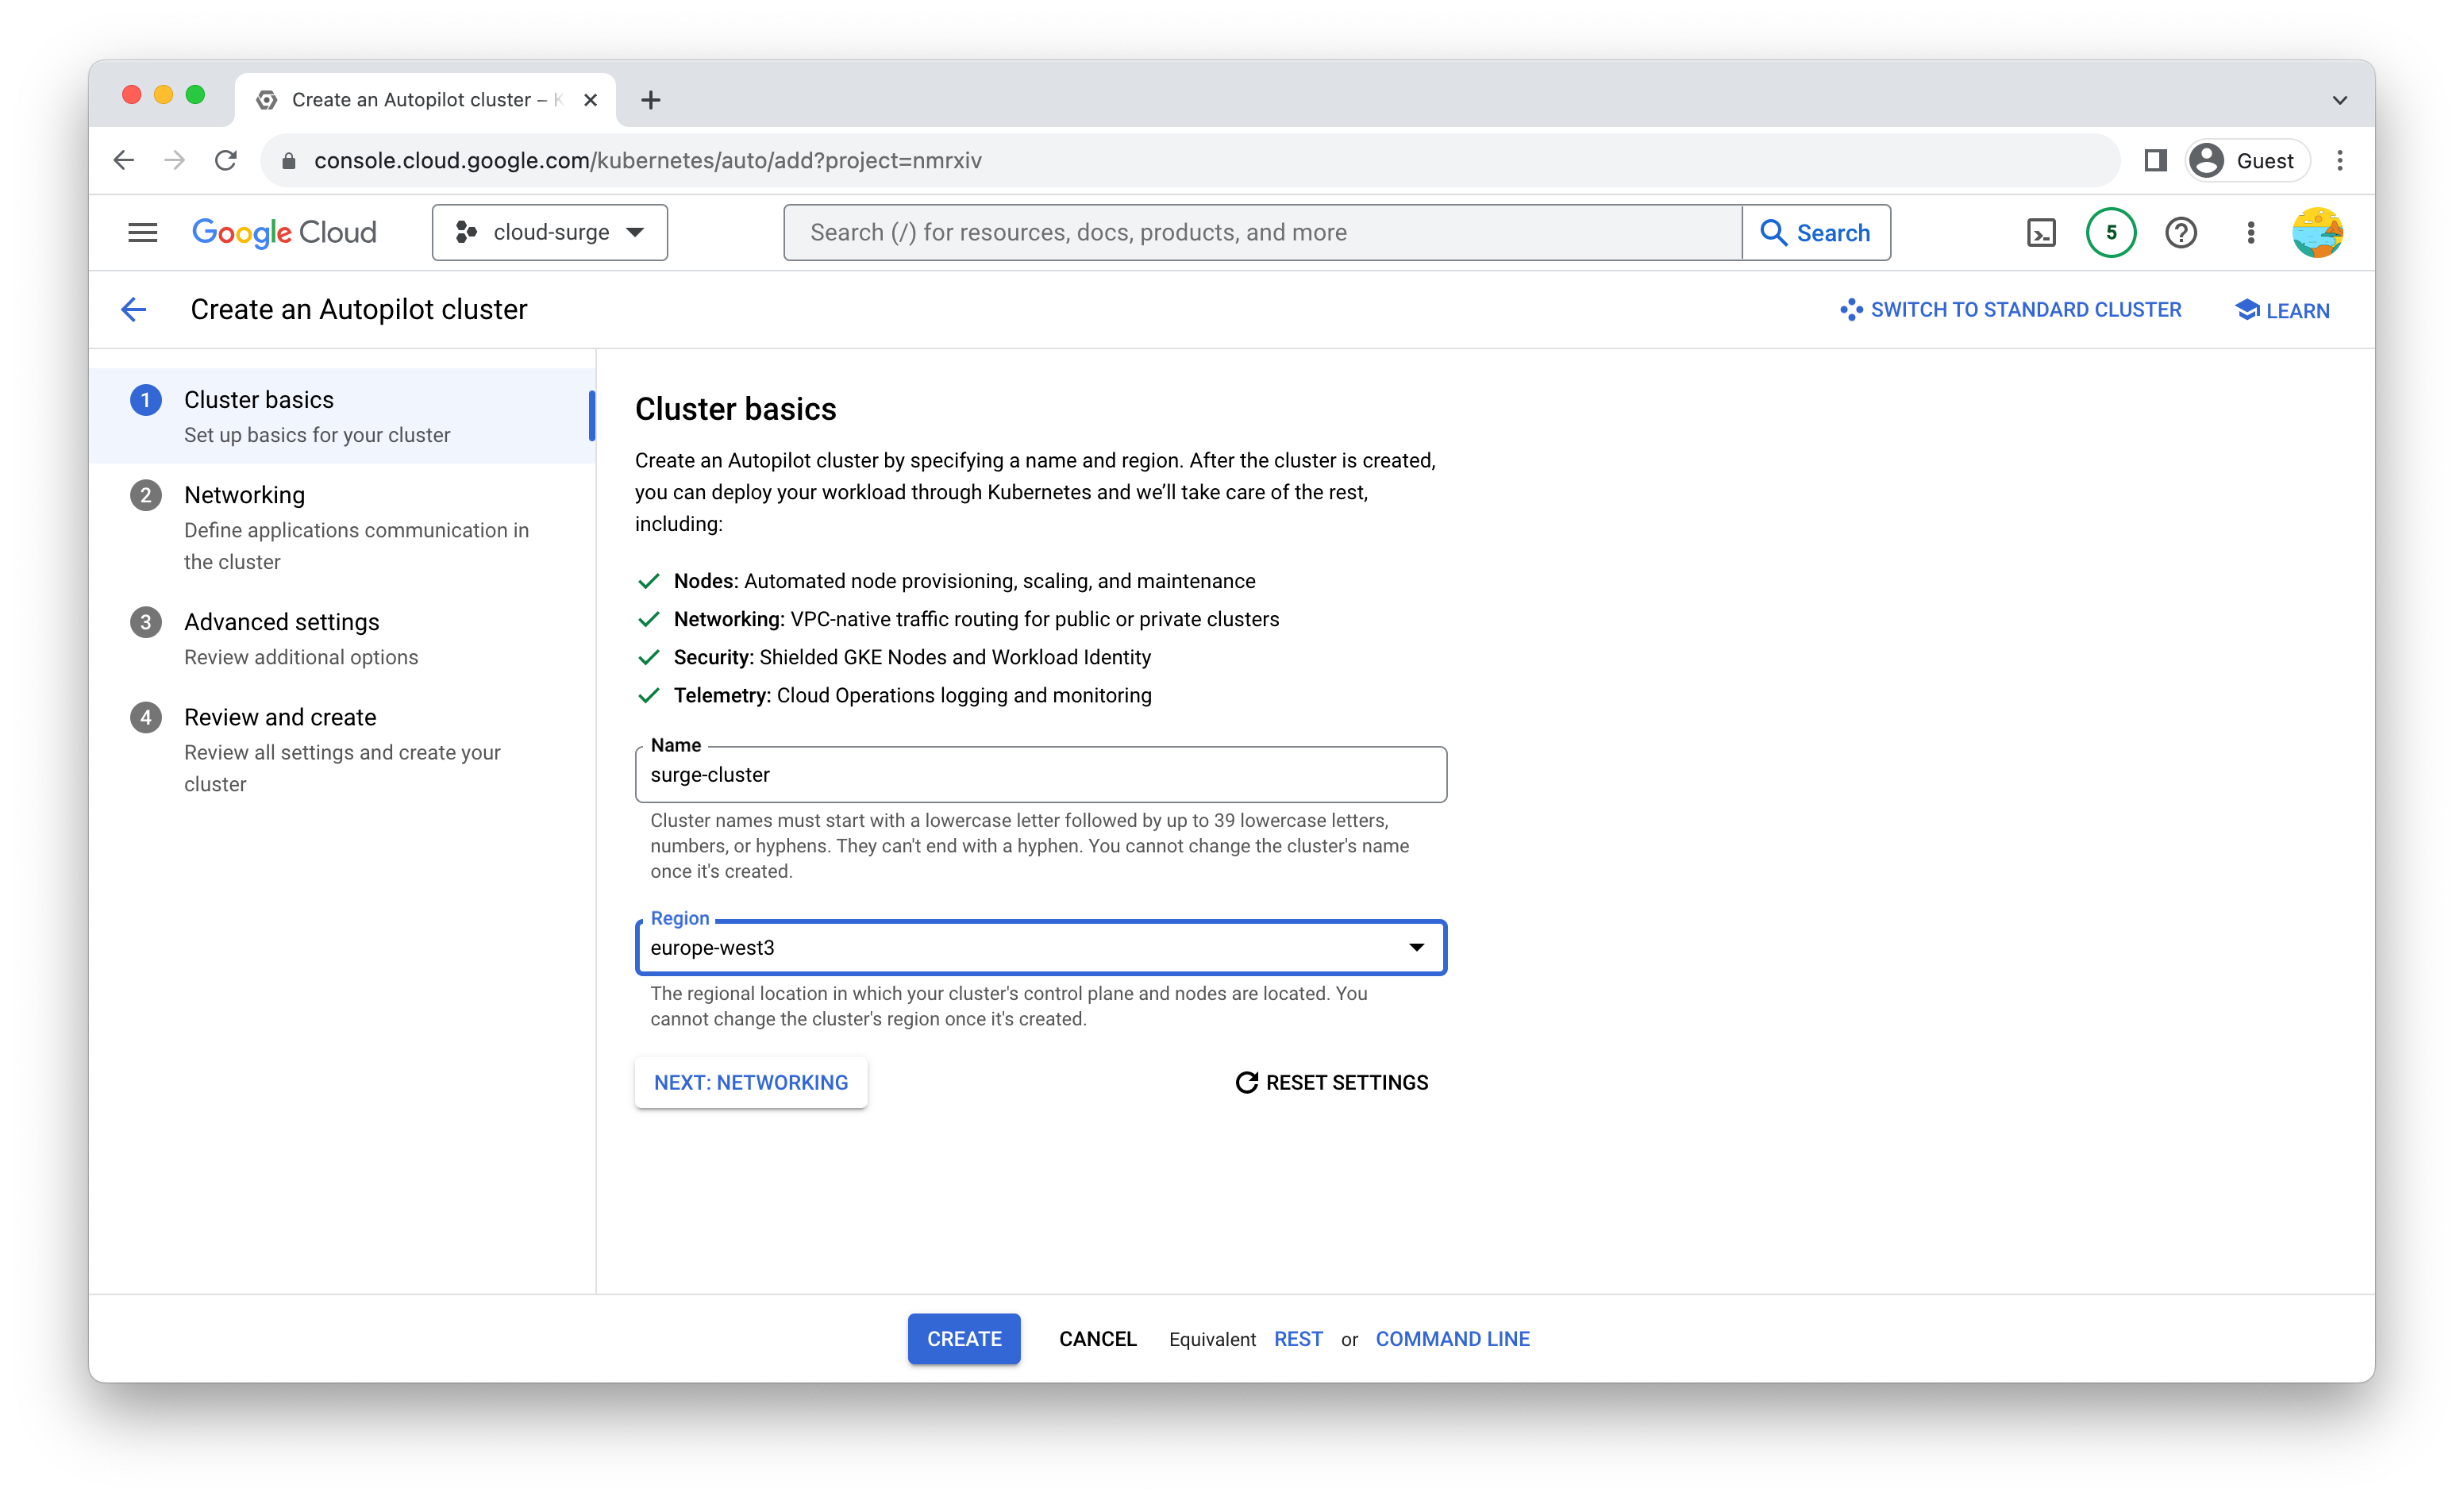
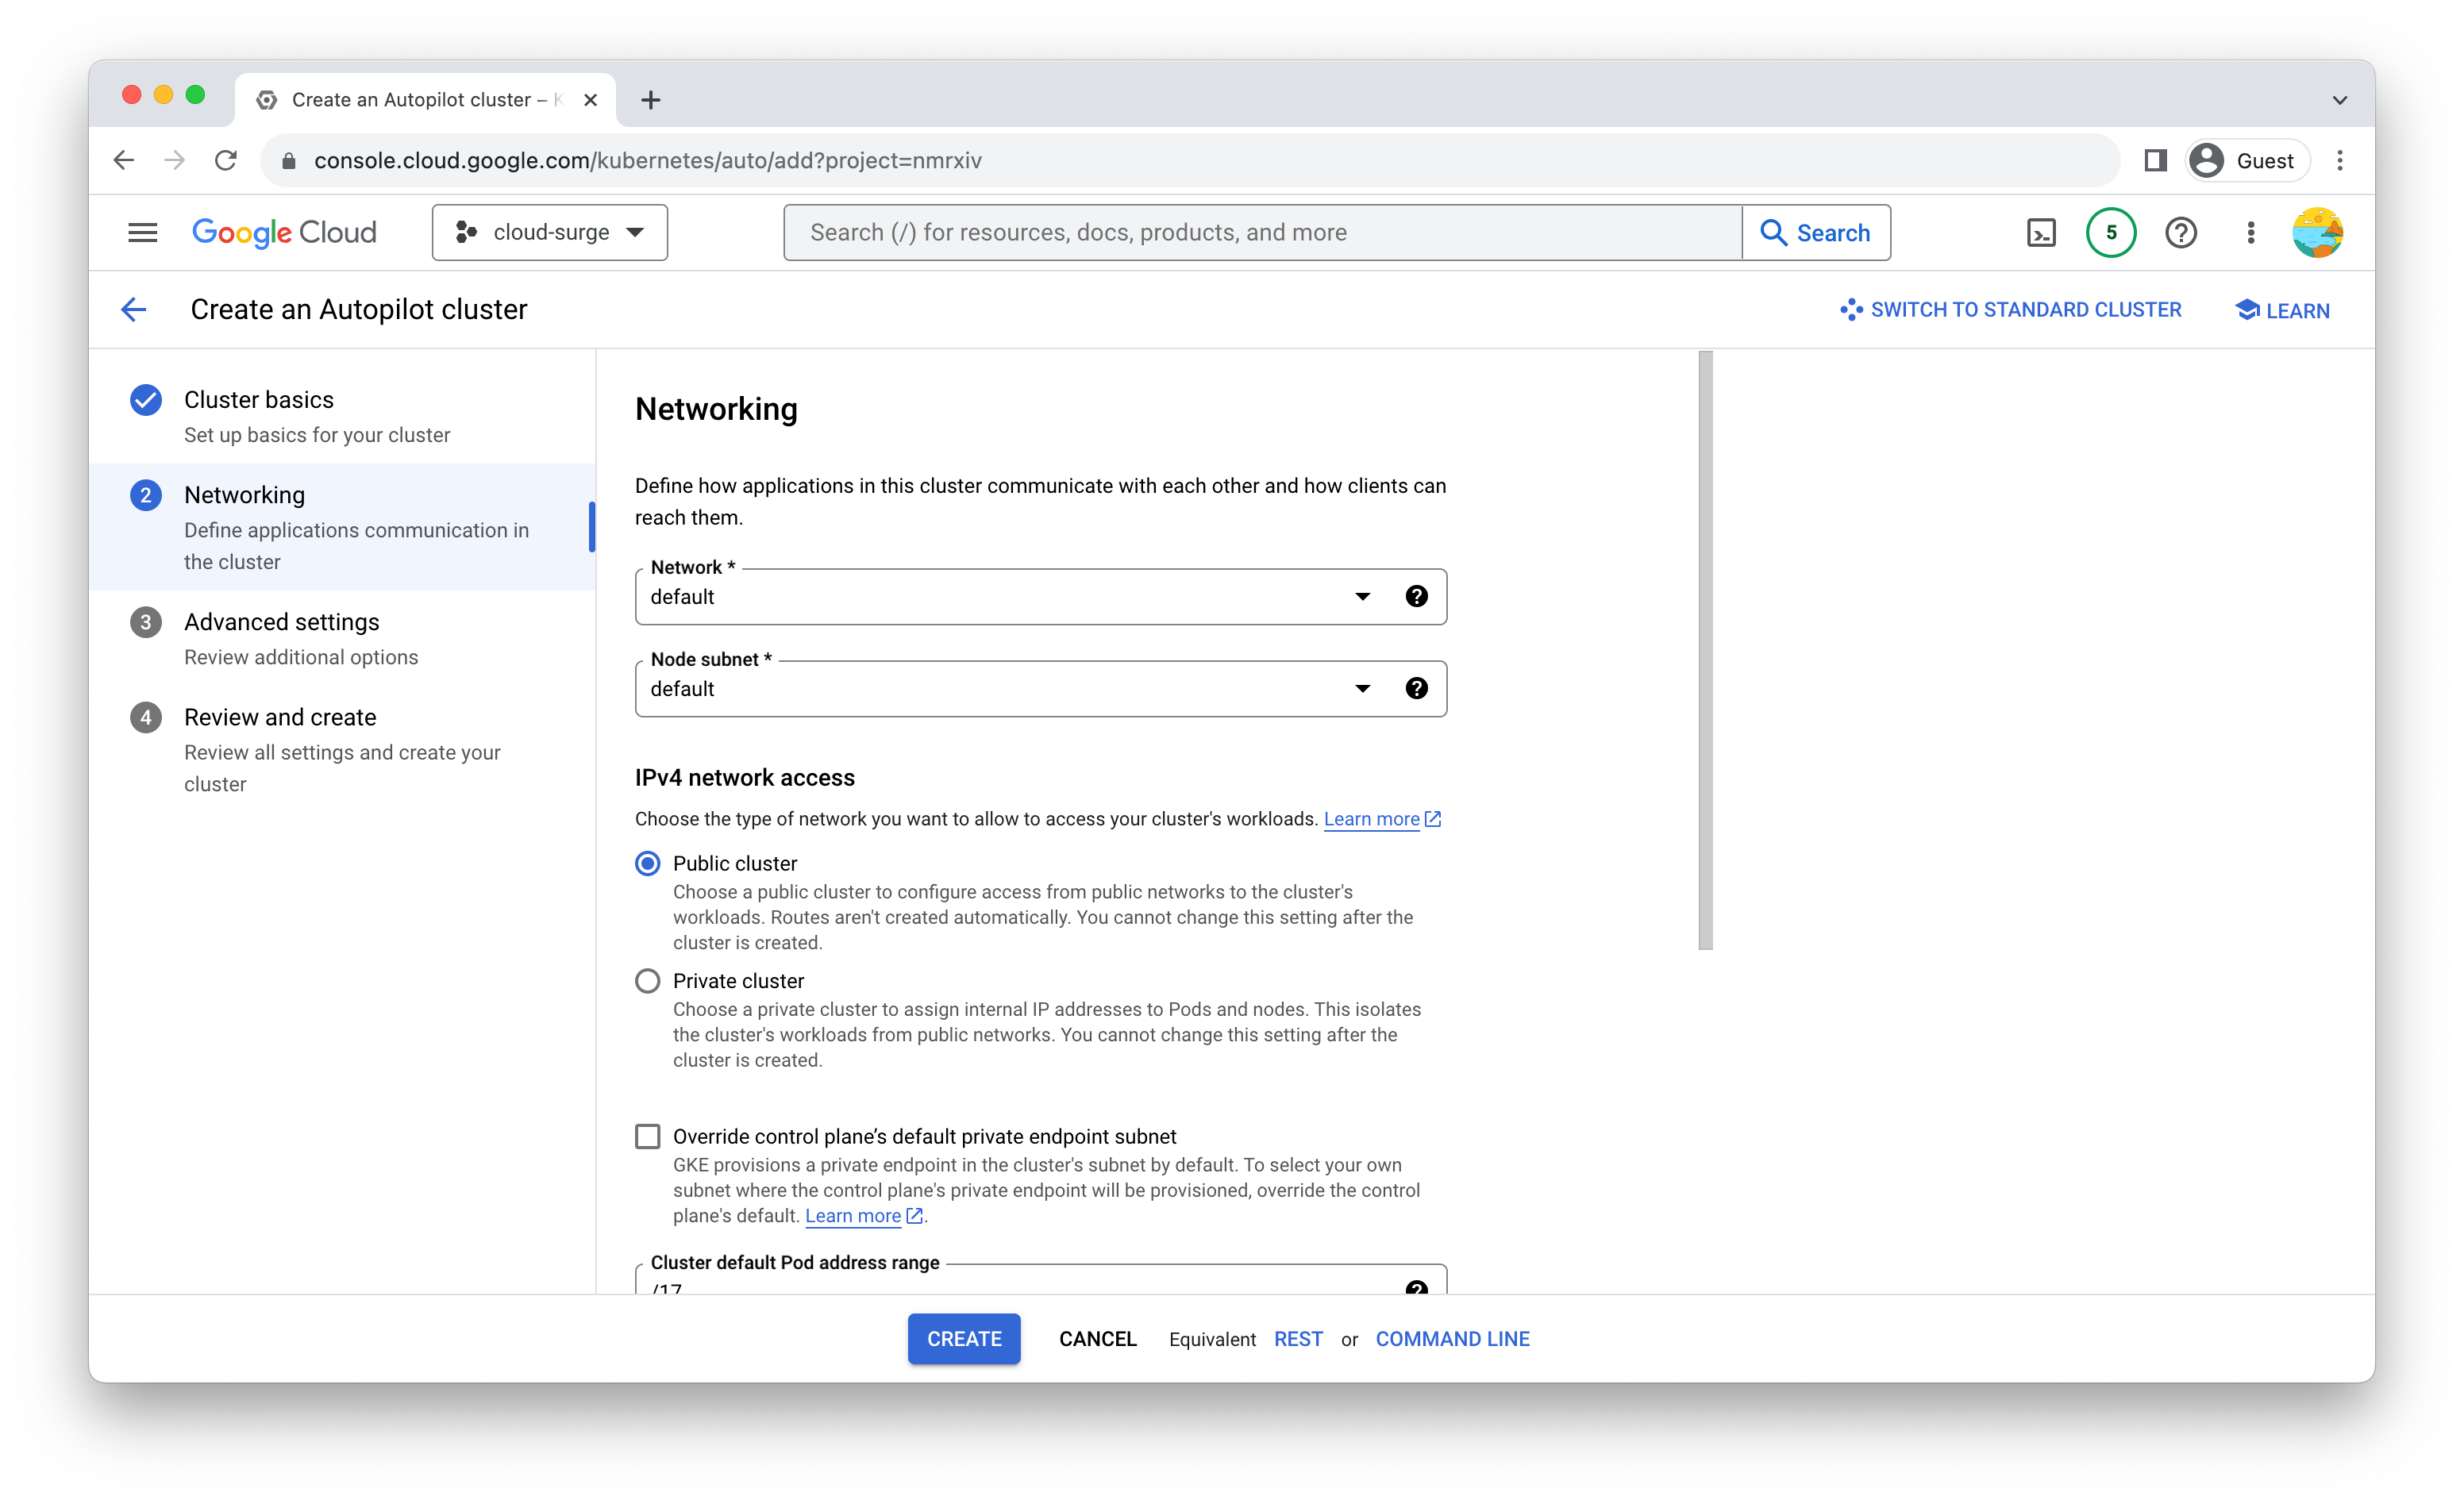
Configure Cluster Details: You'll need to specify details for your GKE cluster, such as the cluster name, location (zone). Leave the other configurations such as Networking and Advanced Settings as default and click on "Create" button at the end.
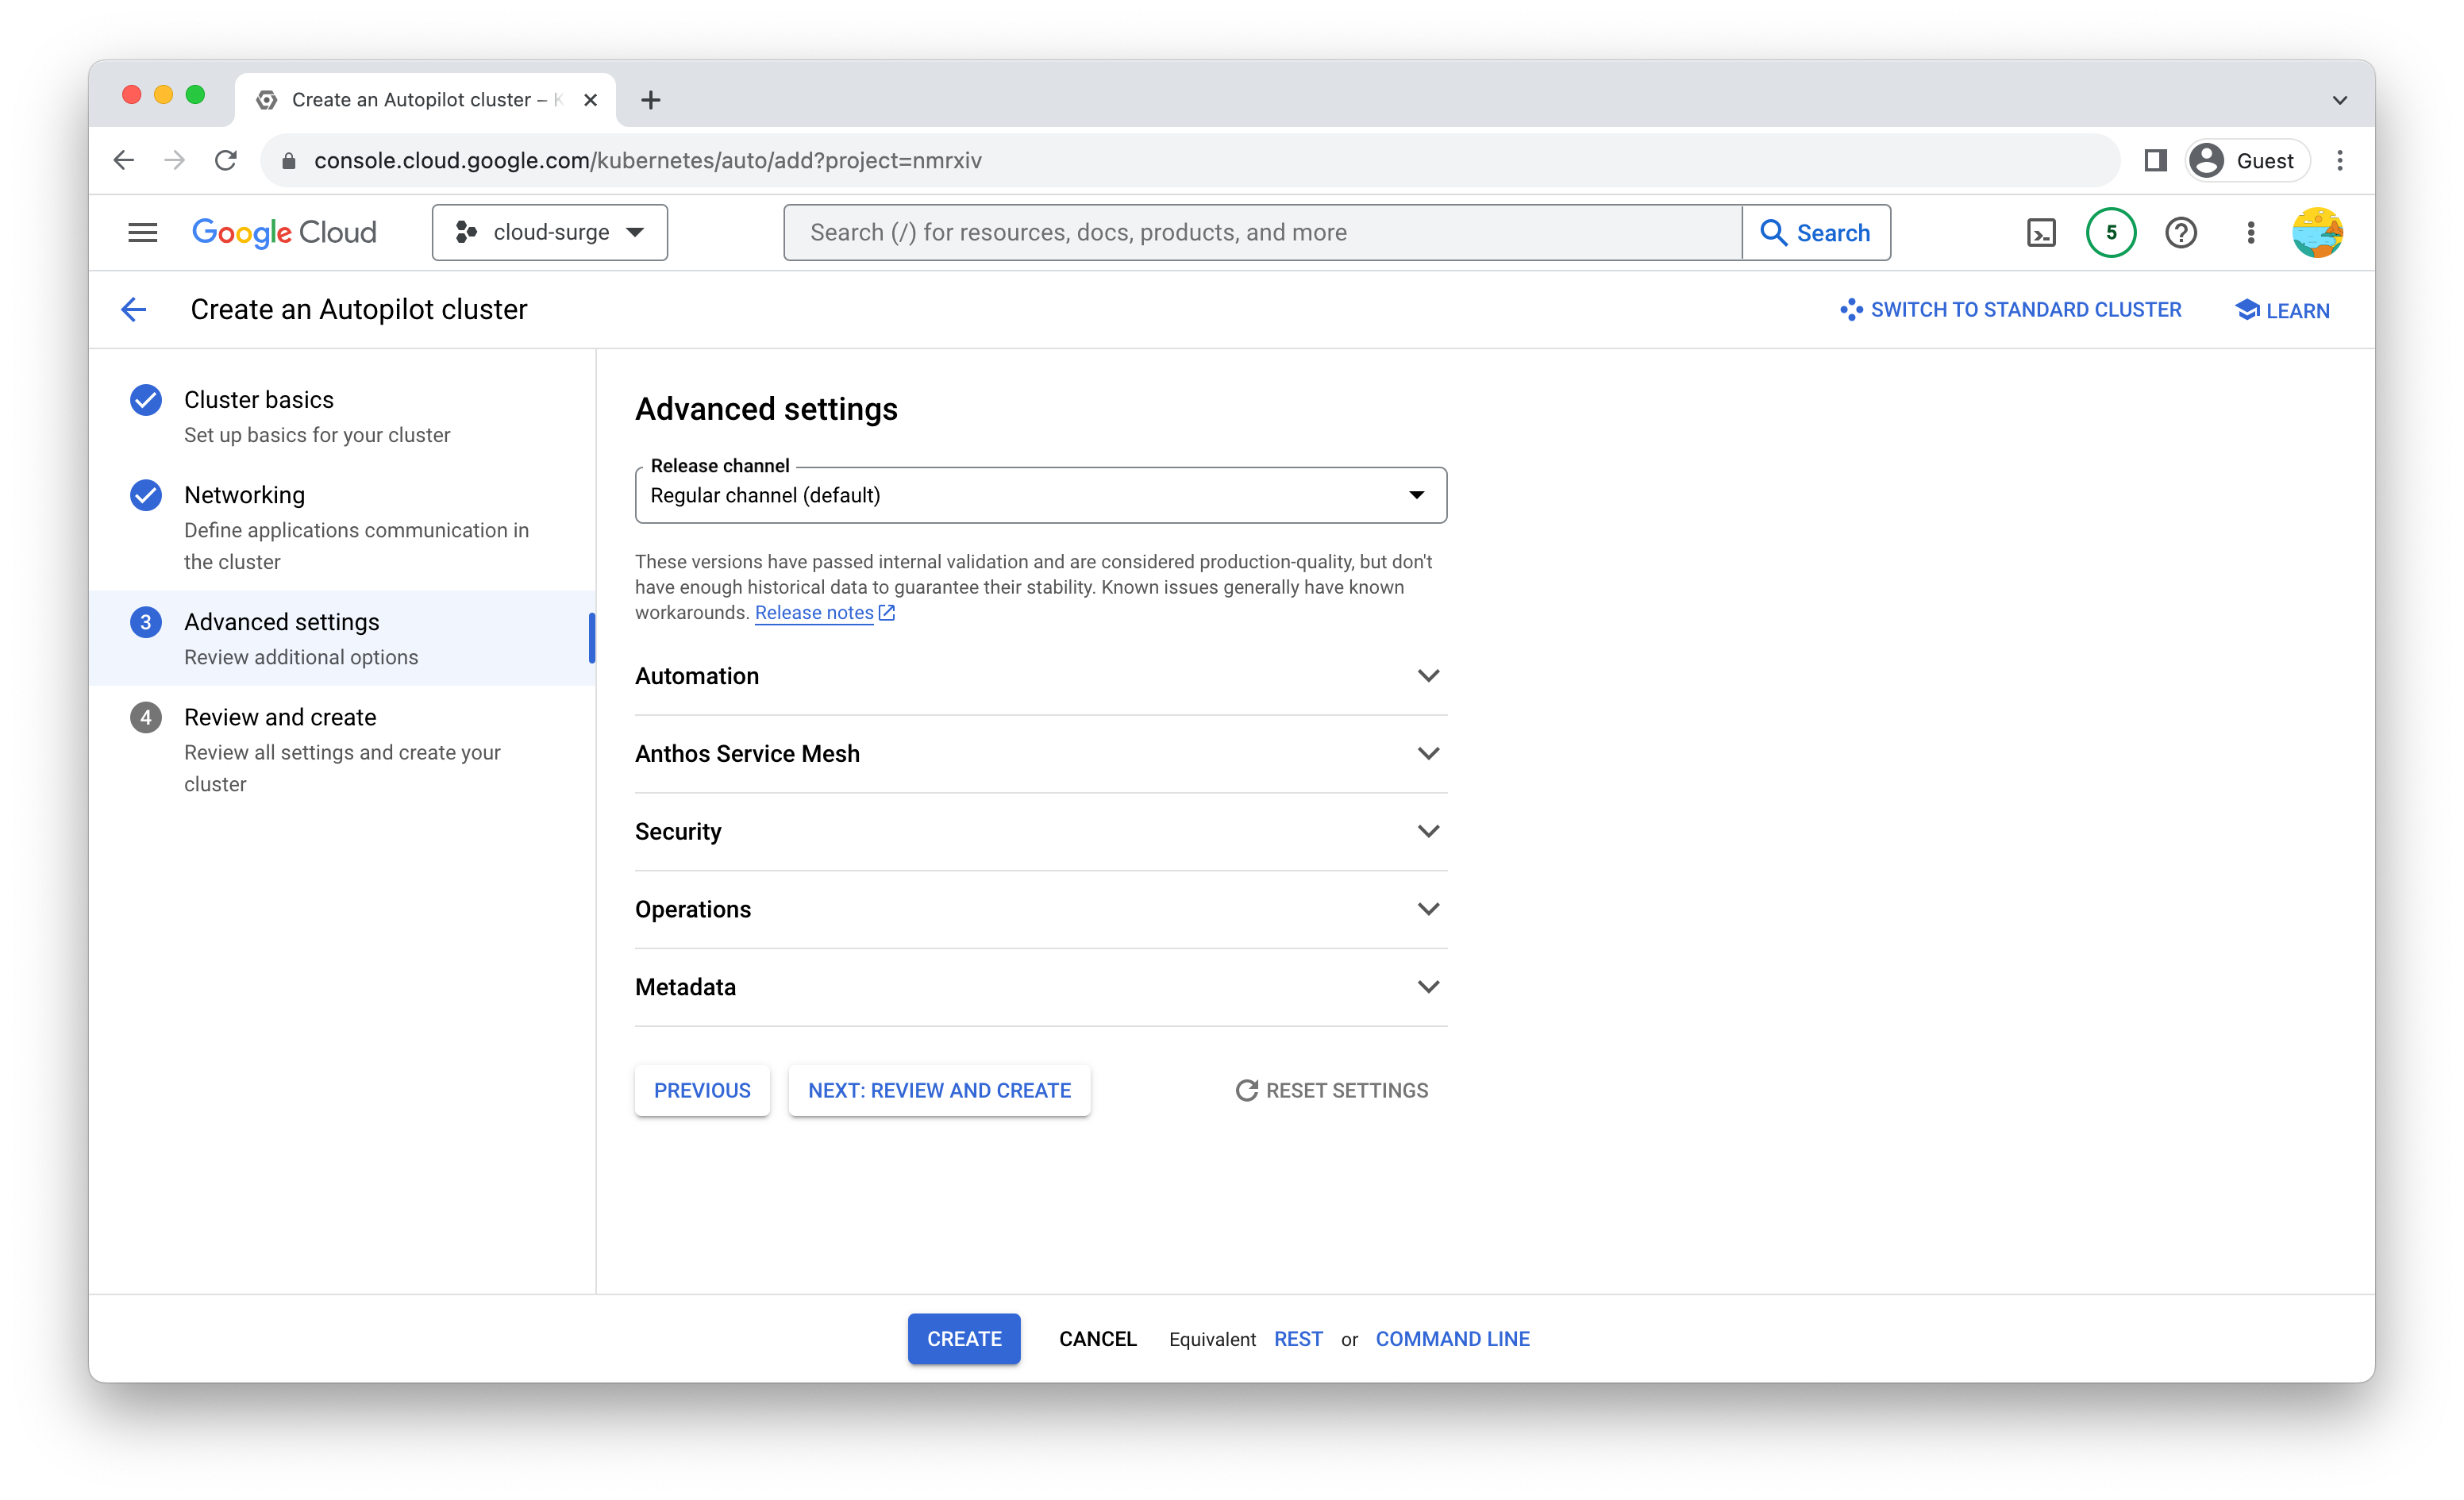
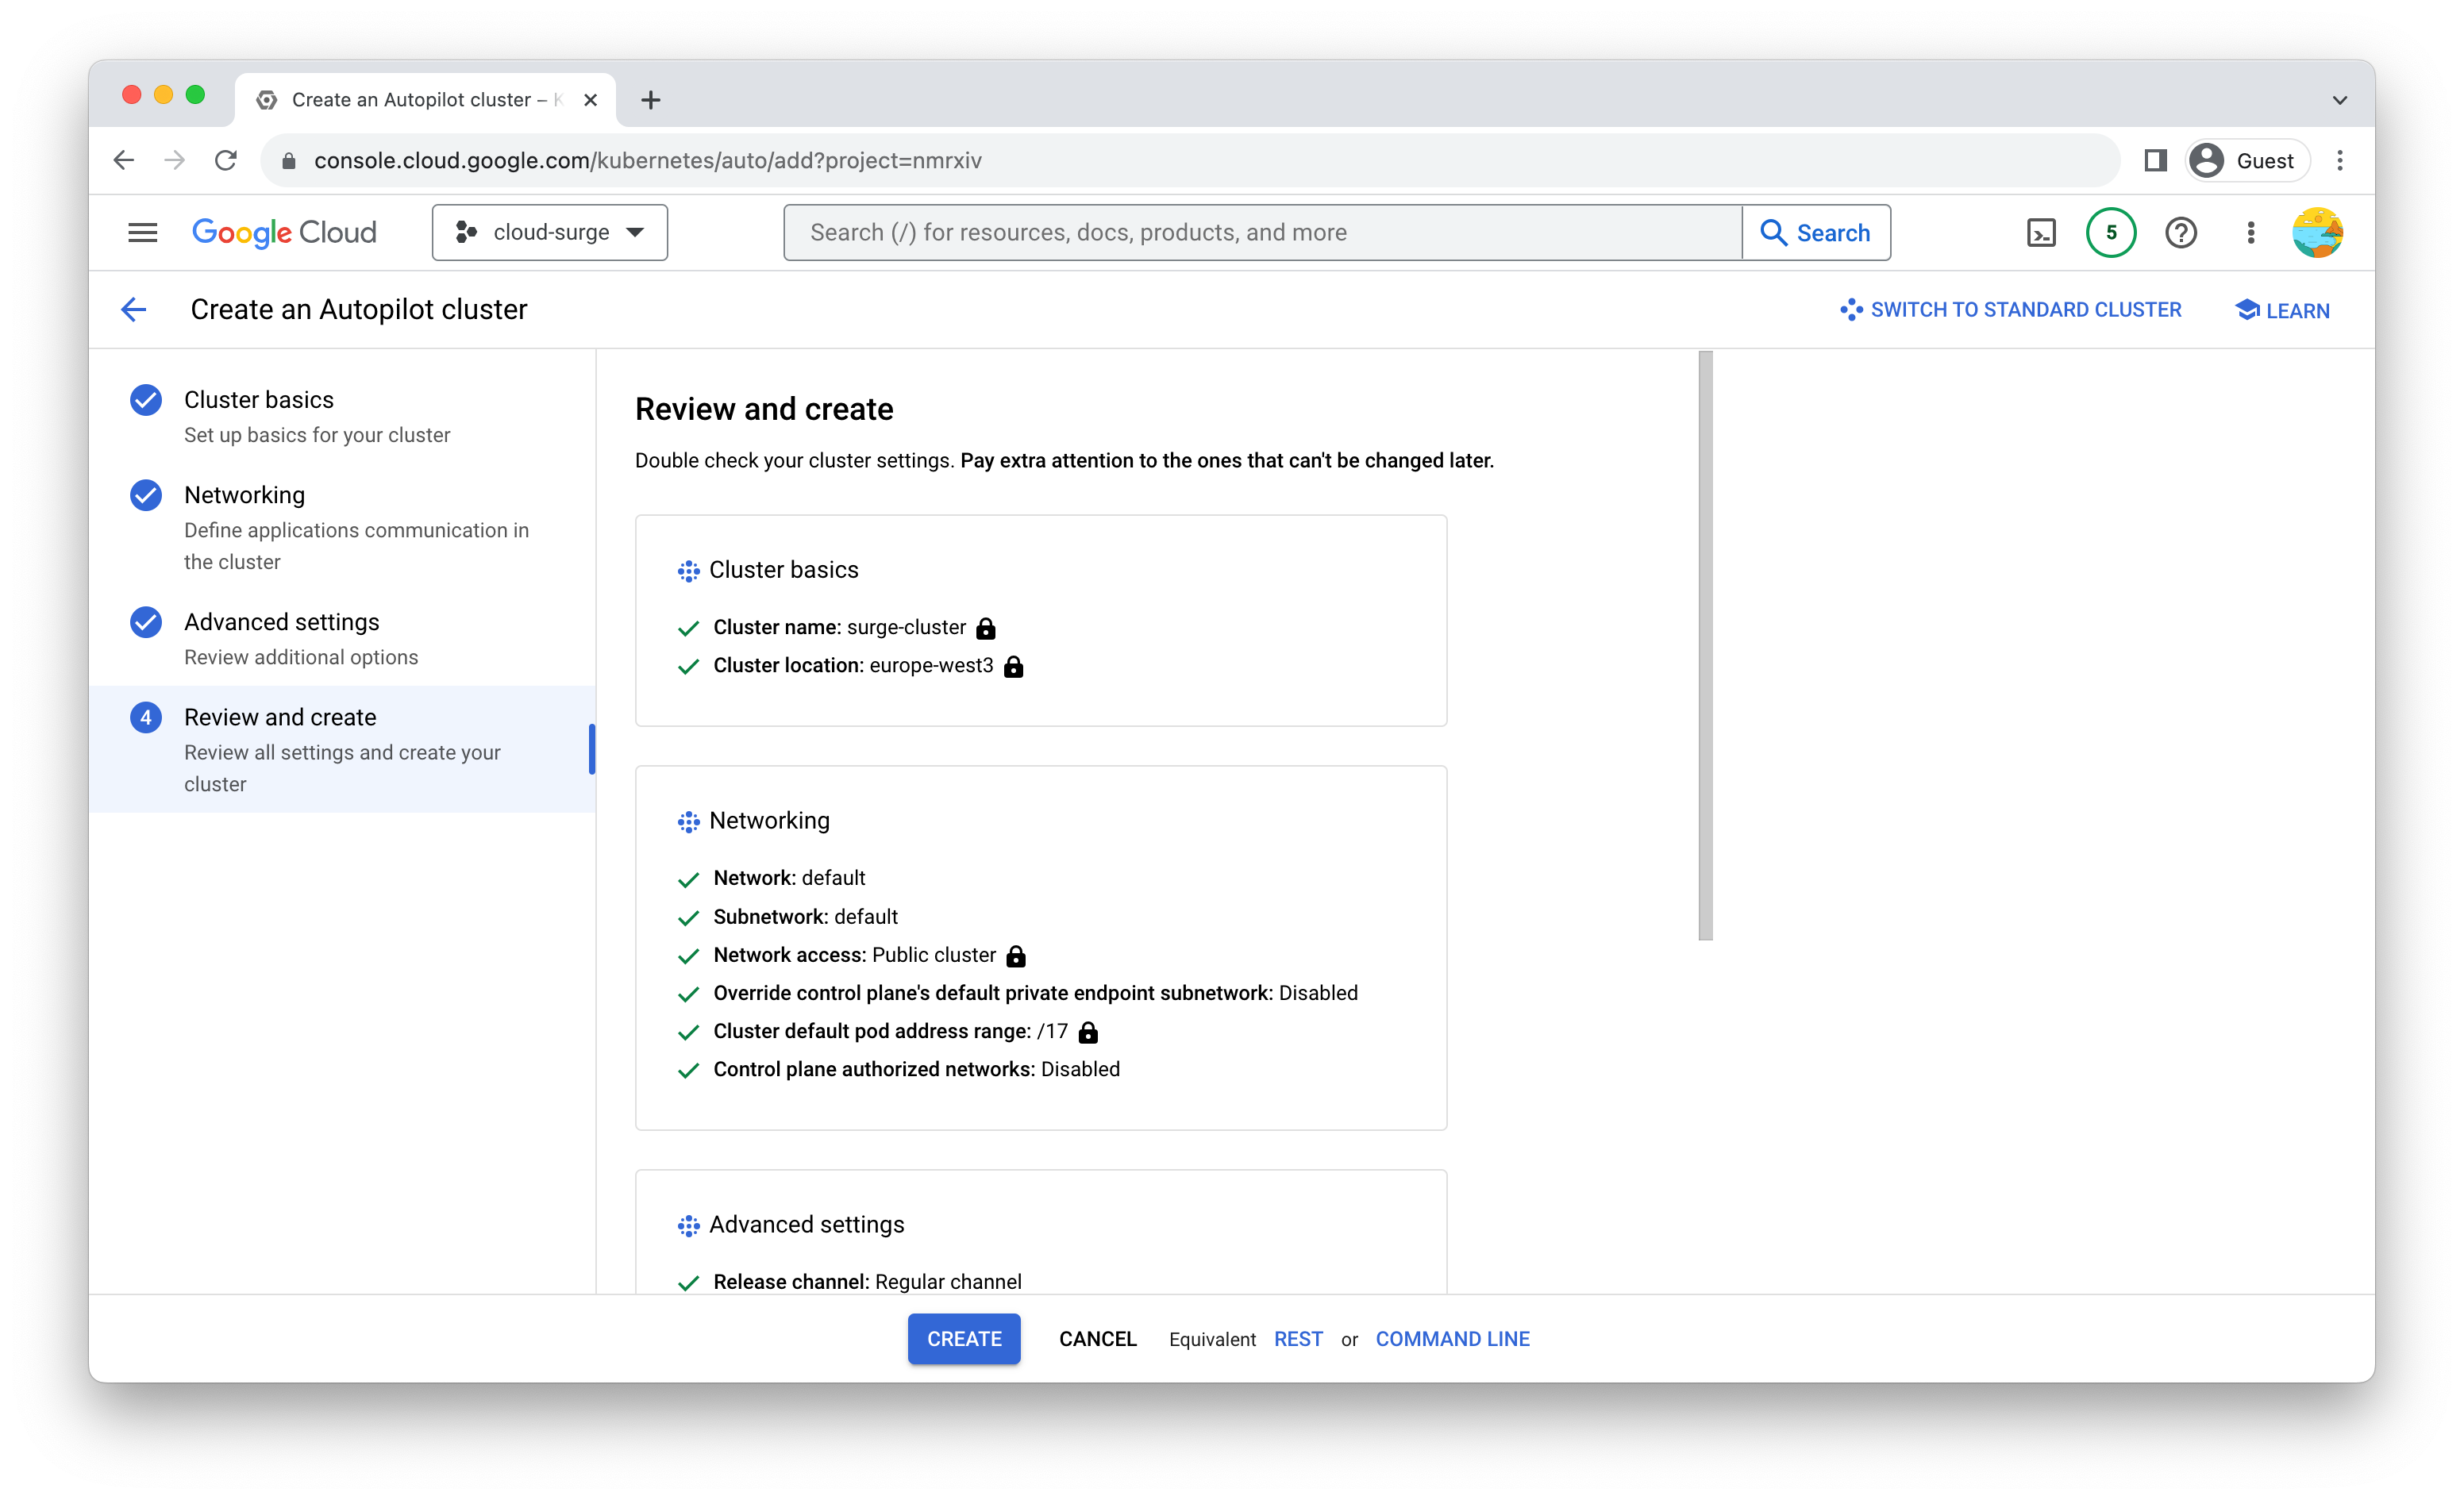
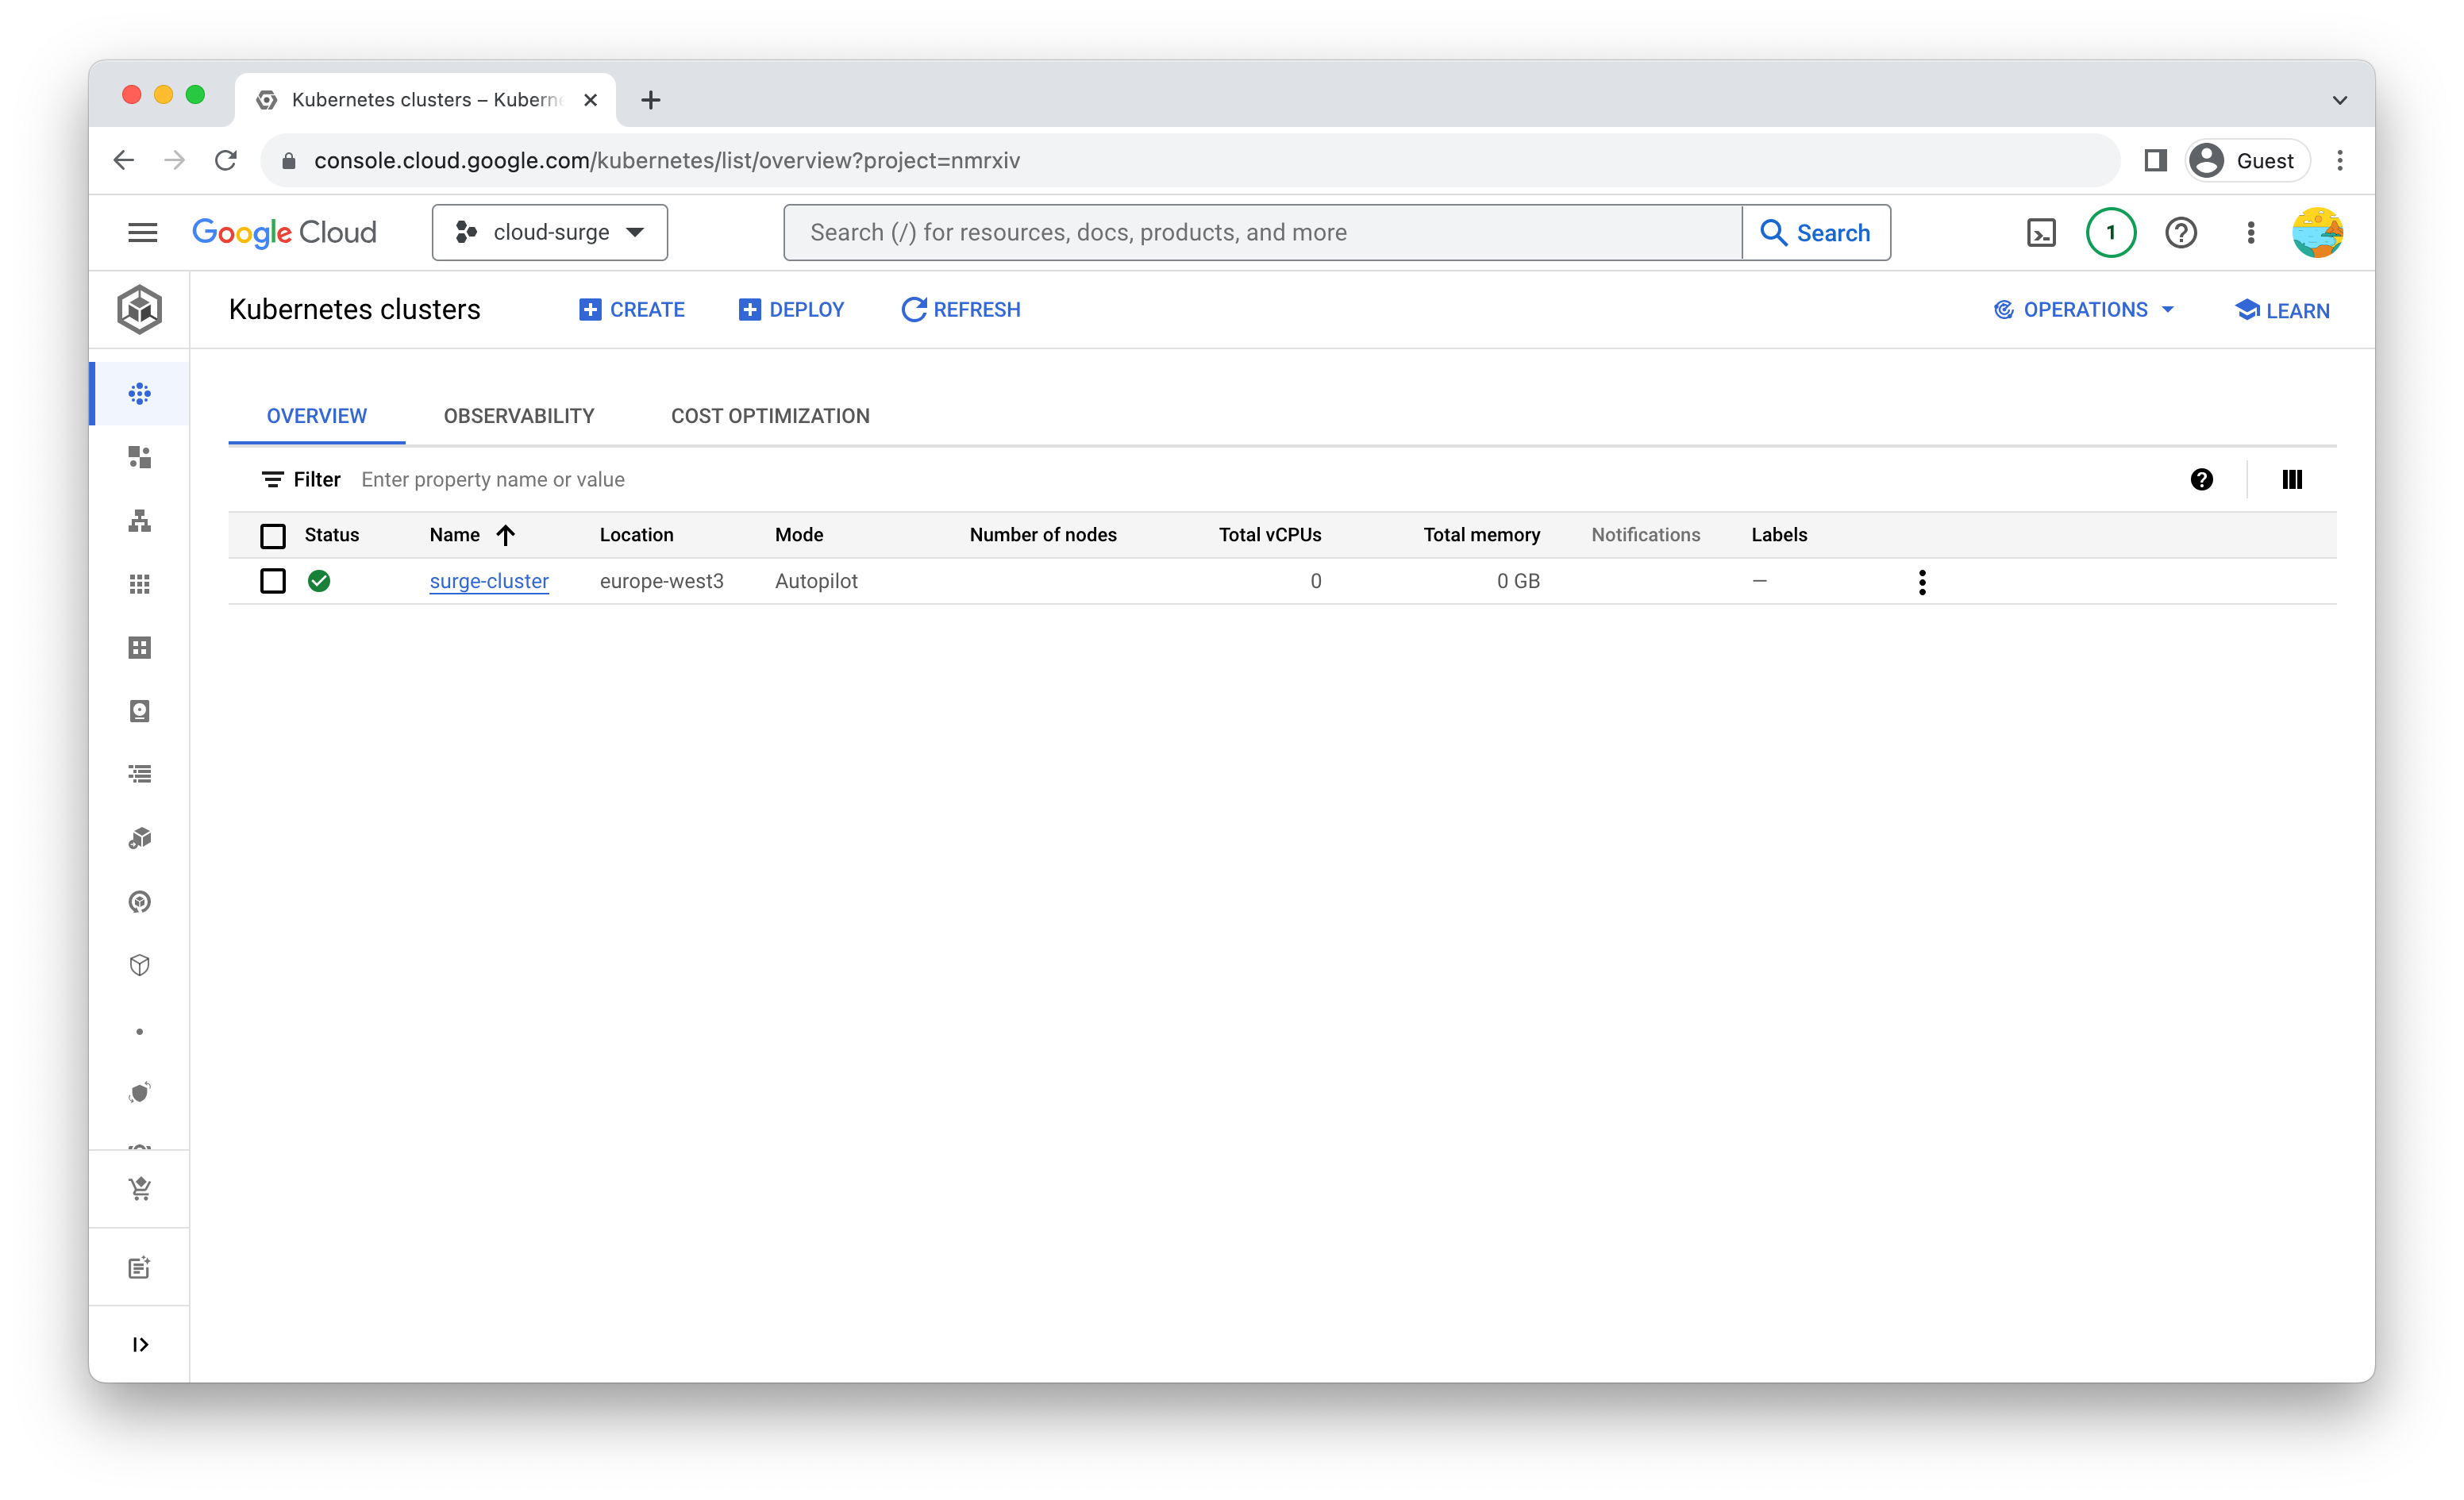
Wait for Cluster Creation: GKE will take a few minutes to create your cluster. You can monitor the progress in the "Kubernetes Engine" > "Clusters" section. Once the cluster is ready you will see ✅ in the status section.
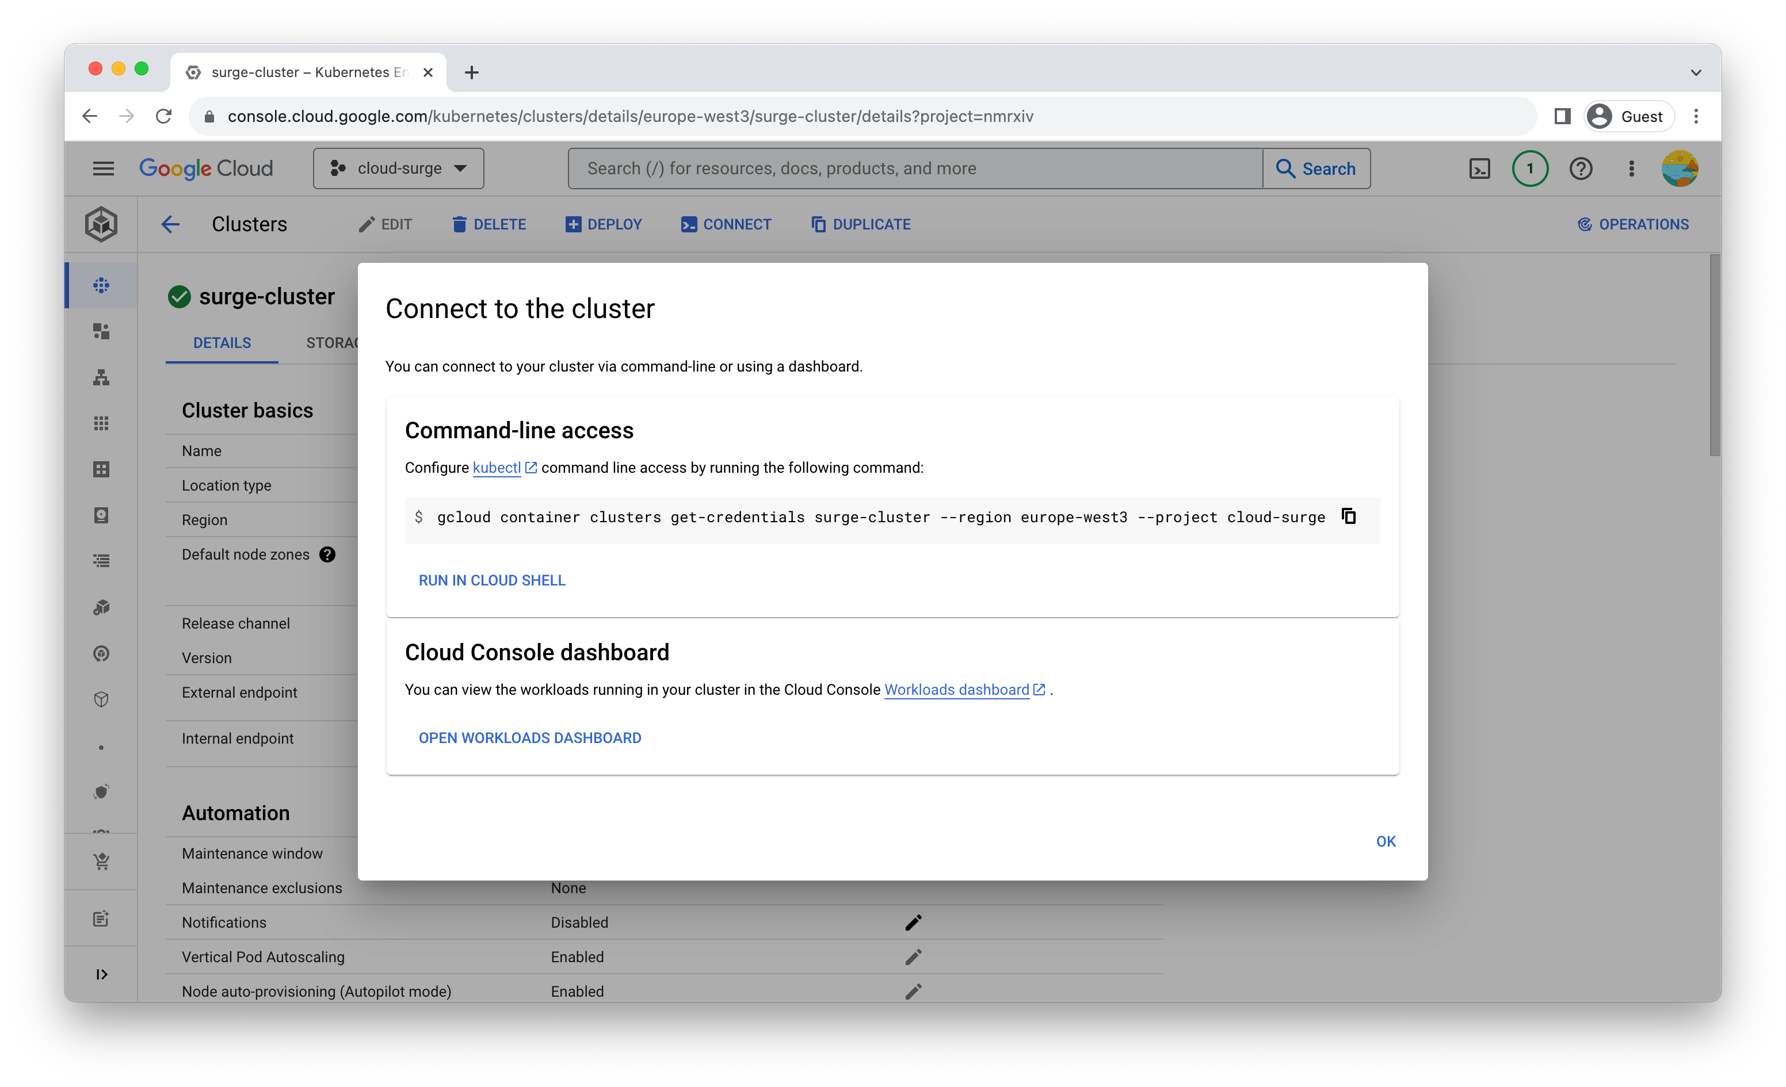
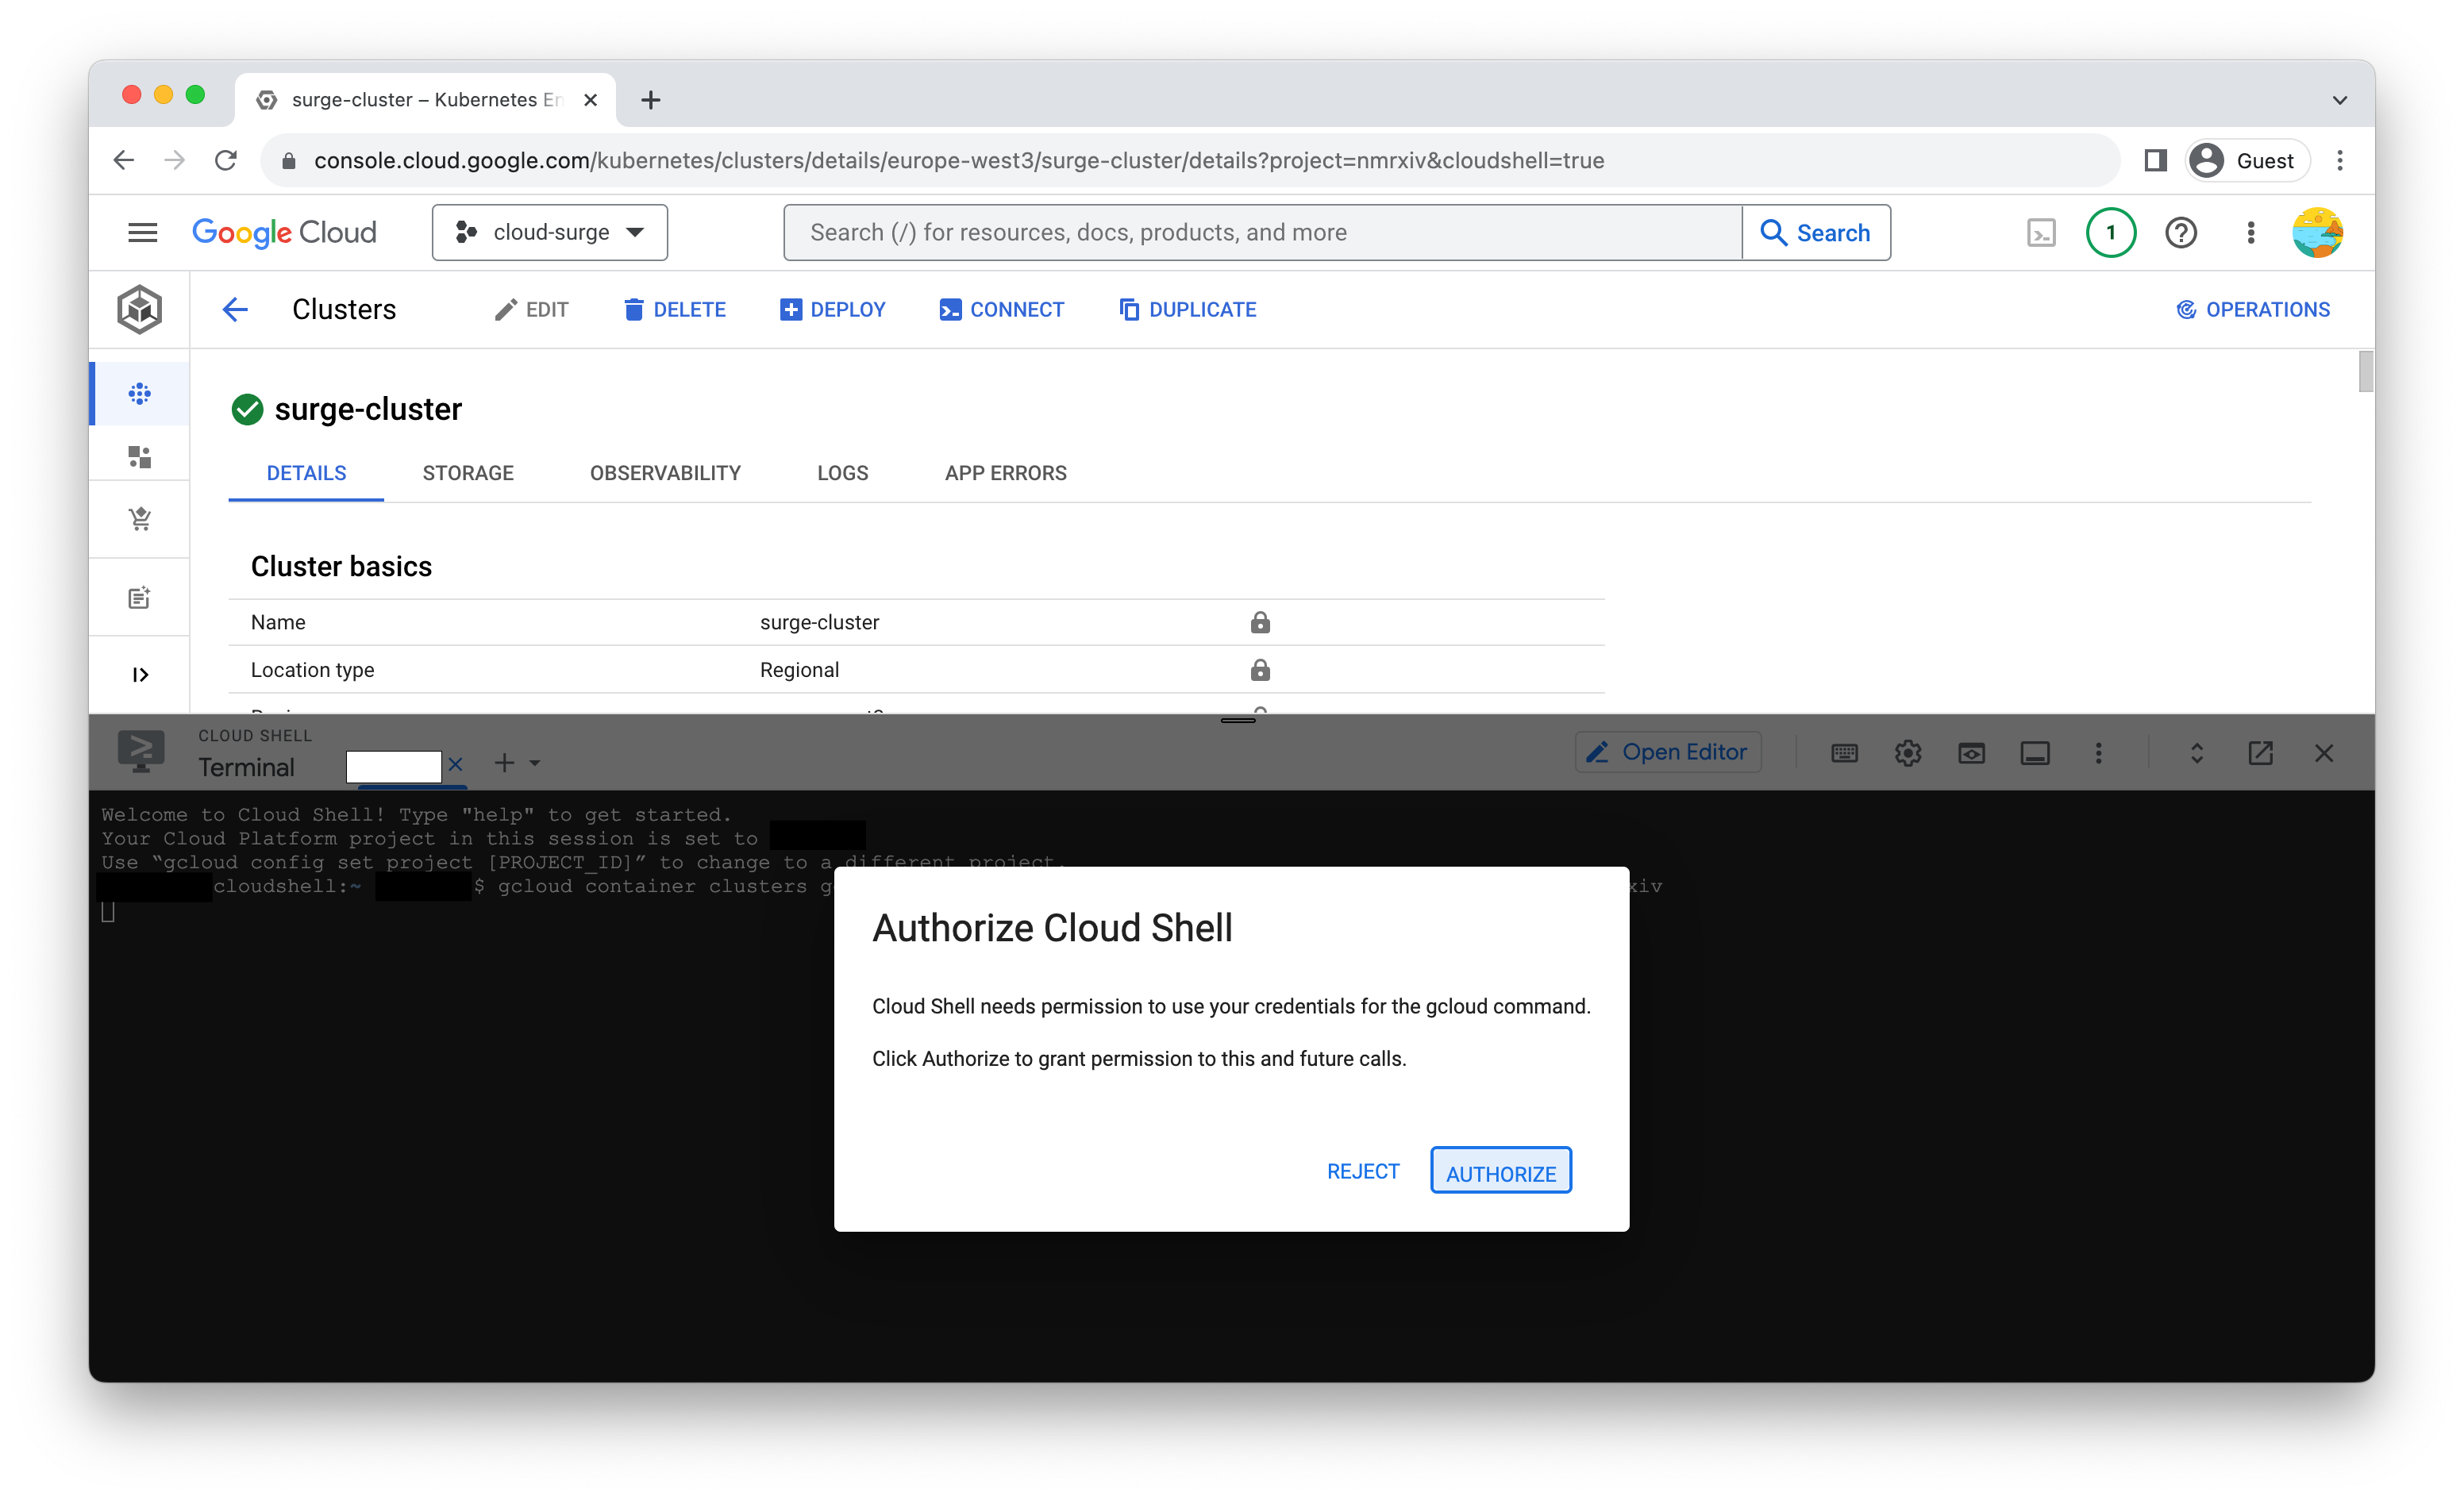
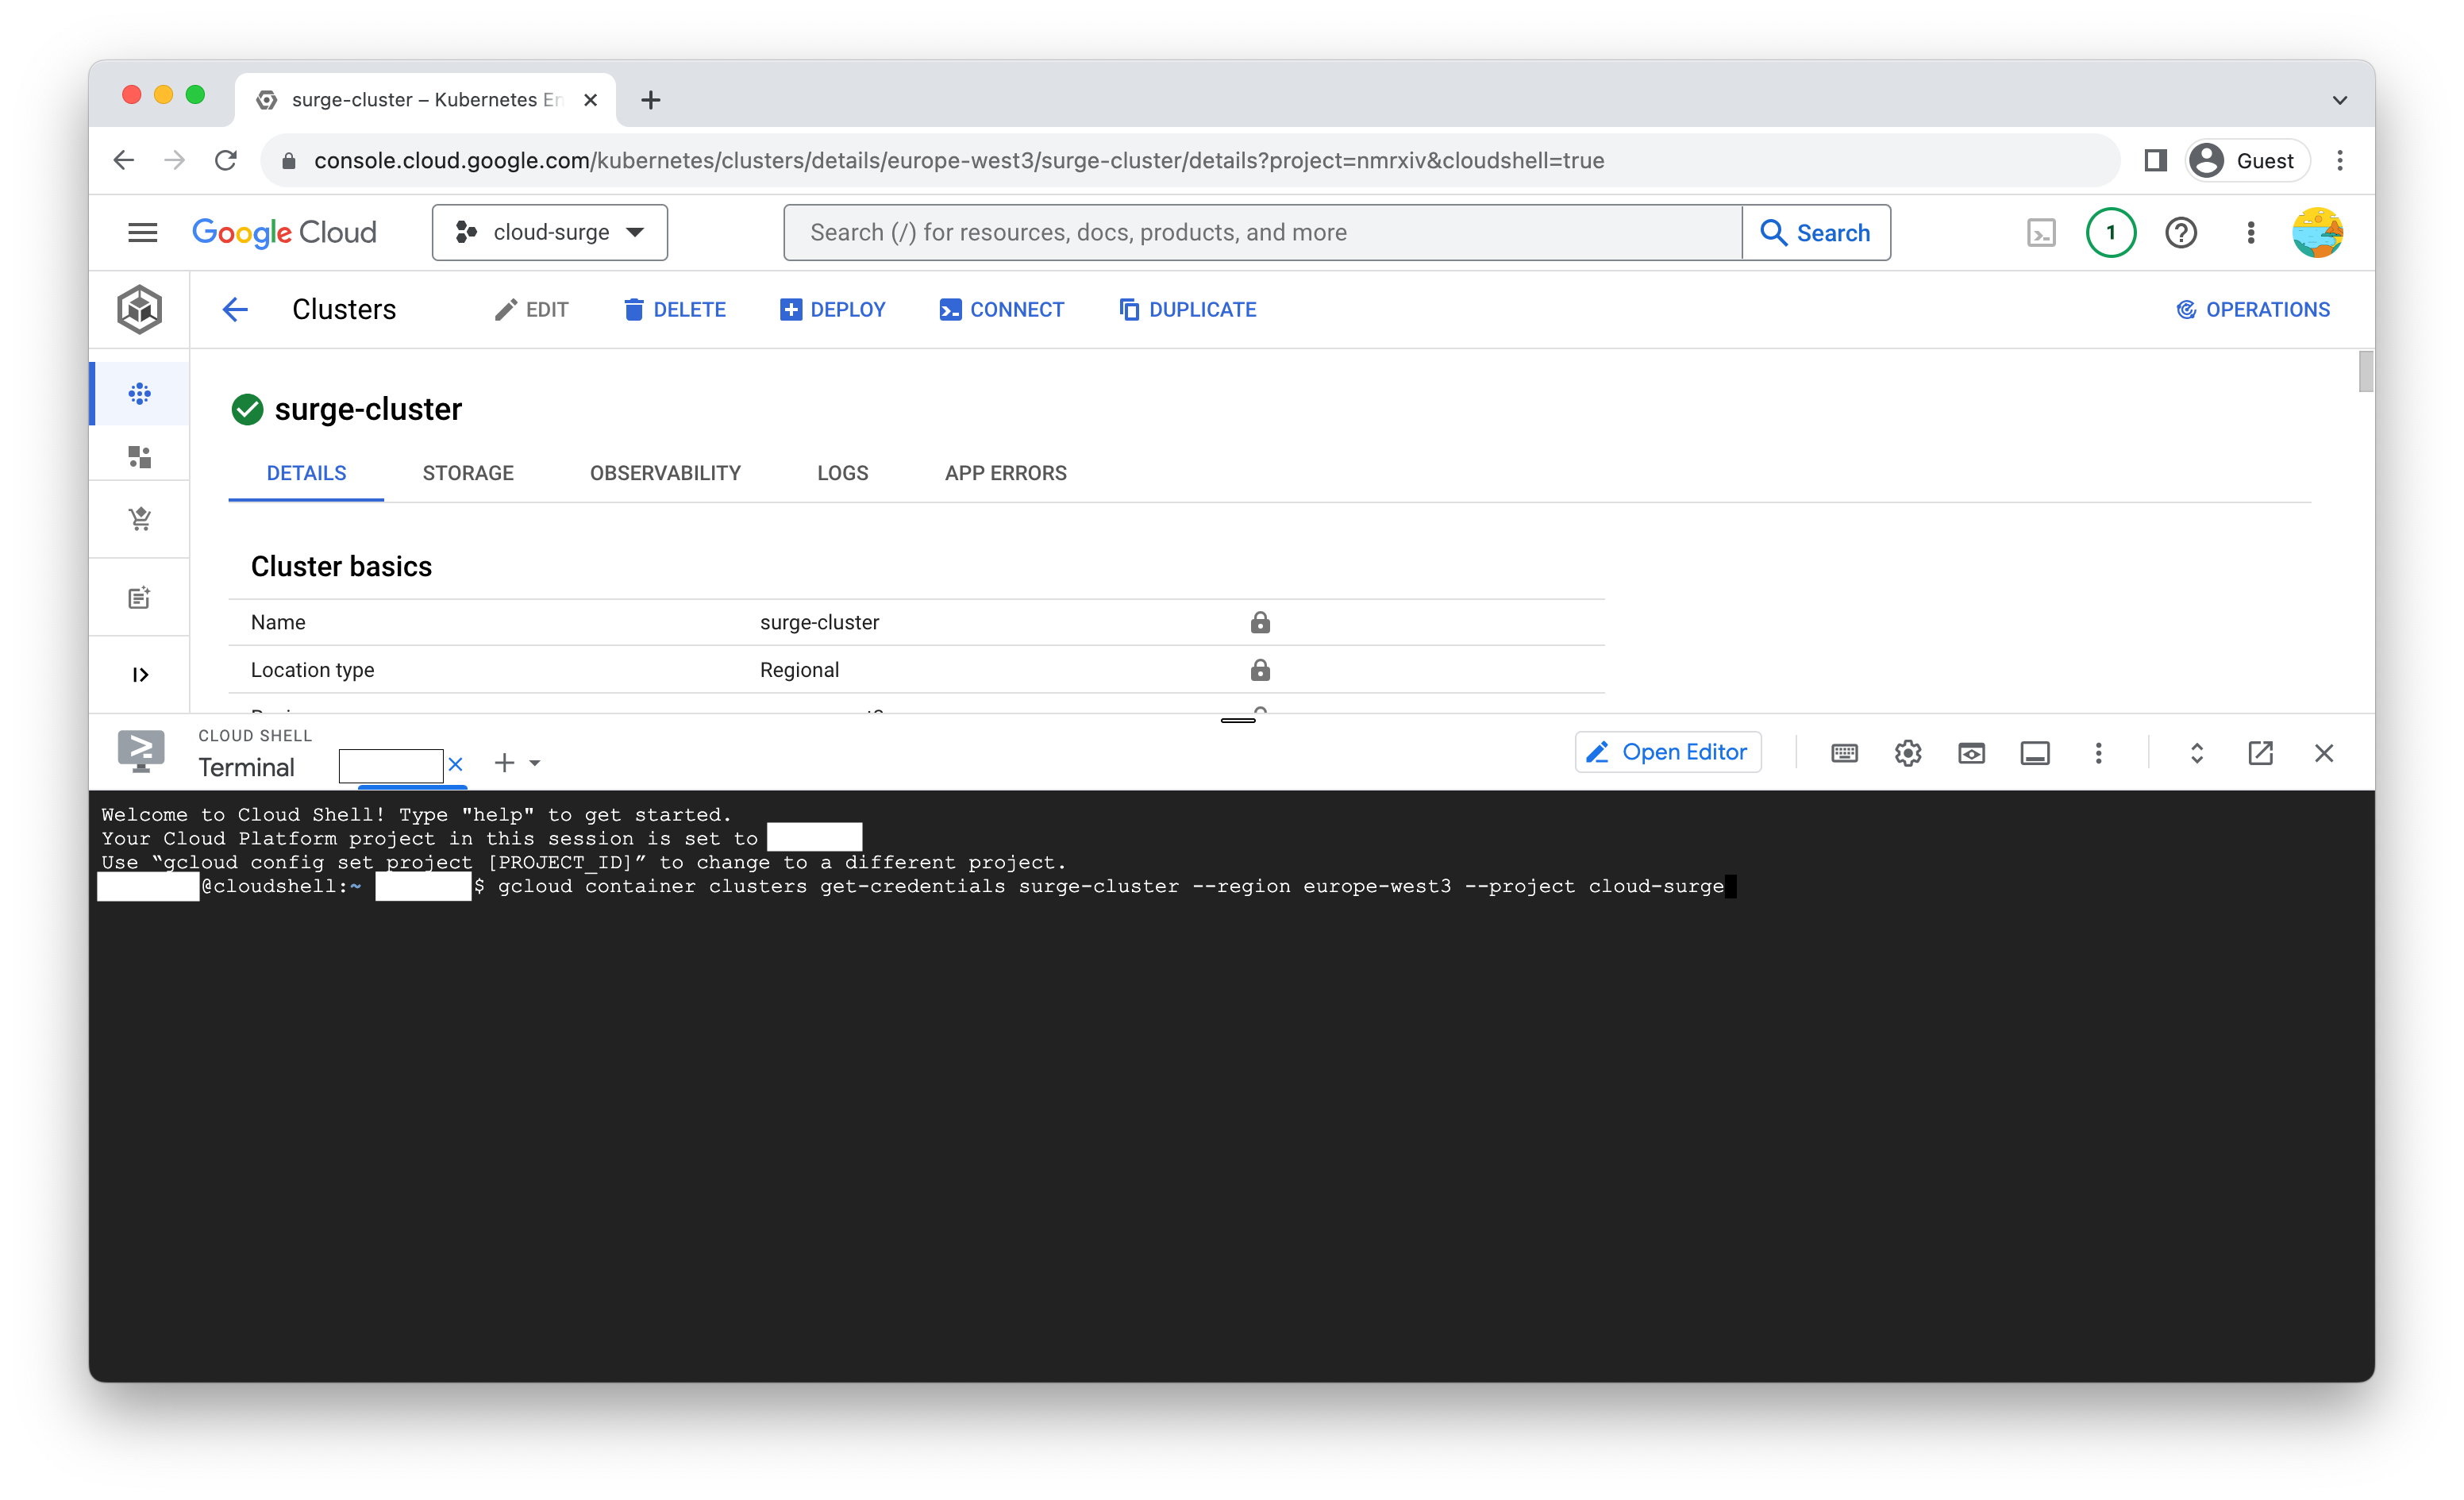
Connect to the Cluster: After the cluster is successfully created, access the cluster through the Cloud Console by clicking the console icon located in the upper-left corner of the screen. You will be presented with a gcloud command as shown below. To establish a connection, simply click the "RUN IN CLOUD SHELL" button.
